
Velero Setup – Installation Procedure
In the previous articles, we have completed all the pre-requisites needed to proceed with Velero installation.
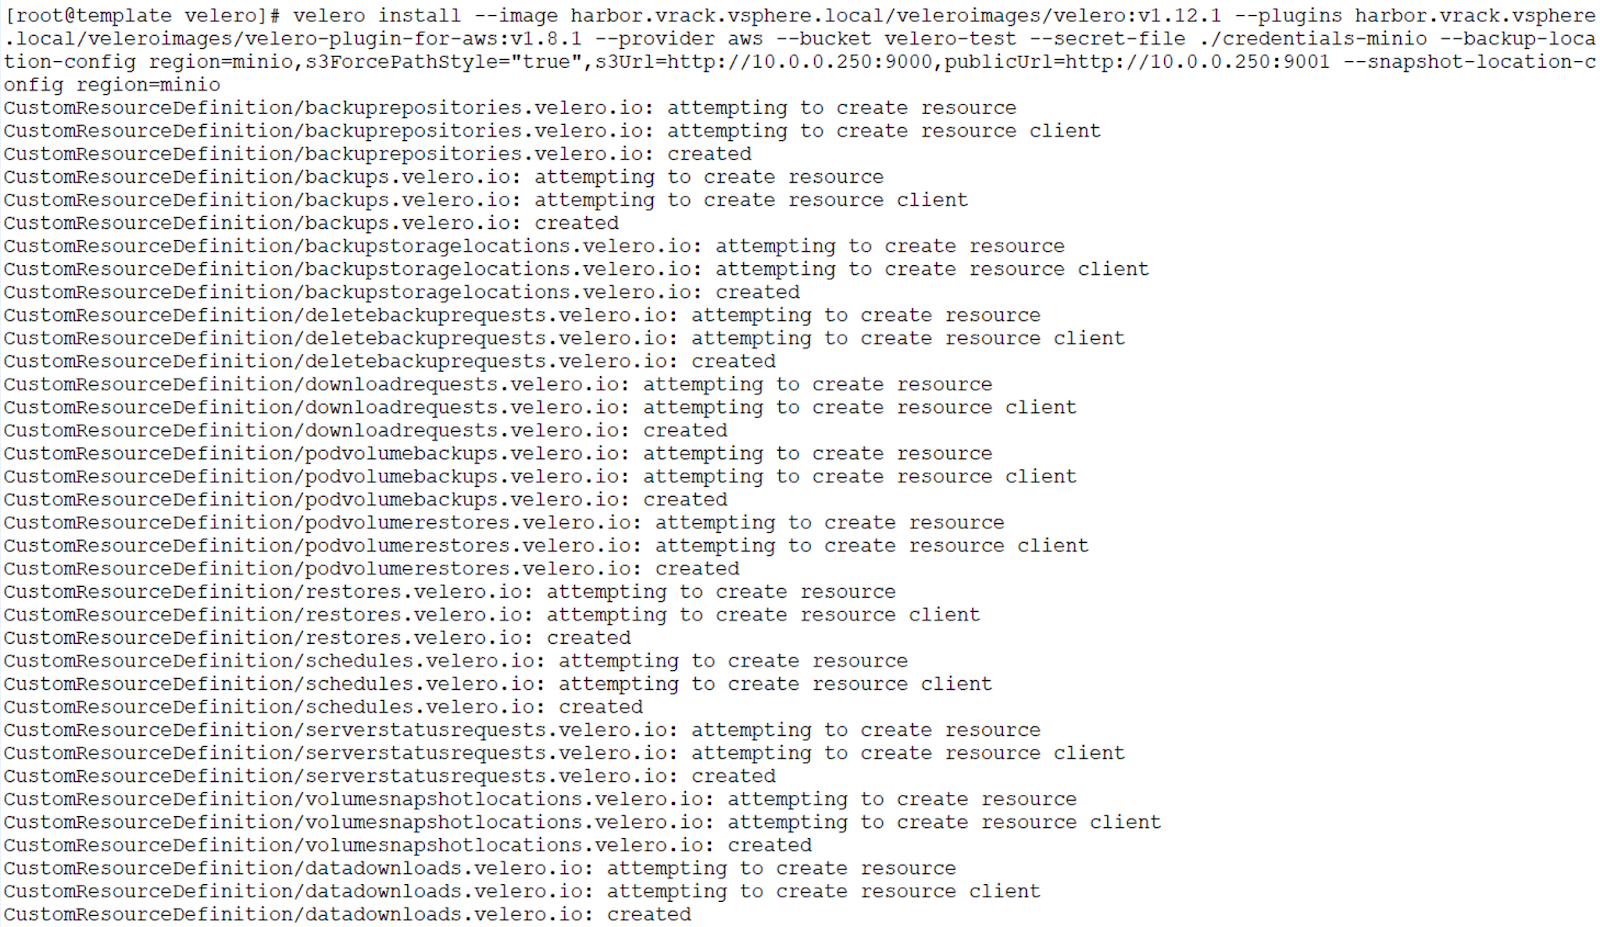
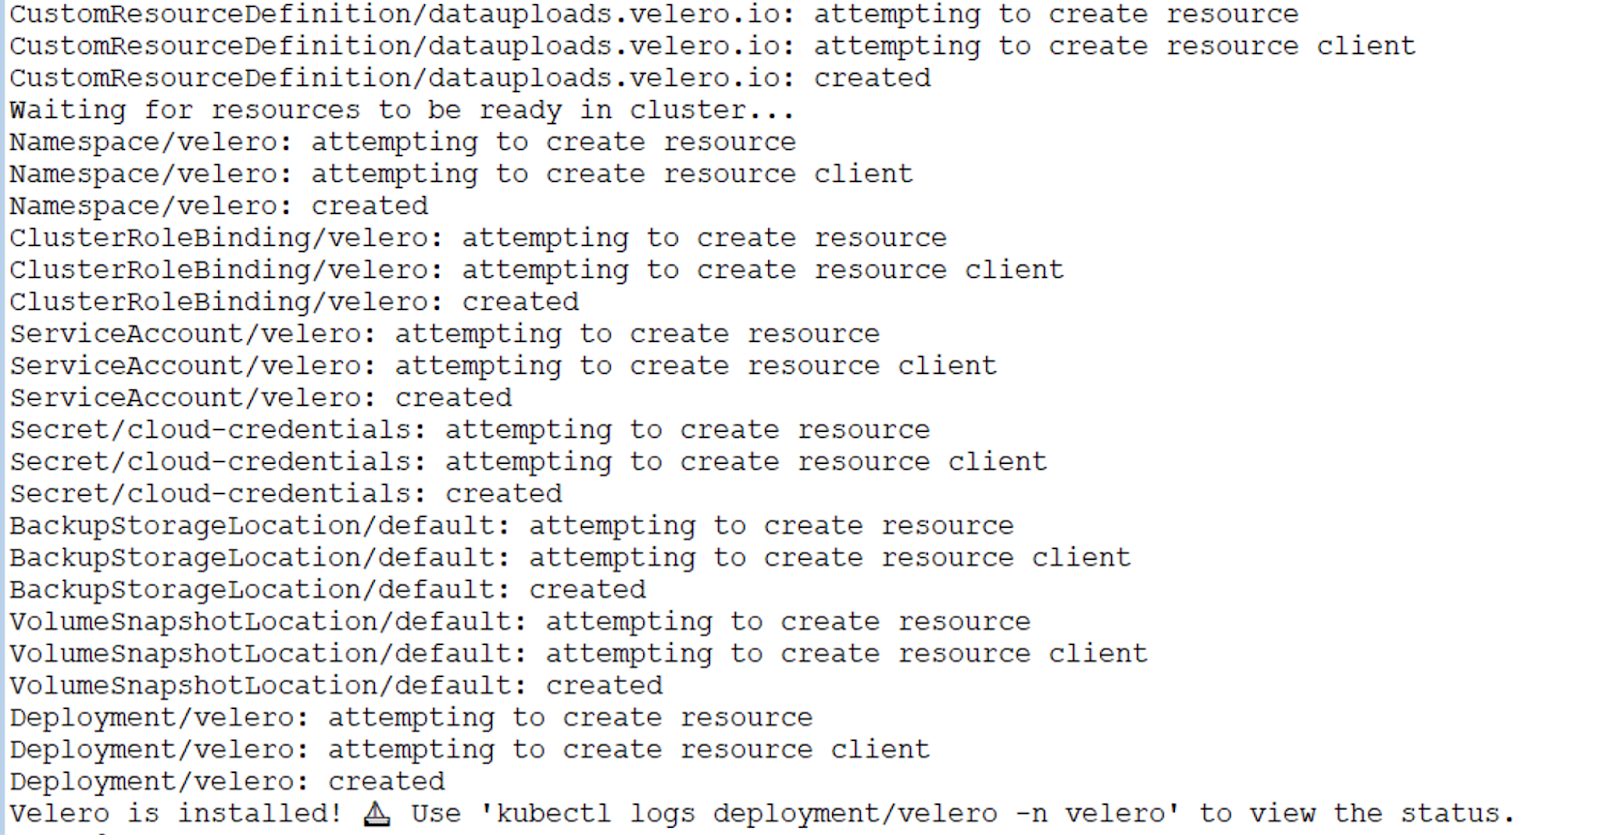
We will now use the Velero CLI to execute the following code to complete the installation.
velero install --image harbor.vrack.vsphere.local/veleroimages/velero:v1.12.1 --plugins harbor.vrack.vsphere.local/veleroimages/velero-plugin-for-aws:v1.8.1 --provider aws --bucket velero-test --secret-file ./credentials-minio --backup-location-config region=minio,s3ForcePathStyle="true",s3Url=http://<miniovmIP>:9000,publicUrl=http://<miniovmIP>:9001 --snapshot-location-config region=minioThe installation should now begin.
Now that velero is installed, we can proceed to backup the TKGi Cluster. But we are done yet, since this wouldn’t be enough to backup the PV’s where our Persistent data sits. So, to be able to back that up, we need to install the Velero vSphere Plugin and for that we need to create a secret and a configmap in the velero namespace as shown below.
kubectl -n velero create secret generic velero-vsphere-config-secret --from-file=csi-vsphere.conf

kubectl apply -f configmap.yaml -n velero
We can now proceed to install the vSphere plugin using the following command.
velero plugin add harbor.vrack.vsphere.local/veleroimages/velero-plugin-for-vsphere:v1.5.2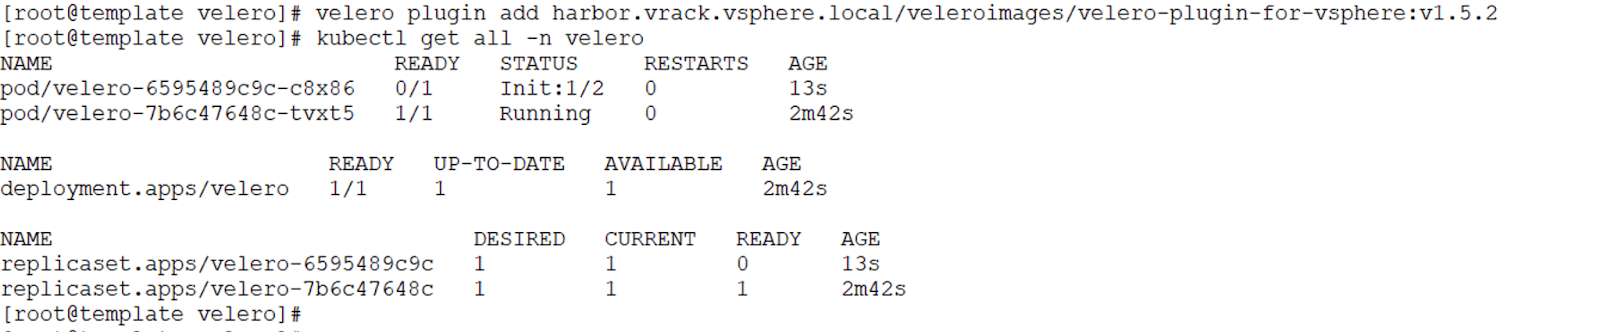
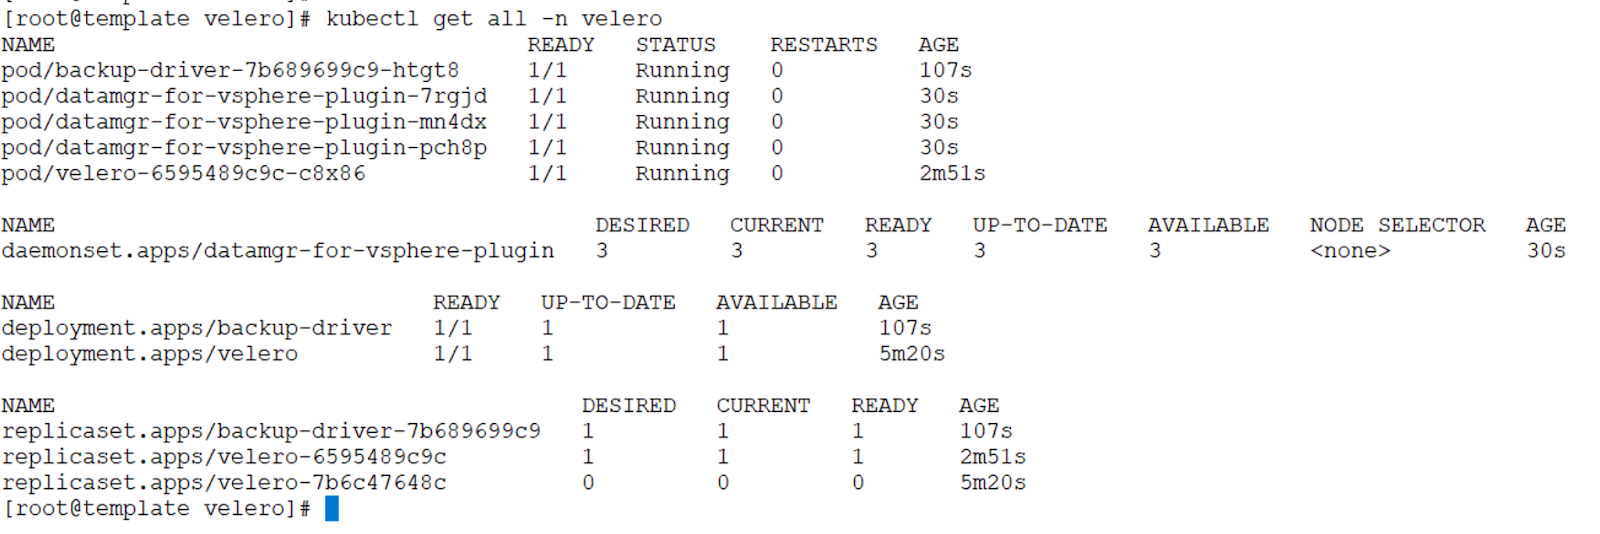

At this point, you should see a default “volumesnapshotlocation” and “backupstoragelocation” CR’s created.
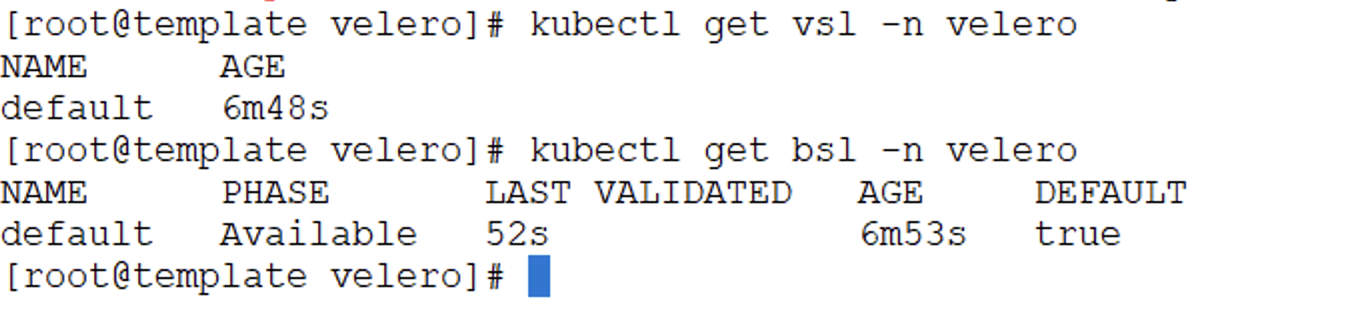
You need to create a vsl that the vsphere plugin will use using the following command.
velero snapshot-location create vsl-vsphere --provider velero.io/vsphere
That’s it, we have now installed and configured Velero to use a VolumeSnapshotLocation for the PVs and BackupStorageLocation for the other artifacts.