
vRealize Automation 8.x – Easy Installer
vRA 8.x is so special as VMware has finally moved on from its Windows-based deployment to a completely Linux based (containerized) architecture for all the components that it involves. Now customers wouldn’t have to worry about the reboot/bring-up sequence of the components anymore as it only involves one appliance which in-turn is managed through a life cycle manager. Here I will talk about deploying a single node vRA setup from scratch.
As with every other product deployment, the first step would be to download the product binaries. While in the previous versions, you may have had OVA’s to do this, starting 8.x you will have an “Easy installer” binary, which installs vRA through vRLCM which is the vRealize Life Cycle Manager. You can find the binaries here.
Attach the downloaded ISO to a client machine from where the vCenter is accessible (the vCenter you intend to deploy your vRA/vRLCM appliances on) and run the application.
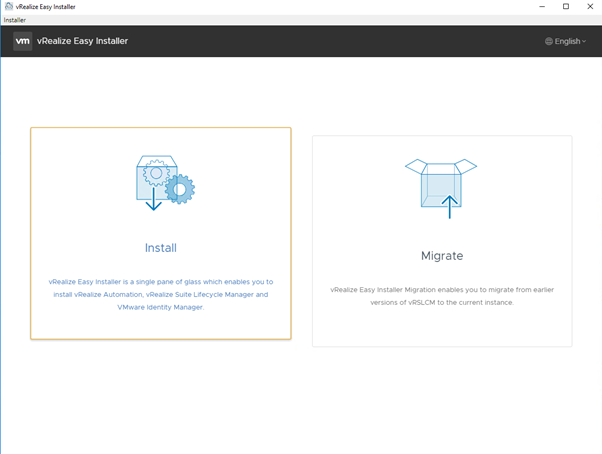
Step 1: You can either choose install/migrate based on what you currently have. In my case, since this is a fresh deployment, I go through with a fresh installation.
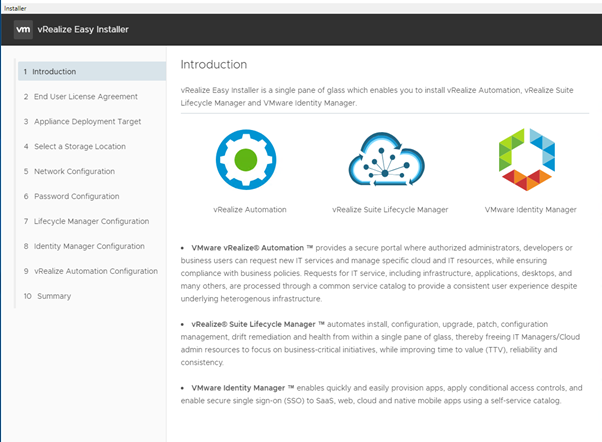
Step 2: Click “Next” on the introduction page which tells you the installer will install all three components required to bring up your cloud automation piece.
- IDM – VMware Identity Manager – SSO authentication with AD integration of vRA is taken care by IDM
- vRLCM – vRealize Life Cycle Manager – Product life cycle of all vRealize components managed by vRLCM
- vRA – vRealize Automation – The cloud management piece
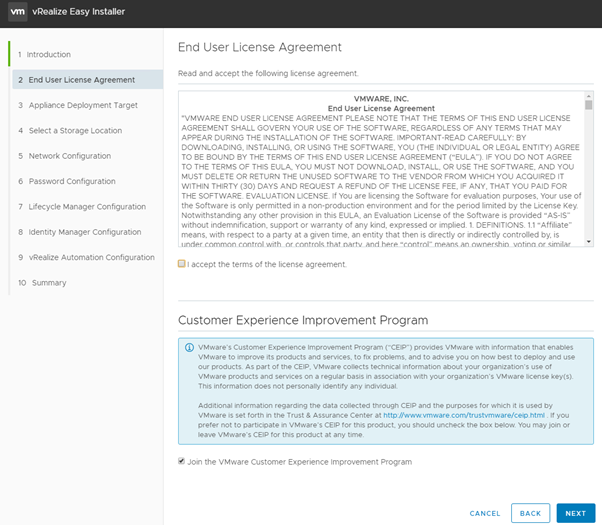
Step 3: The customary CEIP 🙂 Feel free to opt out!
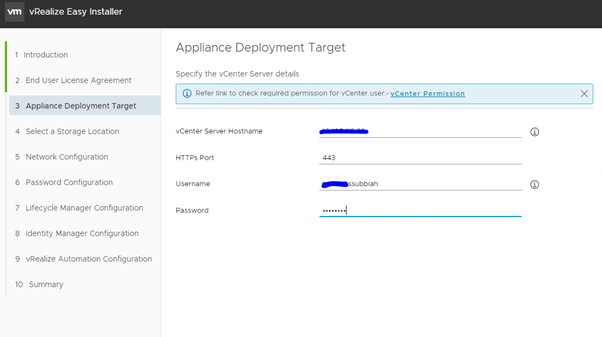
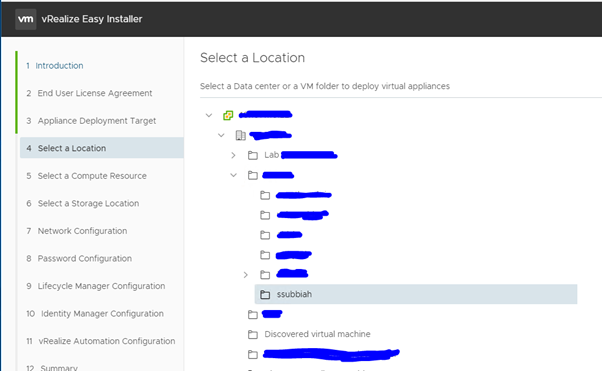
Step 4: Specify the deployment target and click “Next” – the vCenter details where these appliances must be deployed
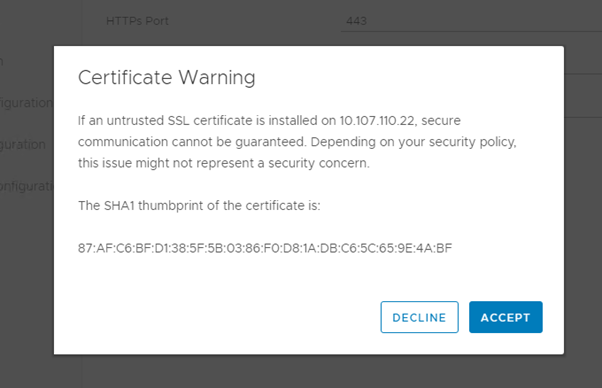
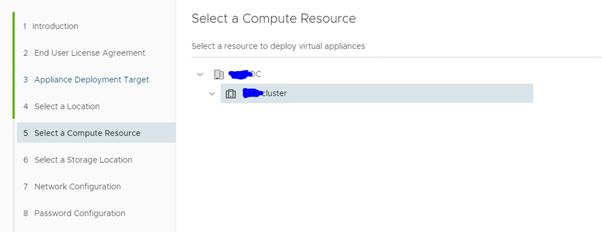
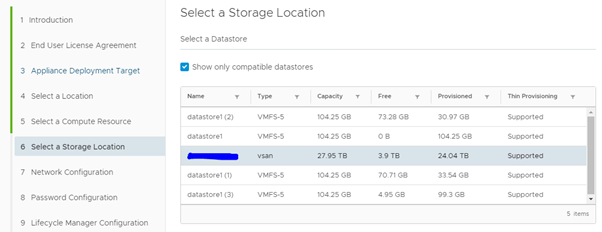
Step 5: Accept SSL thumbprint of the vCenter –> Choose the deployment resources (cluster/folder/storage) and click “Next”
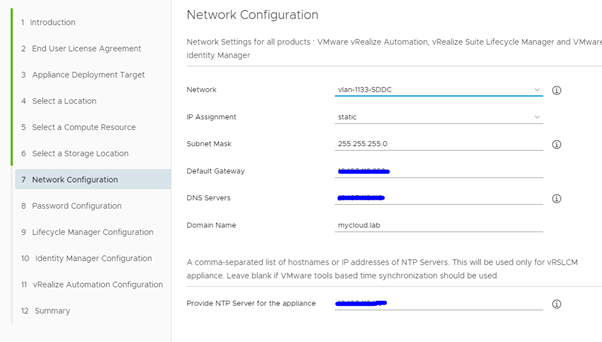
Step 6: Specify the management network details that all the 3 appliances would be using and click “Next”
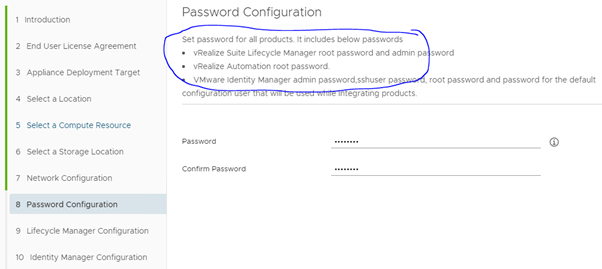
Step 7: Set password for all products at once and click “Next”
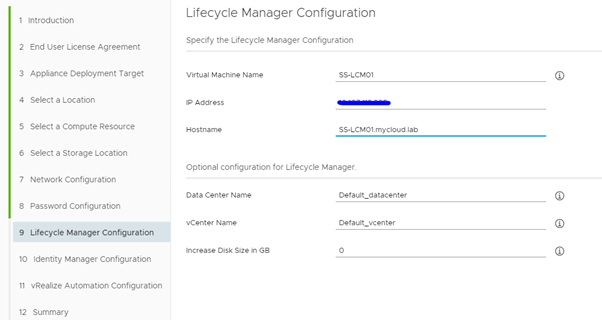
Step 8: As vRLCM would be the first appliance to be deployed, you are required to key in details relevant to vRLCM and then IDM and vRA at last. Once the relevant information is populated, click “Next”
Step 9: At this point, you can choose to skip the IDM installation and import an existing one or deploy a customized IDM through vRLCM later. The wizard will let you deploy an IDM using the standard deployment.

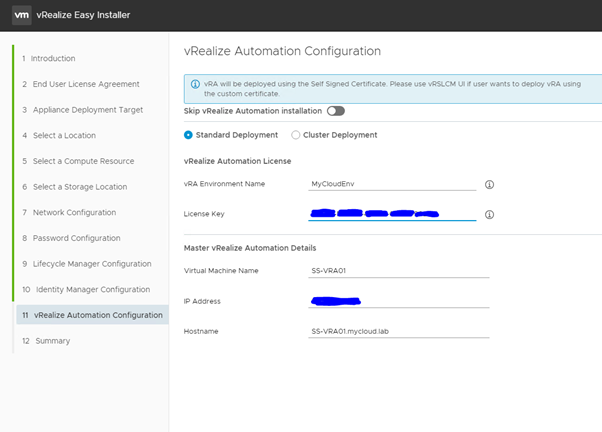
Step 10: And now, you specify, if you would like to deploy vRA appliances using standard or cluster deployment methods, the difference being, high availability. Choosing cluster deployment would allow deploying master and the worker nodes at once. Considering the resource crunch here, I have opted to use standard deployment, which would be a single node vRA. If you choose to use cluster deployment, make sure to check if all pre-requisites(Load Balancer/Resolvable LB FQDN) are met. You also create a default environment along with the vRA license at this stage. Fill in all relevant information and click “Next”. Review the provided information at the Summary page and click “Finish”
And there it is.. Your automation piece is ready with 10 clicks. Of course, not production ready 🙂 Lots of work before we get there!
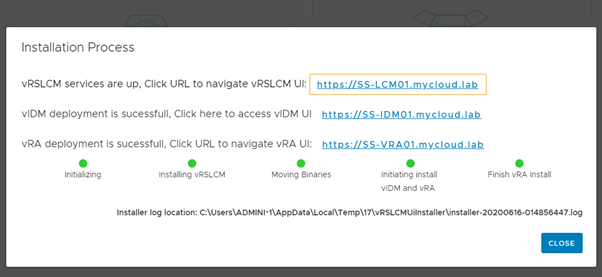
By now, your installation must have begun and you should be seeing the following messages on your screen.
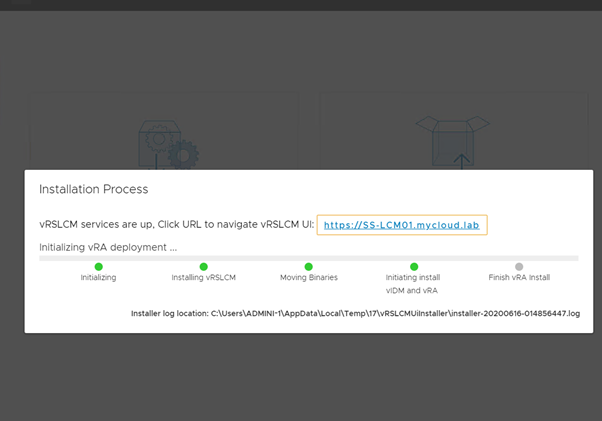
This should roughly take about half an hour to complete the entire process and upon completion you will see something similar to the below screenshot.
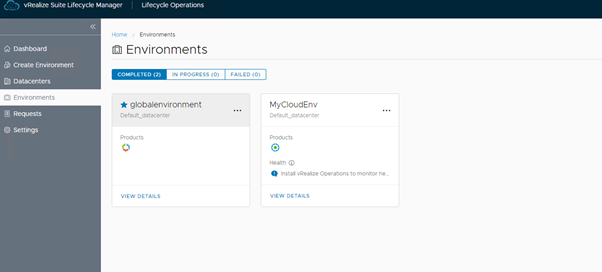
Life Cycle Manager:
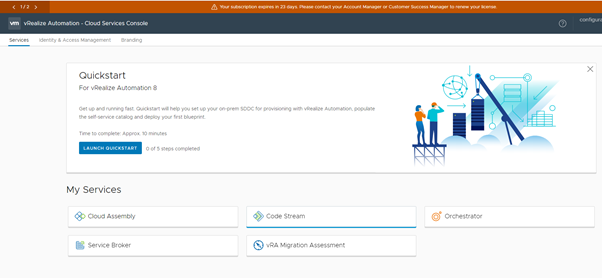
Upon login to vRLCM, you should be able to see the environments you just created during installation. More about LCM in the coming blogs! Stay tuned.
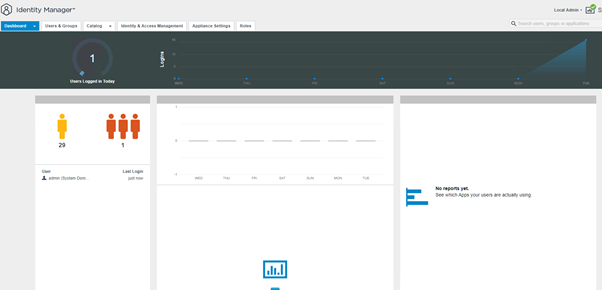
Identity Manager:
Before you can start using your cloud management portal, you will have to login to the IDM appliance as the local admin to add your Active Directory for Authentication.
vRealize Automation:
For the first login, you will have to use the configuration admin user that was setup during installation.
Once you login you should be able to play around with the cloud assembly to create your projects, blueprints, resources all at ease. The UI has improved a lot and should comfort you better than the earlier versions.
I will write more about “Quick start” deployment in the coming weeks. Also, if you have a choice of something that you would like me to write about, please leave a comment or drop a message. Until then, have fun setting up your automation piece!
Hi Saravanan,
Thanks for sharing this blog, but I have a question with regards to the VMware approach with the vRA 8 release.
Based on my experience with vRA 8, although I can’t agree more with the ease of setting up the infrastructure with this version.
But the functionality expect takes a heavy toll as for an existing customer who is working with the earlier version of vRA, this version doesn’t provide an easy migration approach.
Considering all the customization and extensibility developed with vRO, in a way customers have to build the environment from scratch and that too with lesser functionality.
WDYT !!
Hey Abhishek,
Thanks for the comment.
At this point, VMware doesn’t have a migration tool/approach ready. But we should see something along these lines pretty soon. But you can leverage the migration assessment in vRA 8.x that will let you know which blueprint/resource (from 7.x) of yours should you modify after you setup 8.x!
And functionality wise, 8.x has better integrations than what the earlier versions had to offer. PKS is one such important offering!! I hope that answered your question.