Velero and vSphere – Part 2
As a follow up to my previous blog about setting up MinIO for Velero vSphere Operator, I would like to describe the process of installing the Velero vSphere Operator in this blog.
You can refer to the official documentation here.
Since we have already installed MinIO, we will now deploy the Data Manager using OVA. The OVA can be downloaded from https://vsphere-velero-datamgr.s3-us-west-1.amazonaws.com/datamgr-ob-17253392-photon-3-release-1.1.ova.
Follow the OVA deployment procedure to deploy the Data Manager but DO NOT POWER ON the VM yet. Once deployed, click on Edit Settings > VM Options and then select Advanced > Edit Configuration Parameters and configure the below values as shown in the screenshot.

- vcAddress – vCenter FQDN or IP Address
- vcPort – 443
- updateKubectl – DO NOT CHANGE THE DEFAULT VALUE
- veleroNamespace – The default value is velero. We will later create this namespace in the process of setting up velero vsphere plugin. If you use a different value, then the namespace needs to be created accordingly.
Leave the rest to the defaults and click OK to save the configuration and OK again to save the VM settings.
NOTE: DO NOT POWER ON THE DATA MANAGER UNTIL THE VELERO VSPHERE OPERATOR IS ENABLED.
Installing Velero vSphere Operator Service
Velero vSphere Operator is installed on the Supervisor Cluster as a Service using the following procedure.
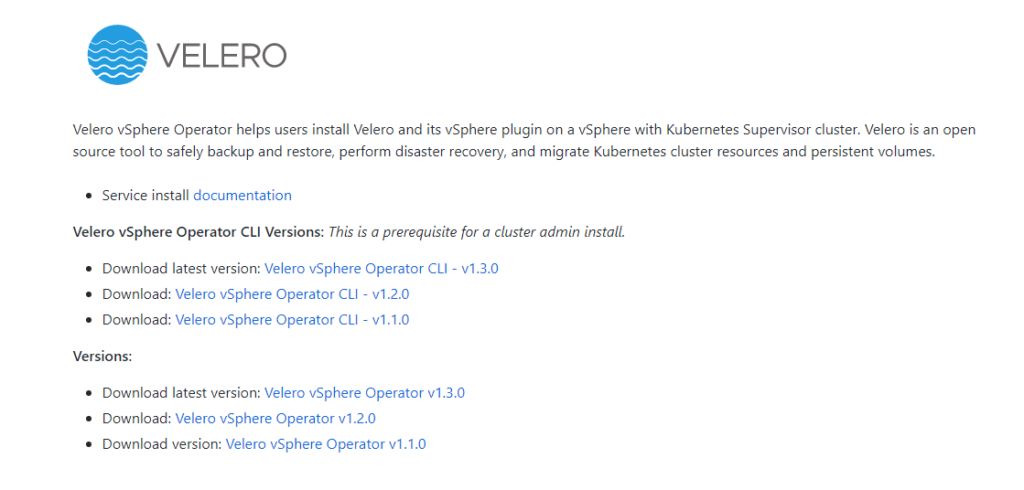
Step 1: Download the installation YAML from http://vmware.com/go/supervisor-service

You should refer to the Velero section as shown in the screenshot above. For vCenter Server 7.0 Update 3c, please use v1.1.0. When I used the other two versions, I started seeing weird error messages related to certs and permissions on the Services pane. But with v1.1.0, it worked just fine.
Step 2: Upload the YAML file to the Services pane, under Workload Management. Workload Management > Services > Add New Service > ADD and then drag and drop the downloaded YAML. Click Next to accept the license agreement and click Finish to complete the installation.

You should now see the following message appear: “Service ‘Velero vSphere Operator’ is successfully registered with <your vCenter>. You can now install the service on Supervisor Clusters’.
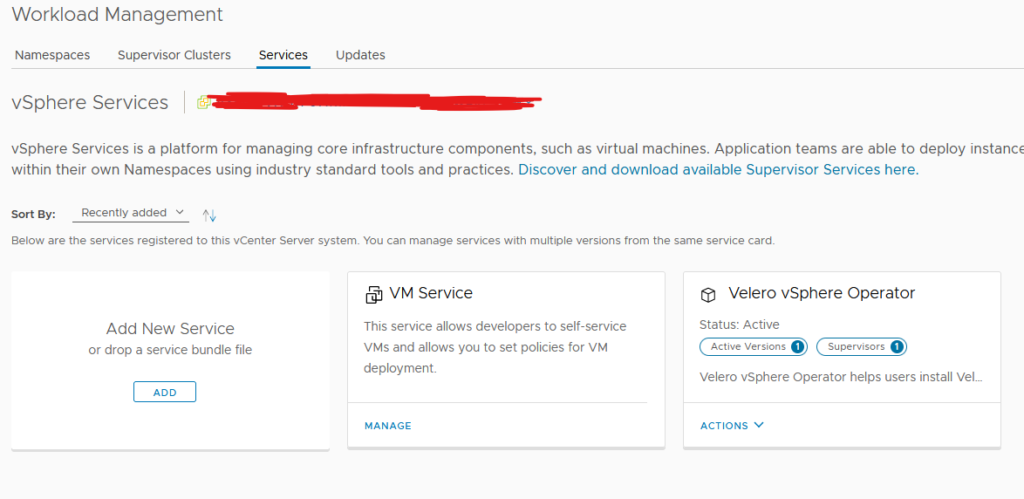
Step 3: Your services pane should now have a Velero vSphere Service appearing as shown in the screenshot below.

Under Actions, choose Install on Supervisors and choose the target Supervisor Cluster and version from the drop down relevant to the operator version that was installed. In my case, I chose 1.1.0 from the drop down. Leave rest of the fields to its default and click Next and then Finish to begin the installation.
Step 4: By now, the installation must have completed and you should see the status of the service to be Active and Supervisors reflecting as shown in the image below.

A new “svc-velero-vsphere-domain-xxx” namespace should have been created by now as well. You can now bring up your Data Manager by powering it on from the vCenter Inventory.
Step 5: Create a namespace named “velero” and grant relevant user permissions and assign relevant storage policy once created. Create the namespace using the New Namespace tab in the workload management as shown below.

That concludes this blog and the installation of Velero vSphere Operator. In the next blog in this series, we will dive in to the procedure of installing the vSphere Plugin for Velero.
Happy learning!

0 Comments