
Concourse 7.11.2 – Installation Series – Part 1
Concourse is an open source CI/CD tool that helps you automate and efficiently operate an enterprise environment. As defined in the concourse org page, it’s simple approach makes it great for continuous integration and delivery.
While this is a open-source tool, Concourse for VMware Tanzu is a variant that is distributed through the Tanzu Network and is officially supported by Broadcom.
In a series of blogs, I intend to cover the installation procedures in an internet based and air-gapped environments followed by the colocated deployment model.
In this article, we will look into the installation procedure of the latest version of concourse in an environment that has access to github.com.
Pre-requisites
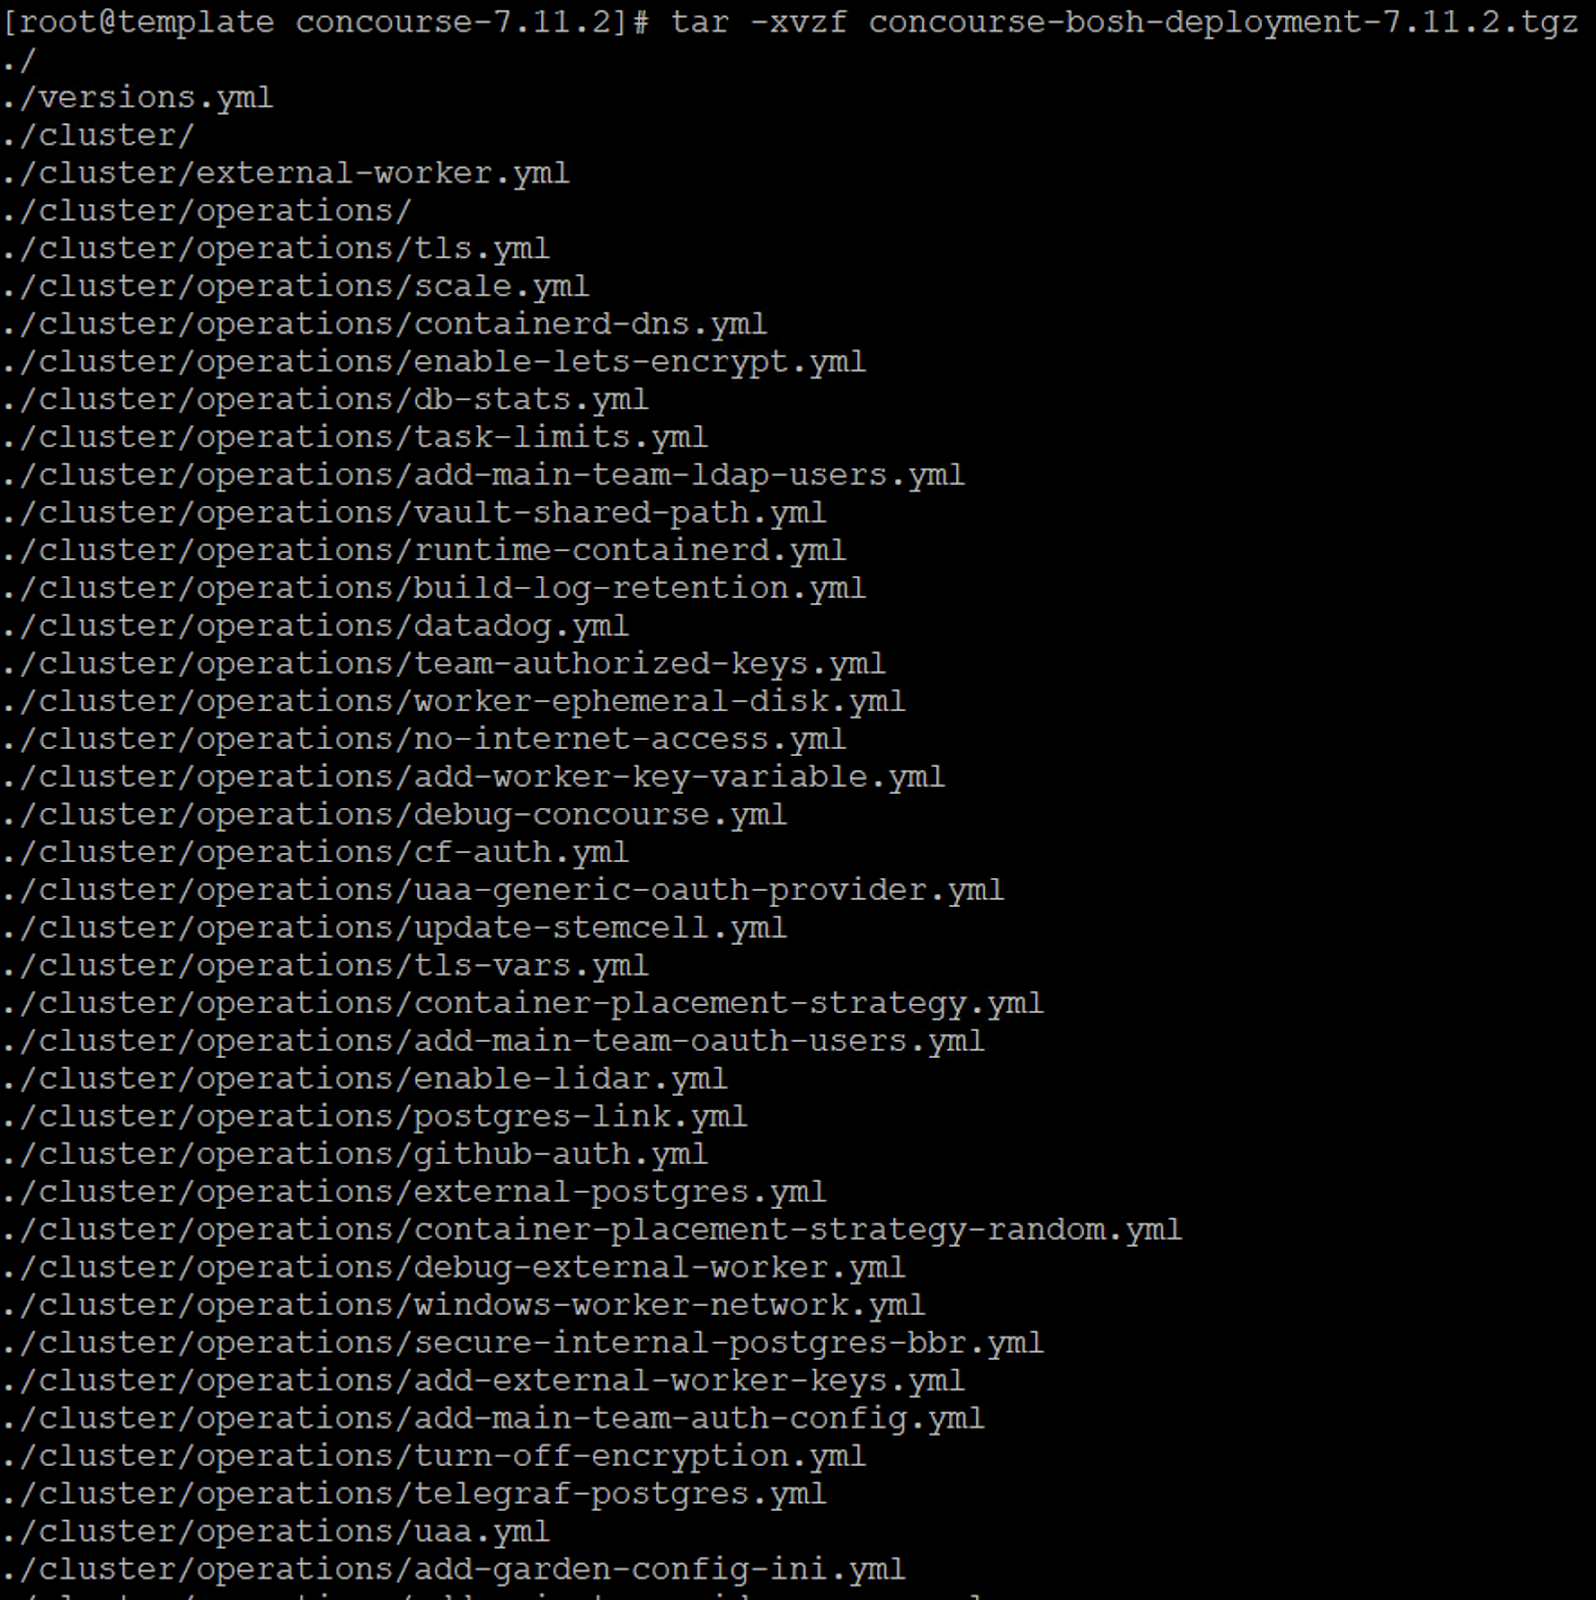
- Download the deployment manifest either from Tanzu Network UI or through Pivnet CLI and extract it into a folder as shown in the screenshots below
- Running instances of OpsManager and BOSH Director (or open source BOSH directory if you would like just the open source installation)
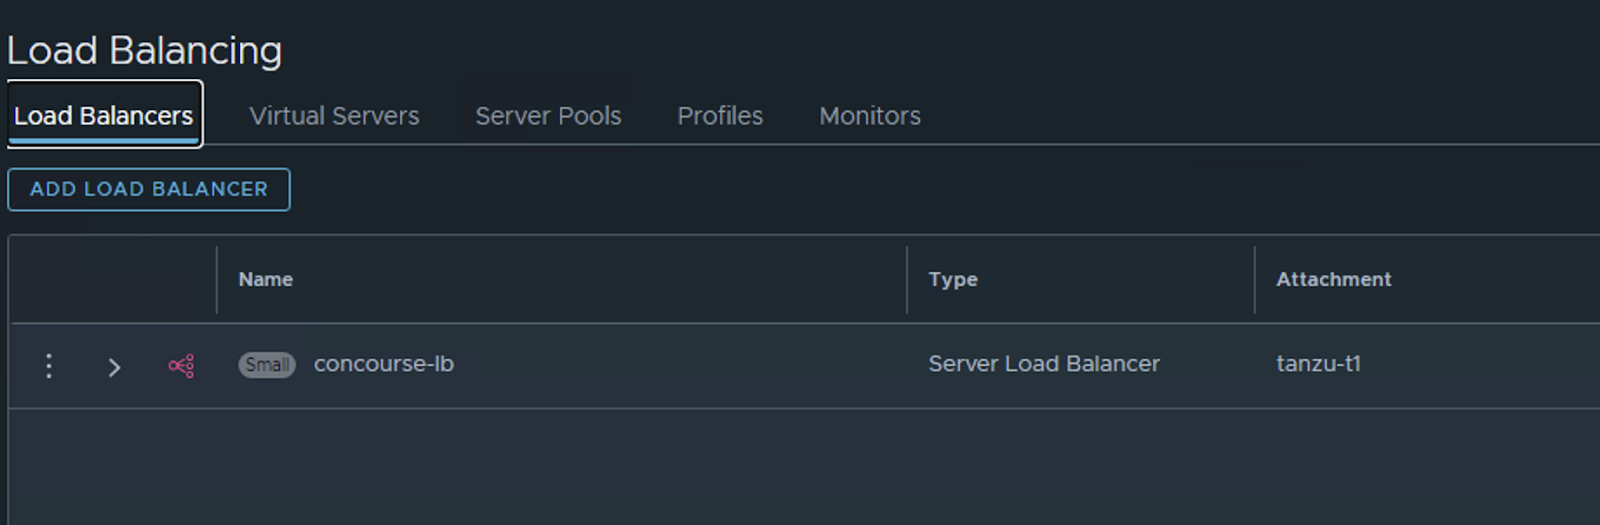
- A virtual server configured for the concourse URL (in my case, a NSX-T LB)
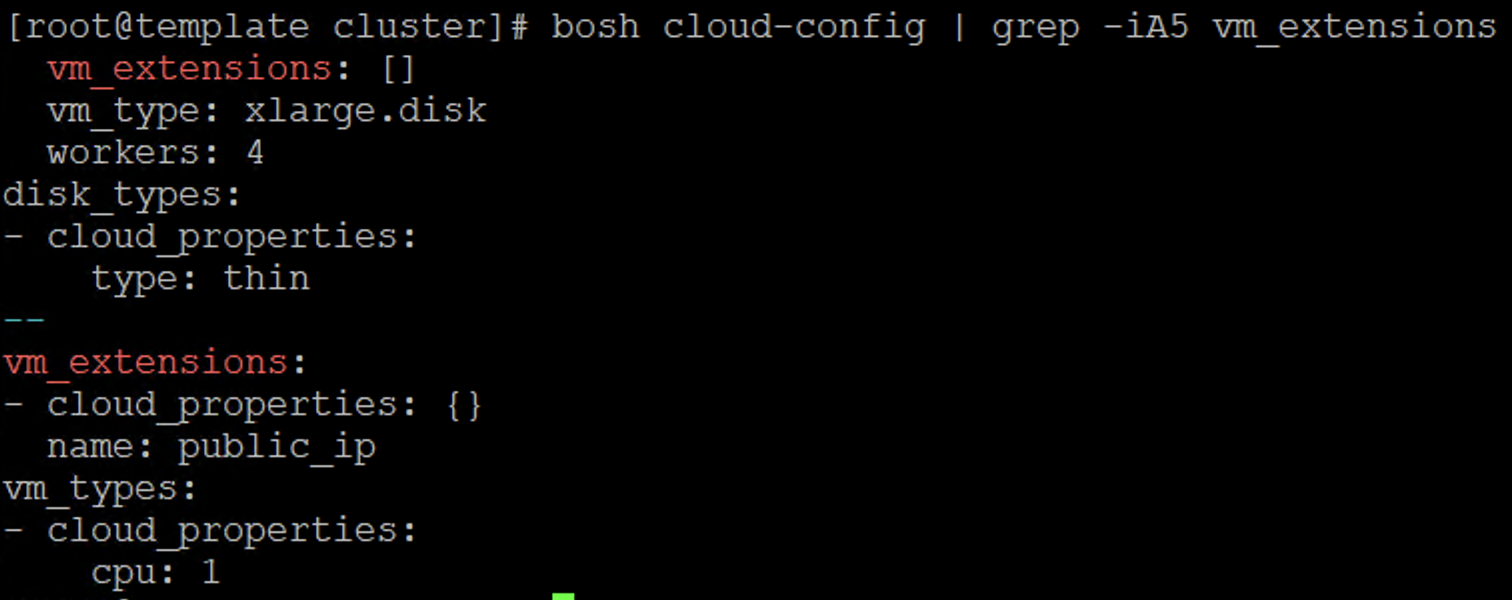
- Update BOSH cloud-config using the procedure outlined below
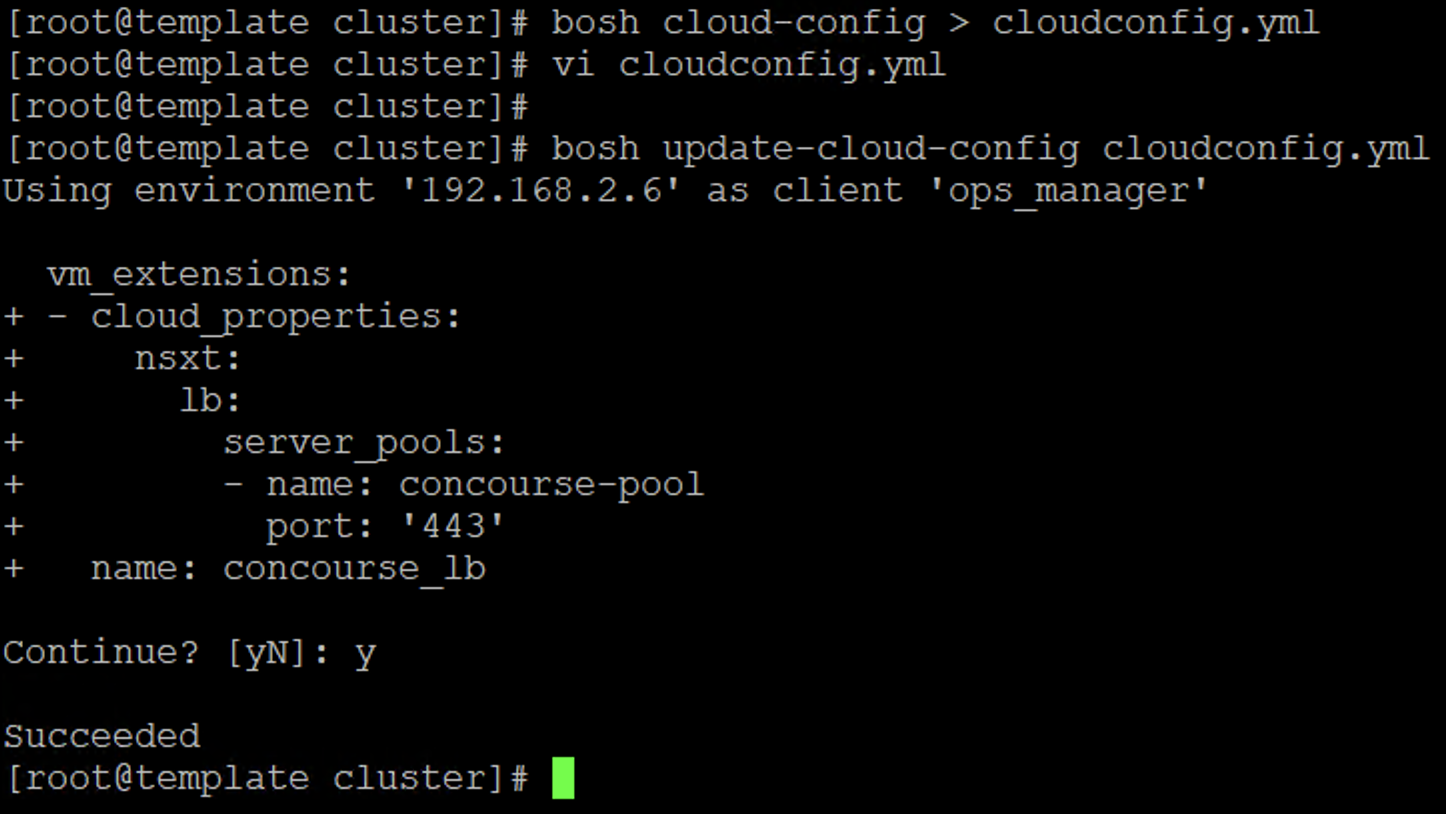
Add the following content above the line that says “cloud_properties:{}”, after saving the cloud-config to a yml file (cloudconfig.yml) and update the bosh director using the “bosh update-cloud-config” command as shown in the screenshot below.
– cloud_properties:
nsxt:
lb:
server_pools:
– name: concourse-pool
port: “443”
name: concourse_lb


Procedure
Create a variables file with the following content that we will use while deploying the concourse instance. Replace the highlighted values with equivalent values from your deployment. You can retrieve most of these values from the cloud config file that you generated above.
deployment_name: concourse
azs: [AZ-1]
network_name: infrastructure
web_vm_type: small.disk
db_vm_type: small
worker_vm_type: small.disk
db_persistent_disk_type: "10240"
external_url: https://concourse.********
external_host: 192.168.3.2
web_instances: 1
worker_instances: 2
local_user:
  username: admin
  password: "VMware1!"
web_network_vm_extension: concourse_lb
web_network_name: infrastructure
You can replace values for “azs”, “network_name” and “web_network_name” from the tile configuration or from the cloud config file. In my case, all my concourse VMs will be deployed to the same network, hence the network name “infrastructure” for both the network fields.
The “web_network_vm_extension” property defines the pool that the web VM will be placed under. This is the name of vm_extension that we updated using bosh update-cloud-config above and not the NSX-T LB pool name.
We will create the variables.yml in the “cluster” directory of the folder where we extracted the entire manifest. After creating the variables file, we are good to run the deployment using “bosh deploy”
bosh deploy --deployment concourse concourse.yml -l ../versions.yml -l variables.yml -o operations/basic-auth.yml -o operations/privileged-http.yml -o operations/privileged-https.yml -o operations/tls.yml -o operations/tls-vars.yml -o operations/web-network-extension.yml -o operations/scale.yml --vars-store cluster-creds.yml -o operations/secure-internal-postgres.ymlThat should have initiated the deployment and BOSH director would now attempt to pull the releases from github.com and if there are no issues with connectivity, the deployment should go through. When prompted, type ‘y’ to proceed.
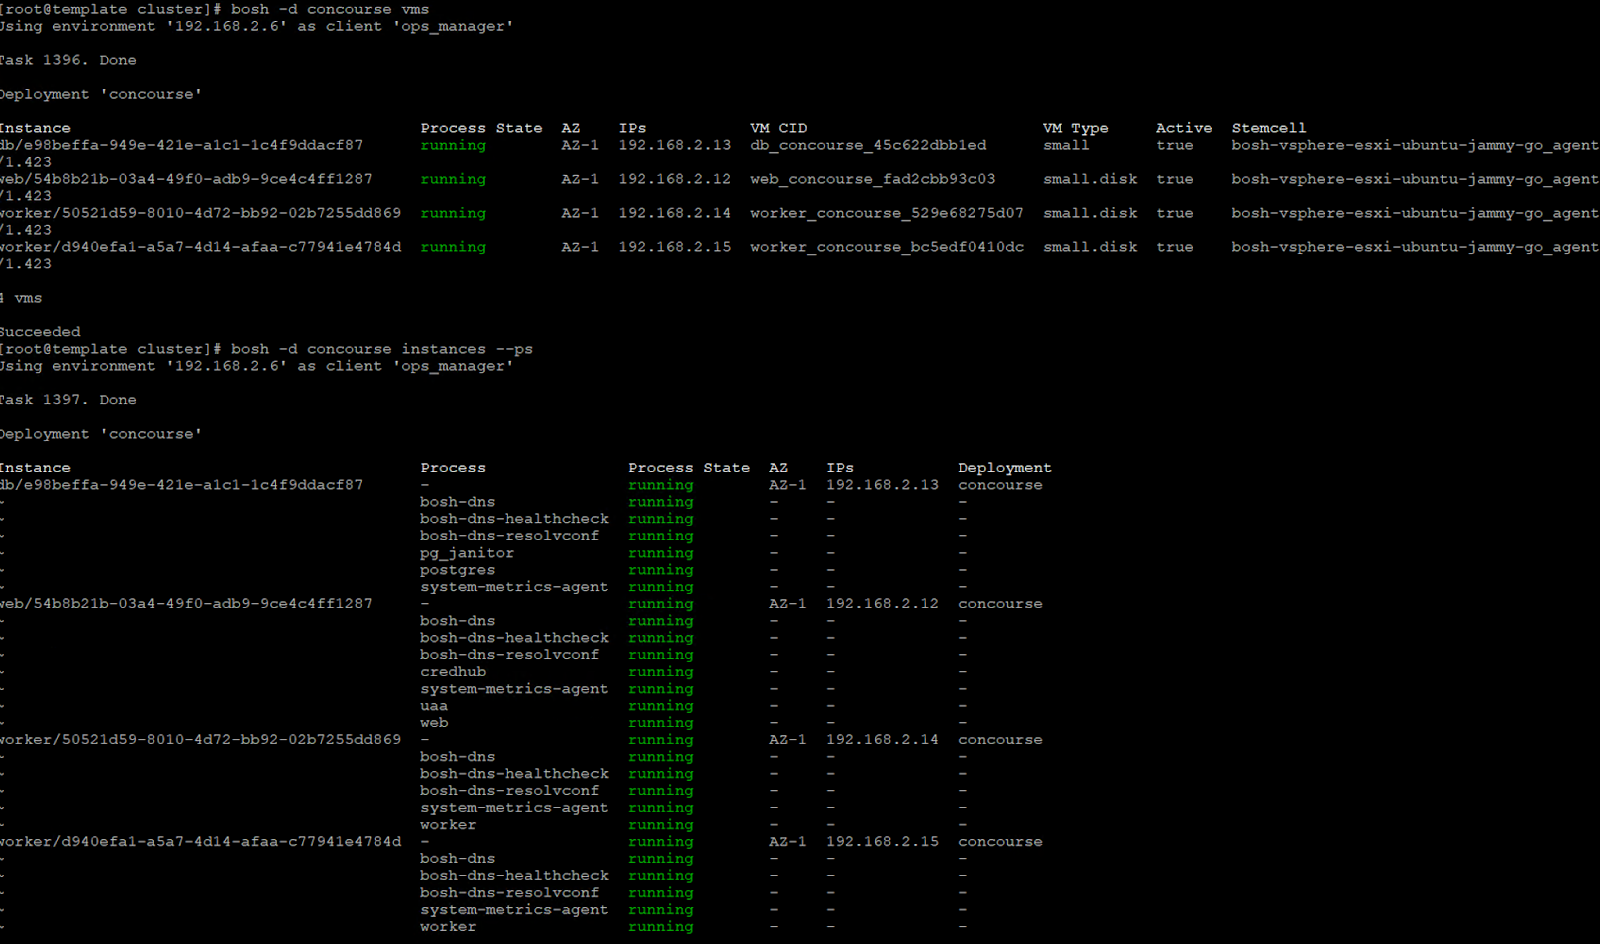
Once the task is completed, we should see 2 worker VMs, 1 web VM and 1 DB VM deployed and running.
Once the VMs are deployed, the BOSH Director will add the web VM into the concourse-lb pool.
Hence when you hit the external host URL/IP defined in the varibles.yml file, you should see the concourse page as shown below.
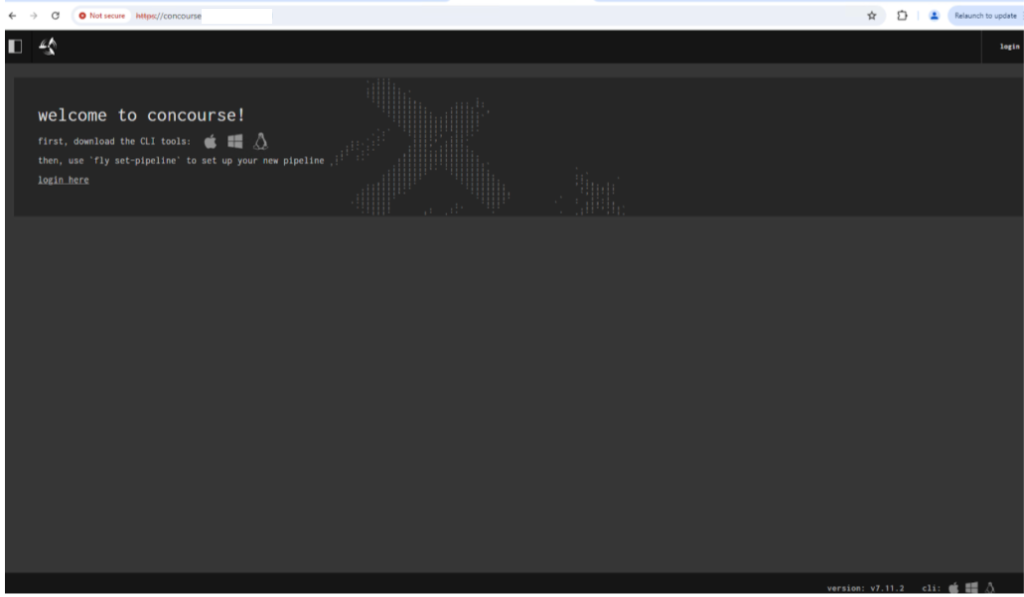
You can now login with the “admin/VMware1!” credentials that we defined in the variables file and confirm things are working!
In the next article, I will cover the installation in an air-gapped environment. Happy learning!
0 Comments