
Setting up your private Image repository!
I previously wrote about setting up a kubernetes cluster here and about how to further add nodes to that cluster here. As a follow up to this series of blogs, I would like to demonstrate setting up a private image repository here.
Pre-requisites:
- Pre-installed docker client on any linux variant
- SSL Certs of the node where you intend to setup a private repository
- OpenSSL, in case you decide to use self-signed certs (only recommended for test/dev purposes)
Setting up a local registry:
As the name suggests, local registry is only local to the server that it runs on. While I could not think of a demanding use case to setup a local repository in a production environment, this is an important step towards understanding the need for SSL certs while making the repository available to the entire cluster.
This repository will run as a container and is pretty easy to deploy. “registry” is the name of the pre-defined image by docker that we will use to setup the repository.
I am going to set up this registry on the master node of my K8s cluster for the sake of this lab.
docker run -d -p 5000:5000 --restart=always --name mycloud-registry registry:2
As you can see from the screenshot above, the specified image version 2 of “registry” is not found locally and hence by default, it reaches out to the docker’s public image repository to deploy the container. When i run “docker ps -a” i would be able to see a container with the name specified during creation, which in my case is “mycloud-registry“.
And now, you have a local repository.. But what do you do with it? There aren’t any images here. Let us now try to pull another image from the docker hub and push it to this local repo.
Docker Image Pull/Push:
The following steps would now be performed to demonstrate the use of this local repository.
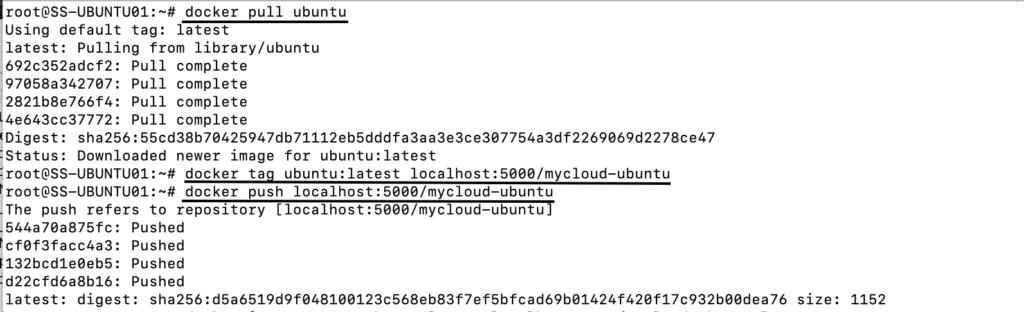
- Pull an image from the public docker repo – I am going to pull the latest ubuntu image here.
- Tag the image and push it to the local repo – I will push it to the local repo as mycloud-ubuntu.
- Remove the downloaded image
- Access the local repo from another node in the network – Will it succeed? Keep guessing.
I have used “docker image remove ubuntu:latest” to delete the local copy of the image. And now, the last part of it and the most important one. I am gonna access the repo from the another node in the network. Have you guessed what would be the response? 🙂

Like always, i thought DNS was the culprit. But this time, to my surprise it was the certs! Now you know why setting up a local repository doesn’t sound that great. What’s the point of having a repository, if your other nodes within the same network can’t access it! Alright, now would you like to know how to make this repo accessible to the network? Keep scrolling. 🙂
Externally accessible repository:
To make this possible, I am gonna first generate my self-signed certs. Again, this is recommended only for test/dev environments. Optionally, if you have already obtained a certificate from a certificate authority, please follow this link to setup your repository.
1. Create a “certs” directory
mkdir -p certs2. Generate a “SSL cert”
openssl req -newkey rsa:4096 -nodes -sha256 -keyout /root/certs/domain.key -x509 -days 365 -out /root/certs/domain.crt
3. To inform every docker host/daemon to trust the self-signed cert.
Note: Create the certs.d directory under docker directory if they don’t exist already.
cp /root/certs/domain.crt /etc/docker/certs.d/ss-ubuntu01.mycloud.lab:5000/ca.crt
systemctl restart docker
4. (Optional) Certain versions of docker also expects the certificate to be trusted at the OS level.
If you don’t face any issues accessing the repository after setting it up with just the above 3 steps, this isn’t required. But if you still see cert issues popping up, this is a starter!
cp /root/certs/domain.crt /usr/local/share/ca-certificates/ss-ubuntu01.mycloud.lab.com.crt
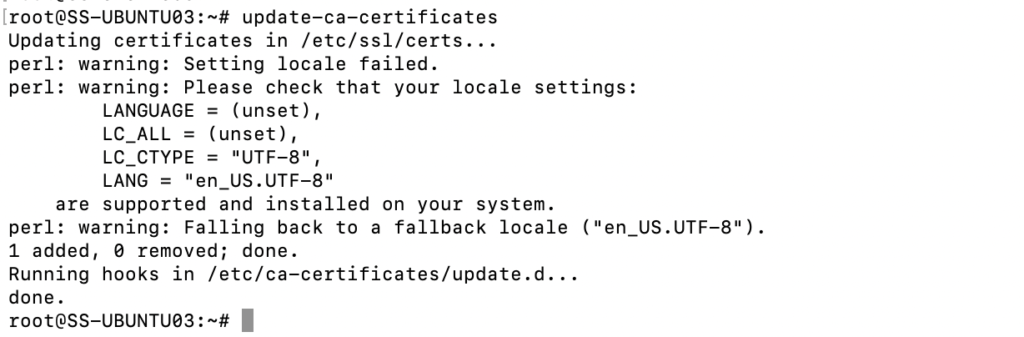
update-ca-certificatesAfter copying the certs to node03 using SCP, I did an update cert and this is how it looked. You must do it on all nodes you intend to access the repo from.
5. Create the registry with the certs that were just created.
docker run -d --restart=always --name mycloud-private-registry -v "$(pwd)"/certs:/certs -e REGISTRY_HTTP_ADDR=0.0.0.0:443 -e REGISTRY_HTTP_TLS_CERTIFICATE=/certs/domain.crt -e REGISTRY_HTTP_TLS_KEY=/certs/domain.key -p 443:443 registry:2
As you can see from the screenshot, I still have my previous instance of local repository running. I have created an additional HTTPS repository named “mycloud-private-registry” using the certs that we just created.
Consuming the repository:
I will now pull a “mongo db” image and push it to the private repository and consume it from another node.
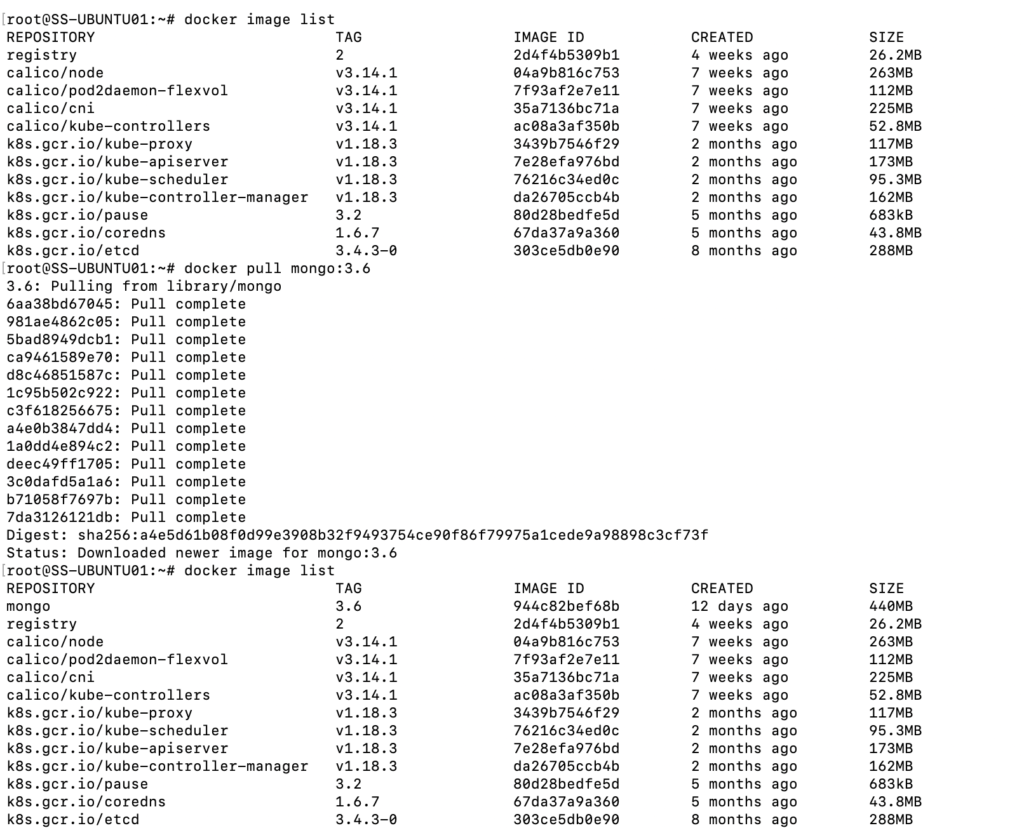
1. Pull version 3.6 of mongo from the docker hub on to the node hosting the registry.
docker pull mongo:3.62. Tag the image and push it to the previously created “mycloud-private-registry”
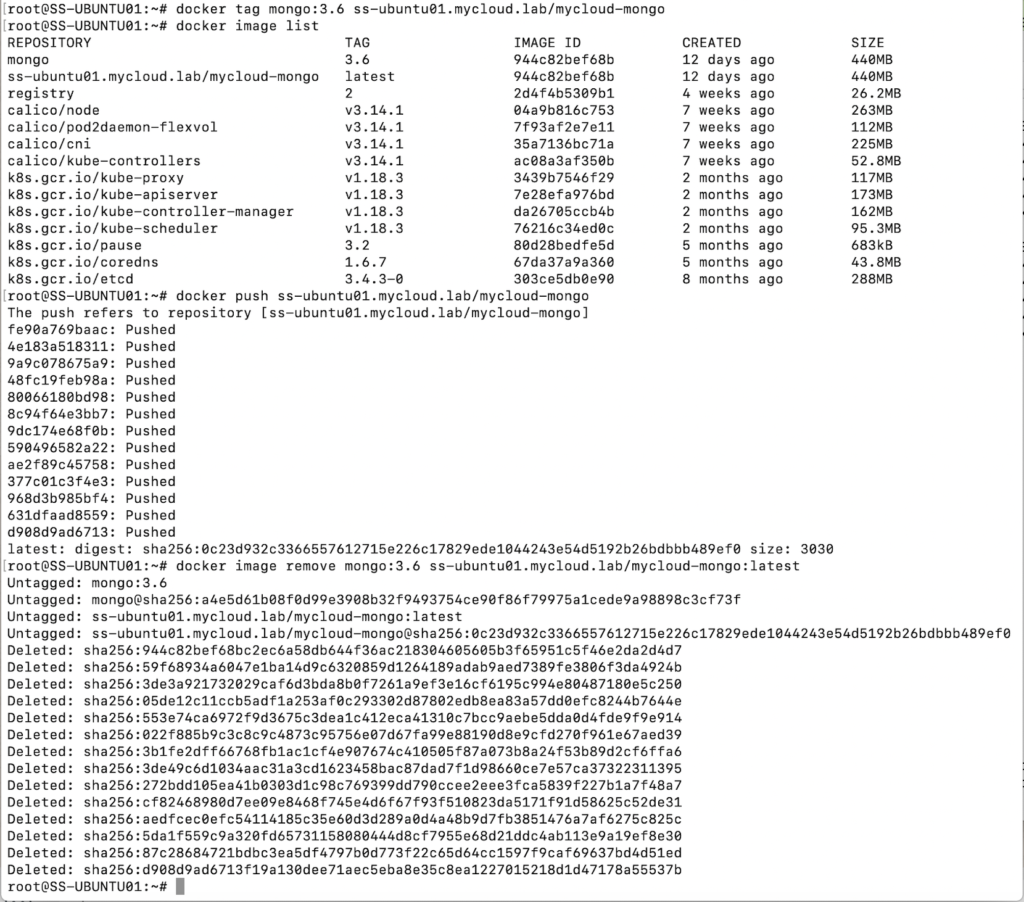
docker tag mongo:3.6 ss-ubuntu01.mycloud.lab/mycloud-mongo
docker push ss-ubuntu01.mycloud.lab/mycloud-mongo3. Delete the local copies of the images on the node so that only the copy on the repo remains.
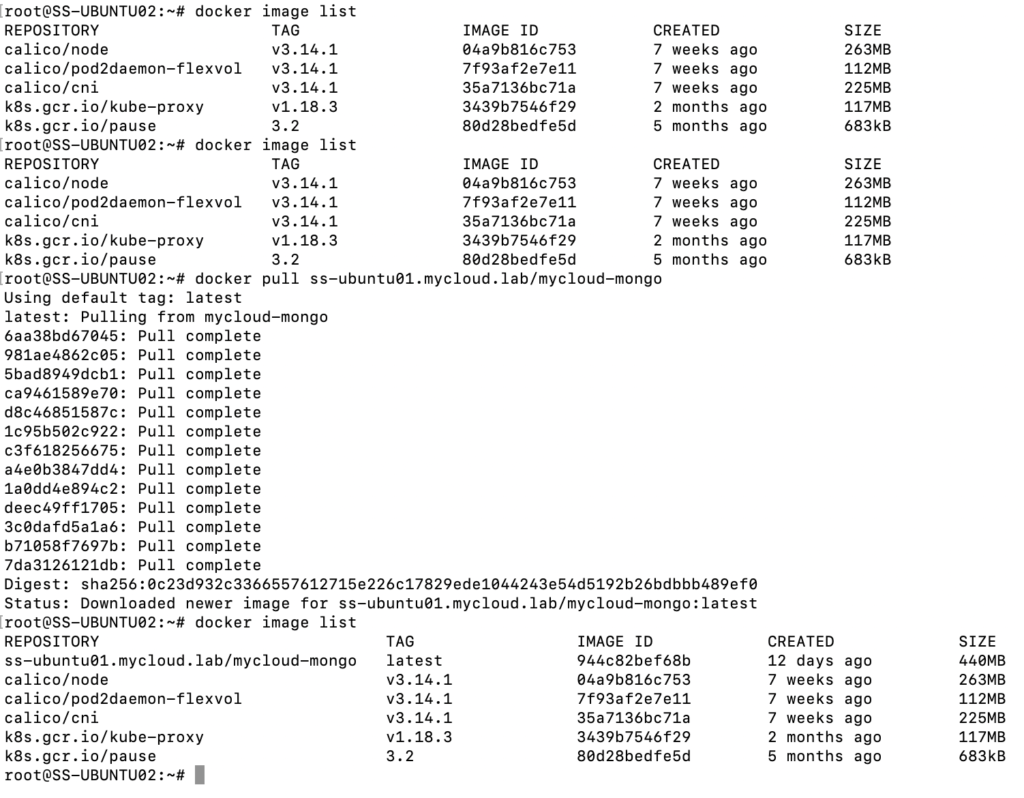
docker image remove mongo:3.6 ss-ubuntu01.mycloud.lab/mycloud-mongo:latest4. Login to a different node that has HTTPS access allowed to the node where the registry is hosted and execute the below command. This time it should be successful 🙂 I am gonna use the same node that i used earlier.
docker pull ss-ubuntu01.mycloud.lab/mycloud-mongoRunning this command should now initiate a HTTPS connection to the node and look for the repository to download the image. A snippet of how it is done is what follows.
And that’s how you roll 🙂 I hope you found this information useful. Now that the image repository is set up, I will write about consuming these images to create a deployment and more about Kubernetes in the upcoming blogs!
Leave a comment, if you would want me to write about something in particular. Happy learning!
0 Comments