
CCI – Provision a TKG cluster
In my previous article, I described the process of enabling the Cloud Consumption Interface or CCI which enables you to deploy TKG workloads to a Supervisor Cluster via UI. Here, I will walk through the steps involved in using the UI to provision a cluster using the default and custom configuration.
Provisioning a cluster through Default Configuration
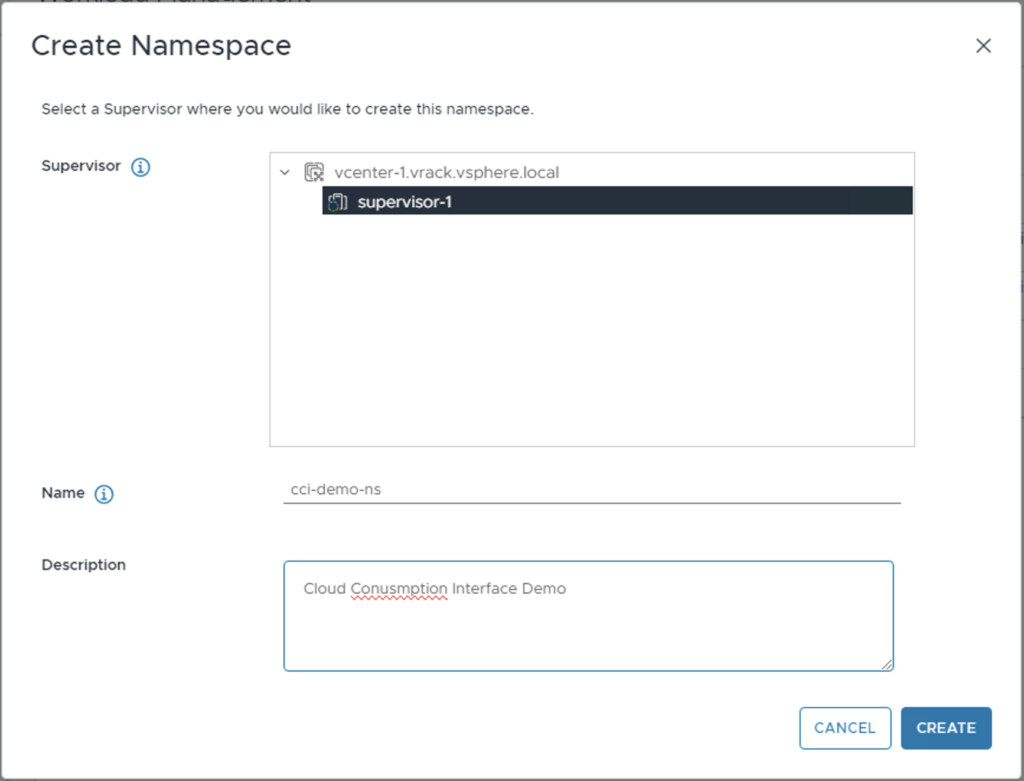
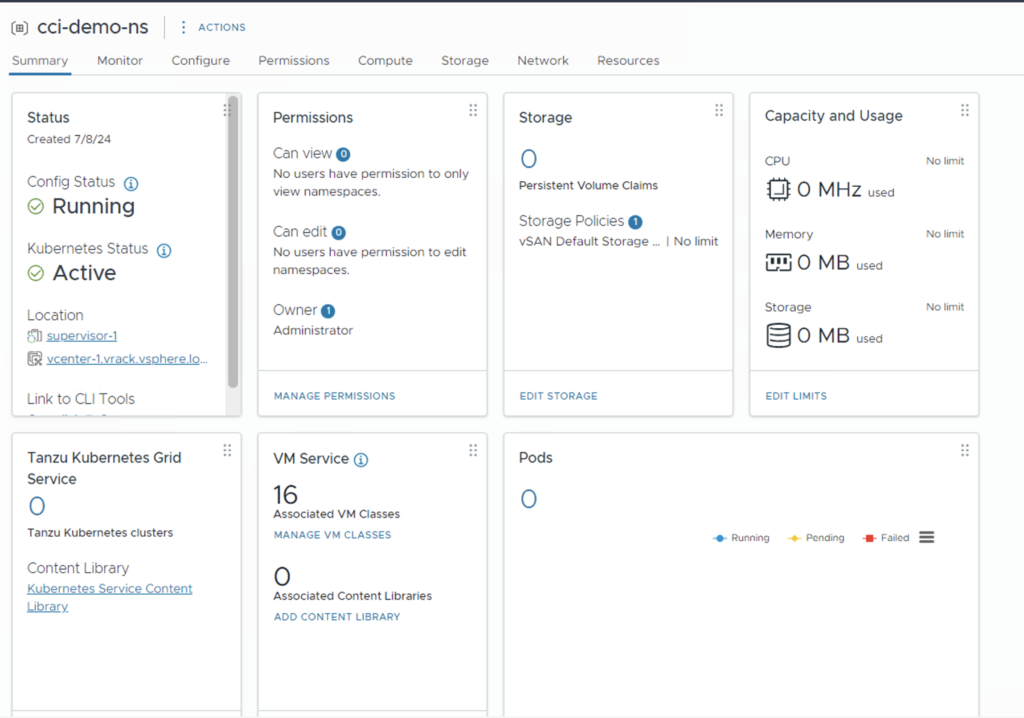
For the purpose of this demo, we will create a new namespace called “cci-demo-ns”.
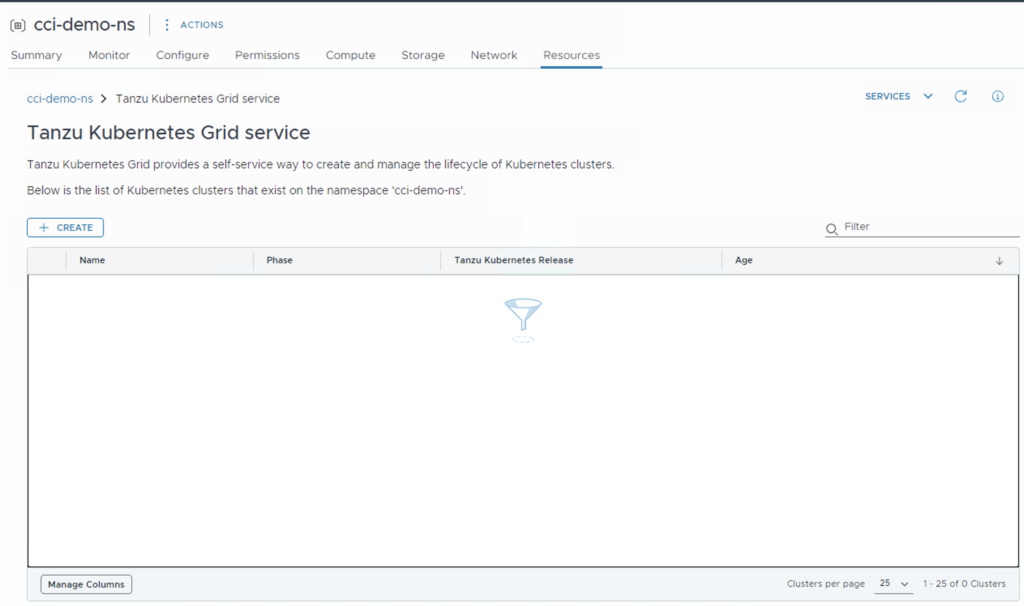
Navigate to “Resources → Tanzu Kubernetes Grid → Open“.
Click on Create and proceed to the review and confirm section by clicking on the Next button.
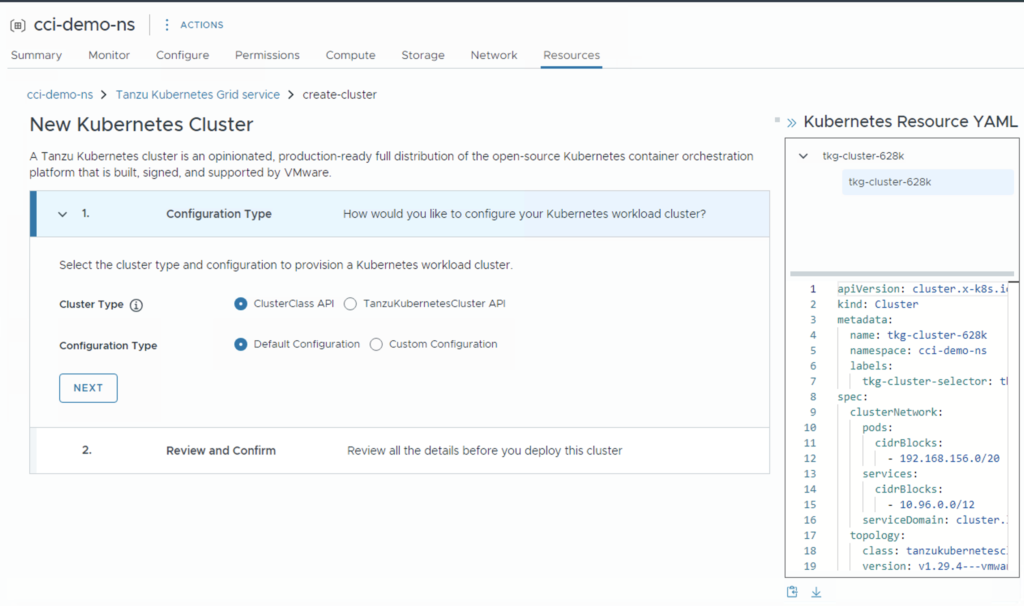
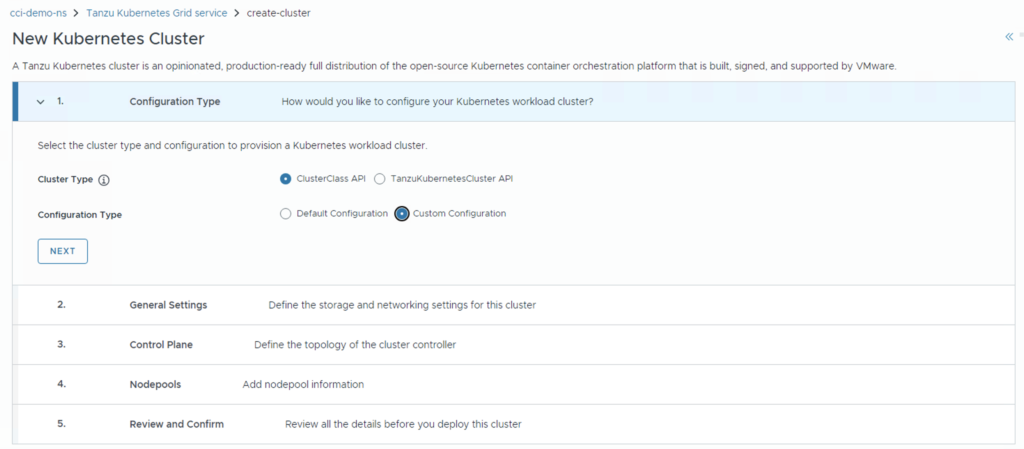
The difference between using ClusterClass API and TanzuKubernetesClusterAPI is that the former creates an object of kind “Cluster” in the Supervisor cluster as opposed to a “tanzukubernetescluster” with the latter. IMO, cluster management using Tanzu CLI is much better with the Cluster kind.
As you can see, a YAML resource file is auto populated with the defaults. This file is read-only and cannot be edited unless you choose “Custom Configuration” for the Configuration Type field.
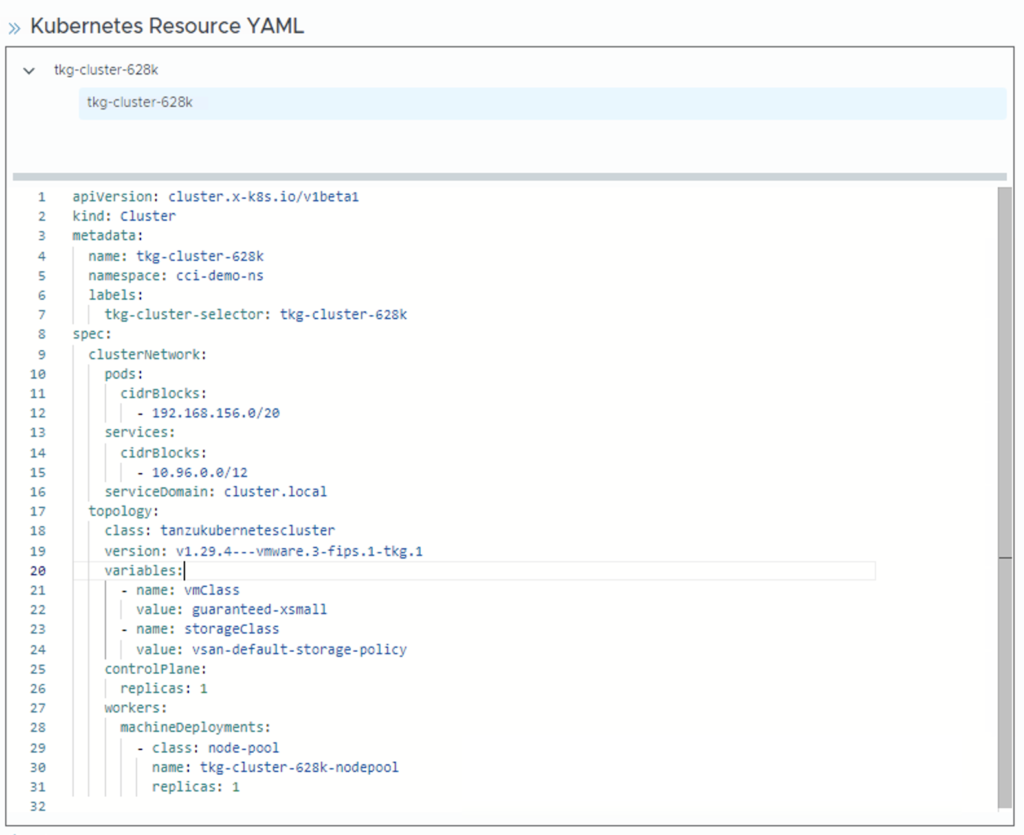
Click on Finish at the Review screen. As you can see, the default configuration is to deploy a cluster with 1 CP node and 1 worker node of guaranteed-xsmall VM Class.

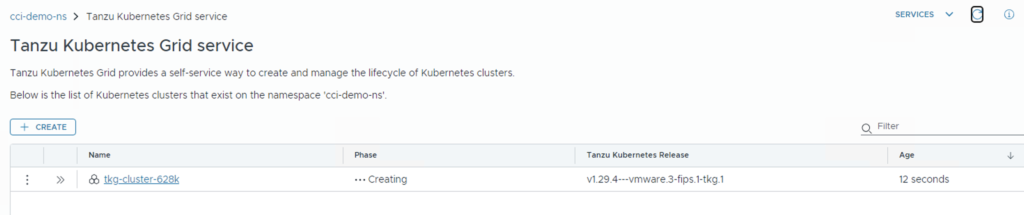
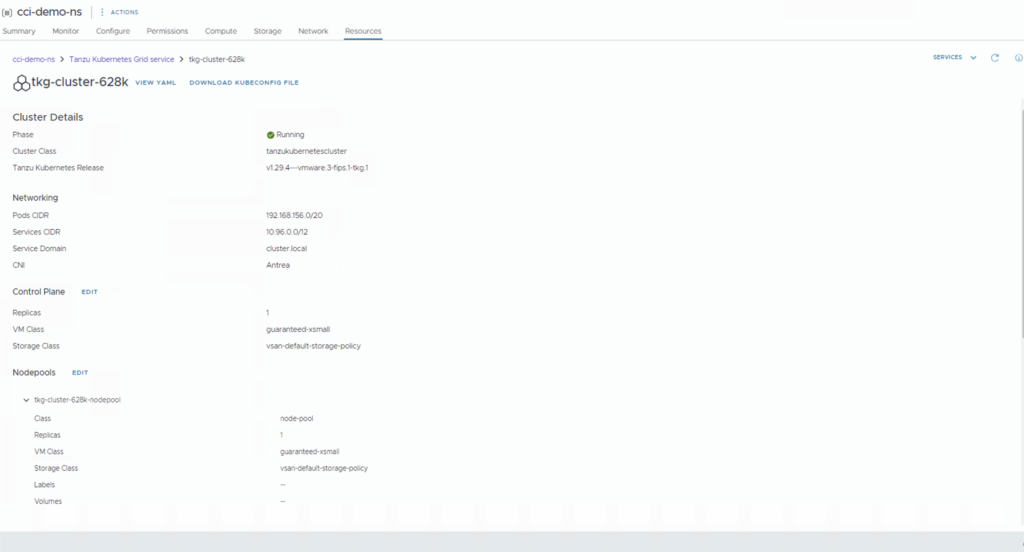
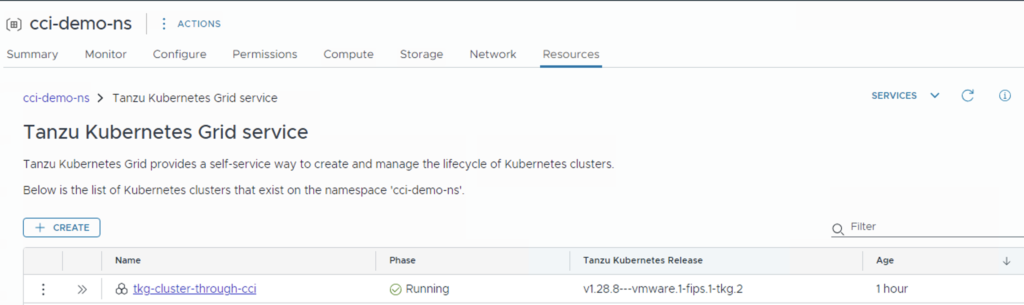
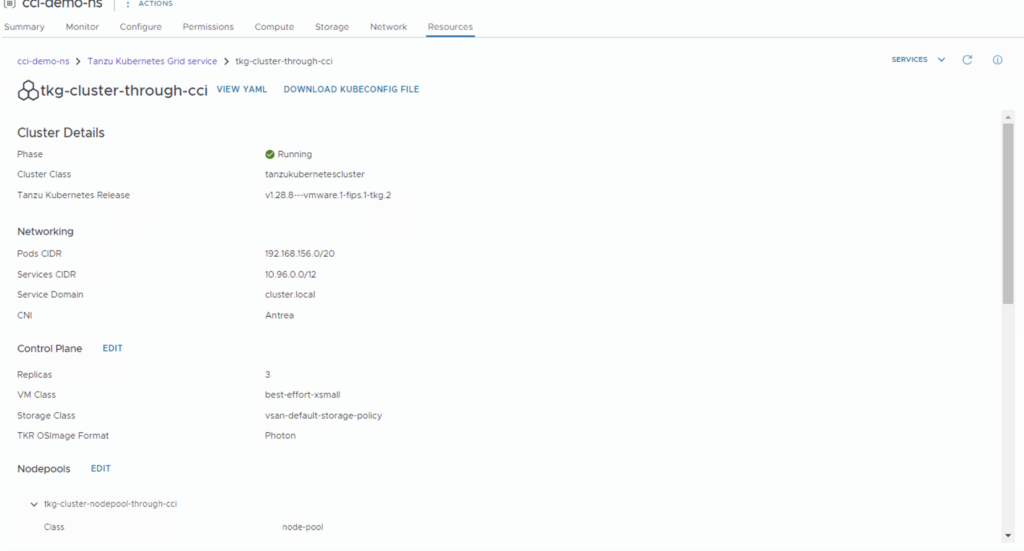
You should now see the status of the cluster set to Creating. Once the deployment is complete, it should change to Running and you can find the details related to the cluster by clicking on the cluster name. This is where you can download the Kubeconfig file associated with the cluster as well.


Provisioning a cluster through Custom Configuration
Selecting custom configuration for the Configuration Type field should enable the following sections for you to customise the deployment, thereby updating the resource yaml.
Alongside updating fields like cluster name and replicas of the nodes, you can also choose the TKR version that you prefer to use. The drop down lists only the supervisor compatible versions of TKC. Choose Next and proceed.

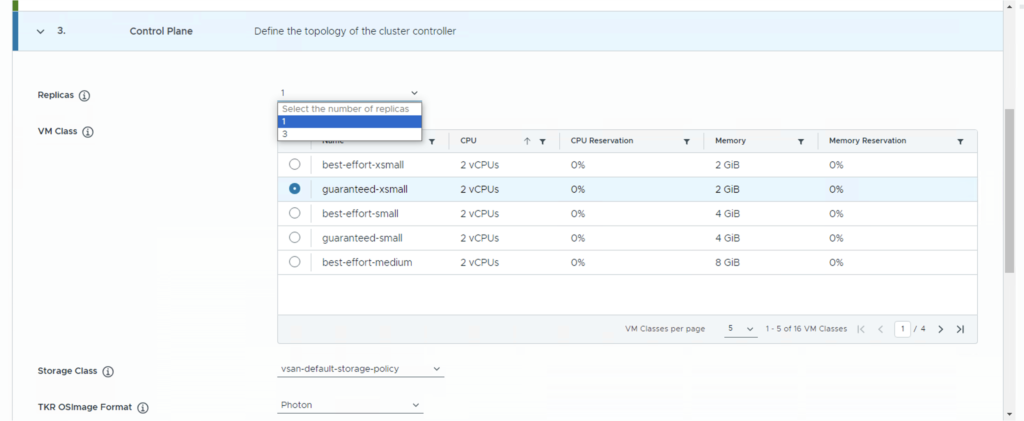
In the control plane section, we will tweak the number of (control plane) replicas and change the sizing to best-effort. You can also switch between Photon and Ubuntu for the nodes’ OS. Click next and proceed to the Nodepool section.
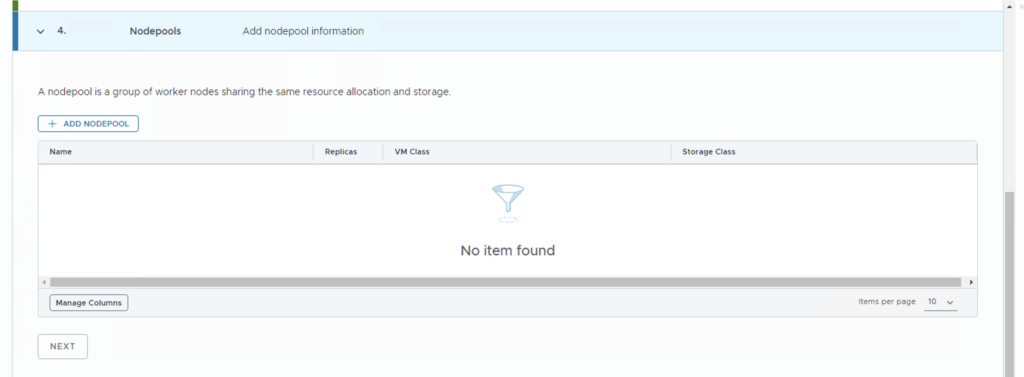
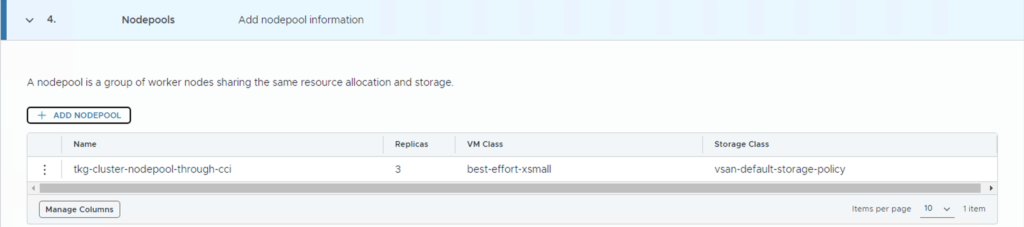
Click Add nodepool to customise the worker node’s configuration.
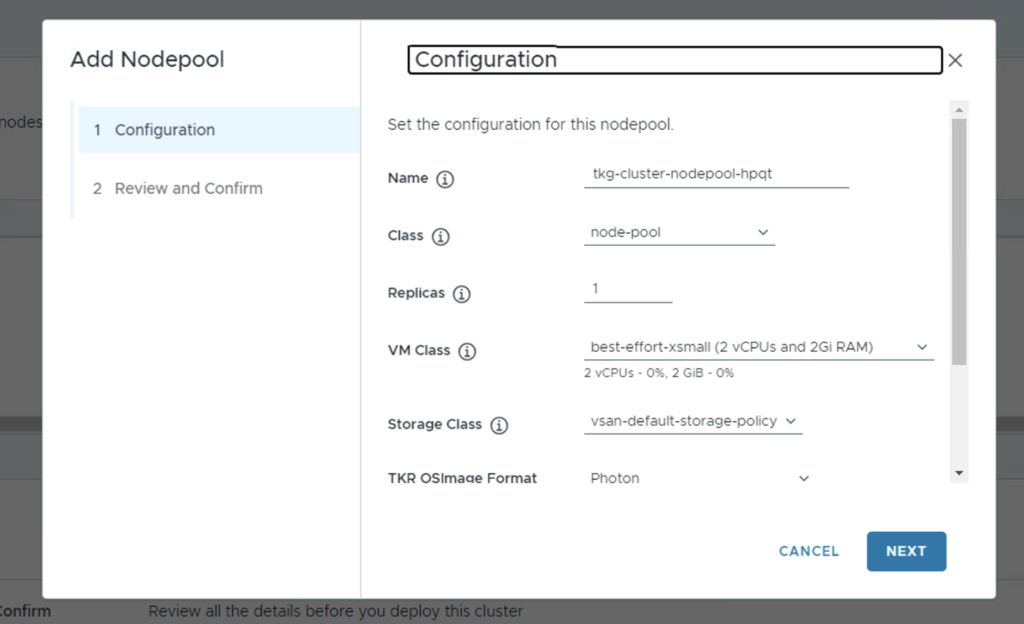
I have changed the name of the cluster and replica count and left the rest to the defaults. Proceed further by clicking Next.
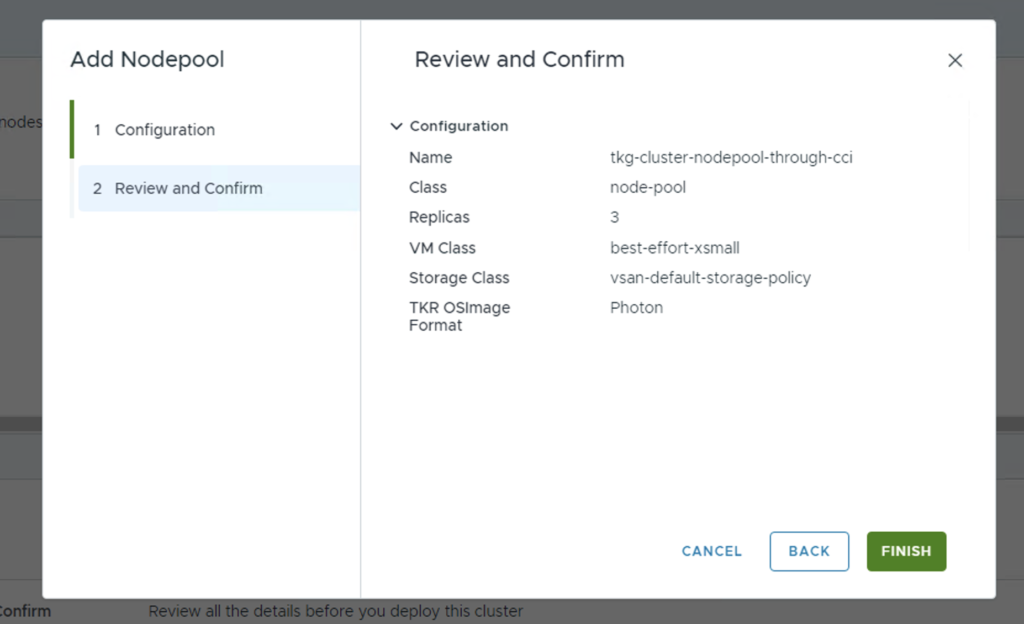
Click finish and confirm the nodepool is added.
Click Next to proceed to the Review and Confirm section and click Finish. You should now see a creating message.
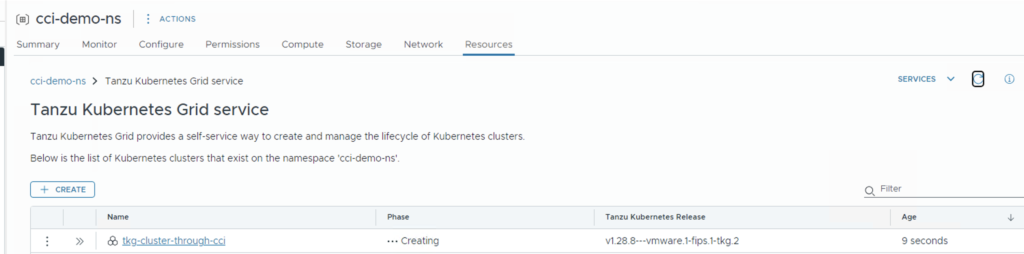

Similar to the cluster provisioned with the default configuration, you can access this cluster once the provisioning is completed as well.
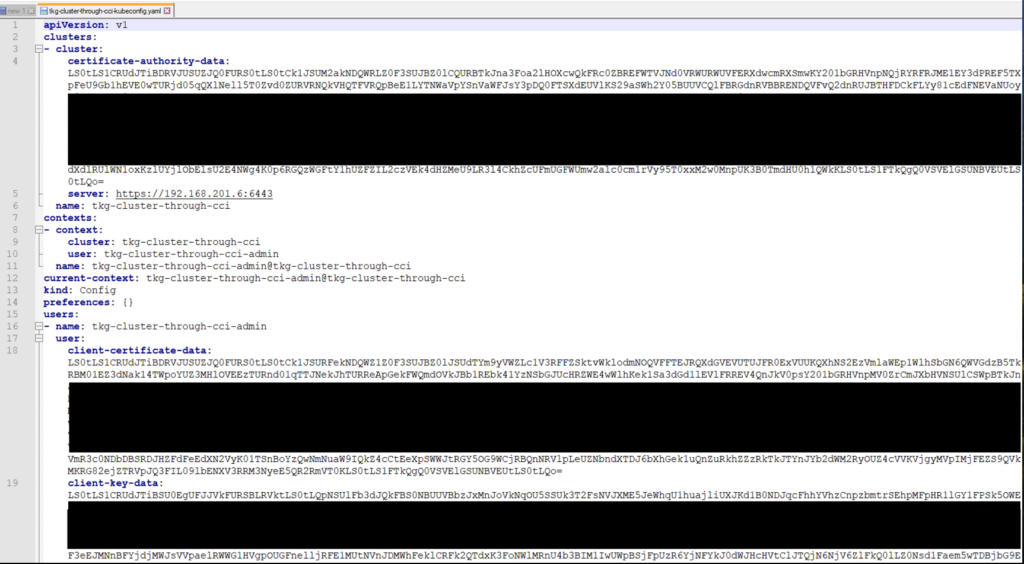
Validation
The downloaded kubeconfig file should have the URL updated with an IP from your ingress IP range specified during Workload Management enabled and port 6443 should be used for the API URL.
With the kubeconfig file flag passed to the kubectl commands, you should be able to operate your cluster. For example, “kubectl get nodes –kubeconfig=<downloaded-kube-config.yaml>” should return the CP and worker nodes that are part of the cluster.

You can do a RBAC on the namespace to control who can own and operate the cluster as well.
Happy learning!