
TAS/ALB Installation Series – Part 5
In this post, we will look into the procedure of setting up the CLIs that we will need to manage our TAS/BOSH/Operations Manager environment.
Operations Manager CLI Setup
Download and Install the binary on to a bastion host using the following set of commands:
sudo wget https://github.com/pivotal-cf/om/releases/download/7.13.0/om-linux-amd64-7.13.0
sudo chmod a+x om-linux-amd64-7.13.0
sudo mv om-linux-amd64-7.13.0 /usr/bin/om
Create an env file with the following content (vi ~/.env):
export OM_TARGET="https://opsman.vrack.vsphere.local"
export OM_SKIP_SSL_VALIDATION="true"
export OM_USERNAME="admin"
export OM_PASSWORD=<passwordofyouroperationsmanager>
Save and quit the file.
BOSH CLI Setup
Download and Install the binary on to a bastion host using the following set of commands:
sudo wget https://github.com/cloudfoundry/bosh-cli/releases/download/v7.7.0/bosh-cli-7.7.0-linux-amd64
sudo mv bosh-cli-7.7.0-linux-amd64 /usr/bin/bosh
sudo chmod a+x /usr/bin/bosh 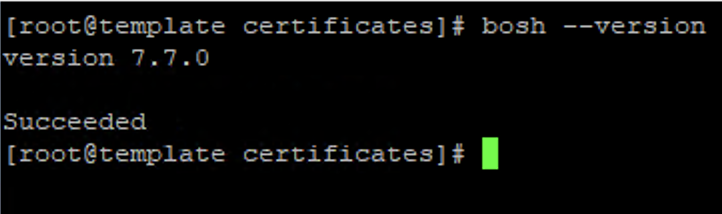
CF CLI Setup
Download and Install the binary on to a bastion host using the following set of commands:
sudo wget -O /etc/yum.repos.d/cloudfoundry-cli.repo https://packages.cloudfoundry.org/fedora/cloudfoundry-cli.repo
sudo yum install cf7-cli
sudo yum install cf8-cli
Tile Downloads
Download the TAS and NCP .pivotal files from Broadcom Support Portal and copy it over to the bastion host and run the following command to upload it to your operations manager or upload the tiles using the Import workflow from the OpsManager UI.
source ~/.env
om upload-product -p <pivotal-file-name>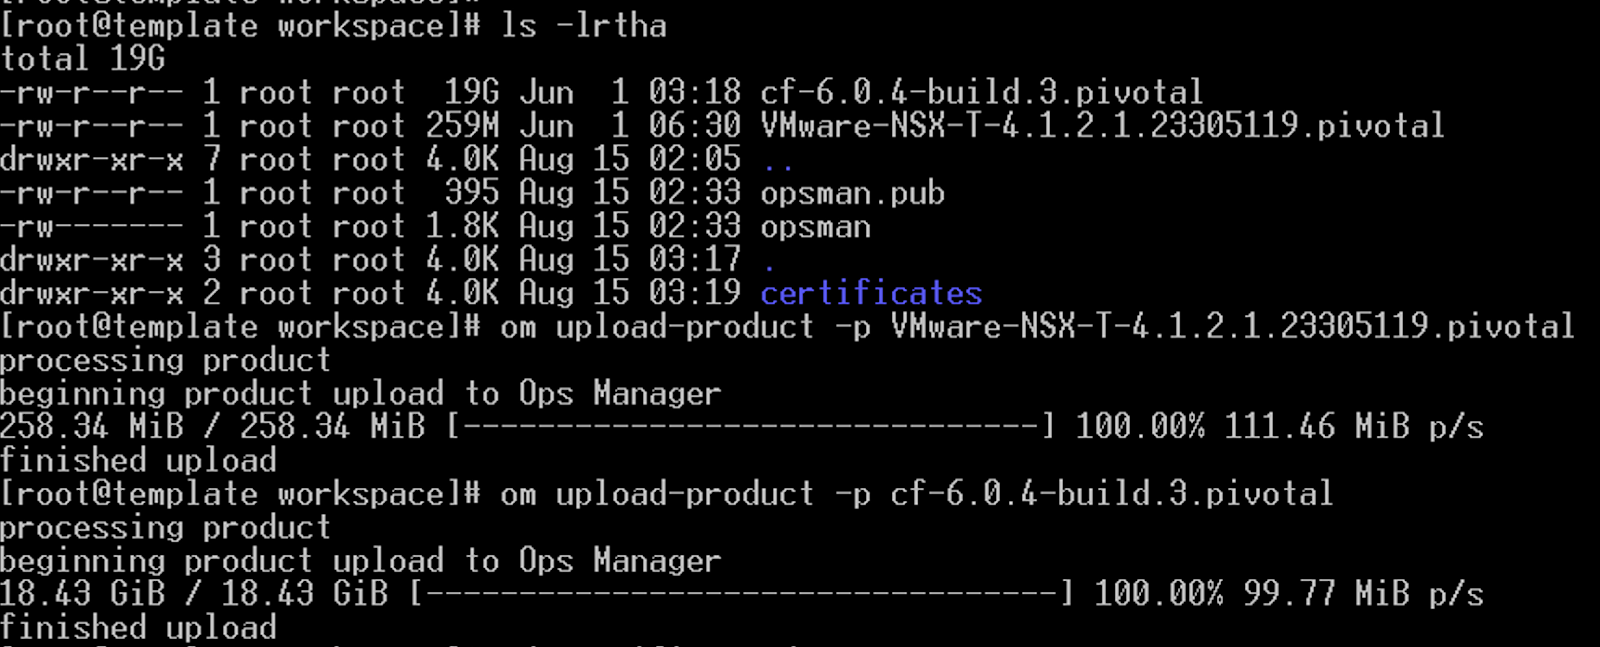
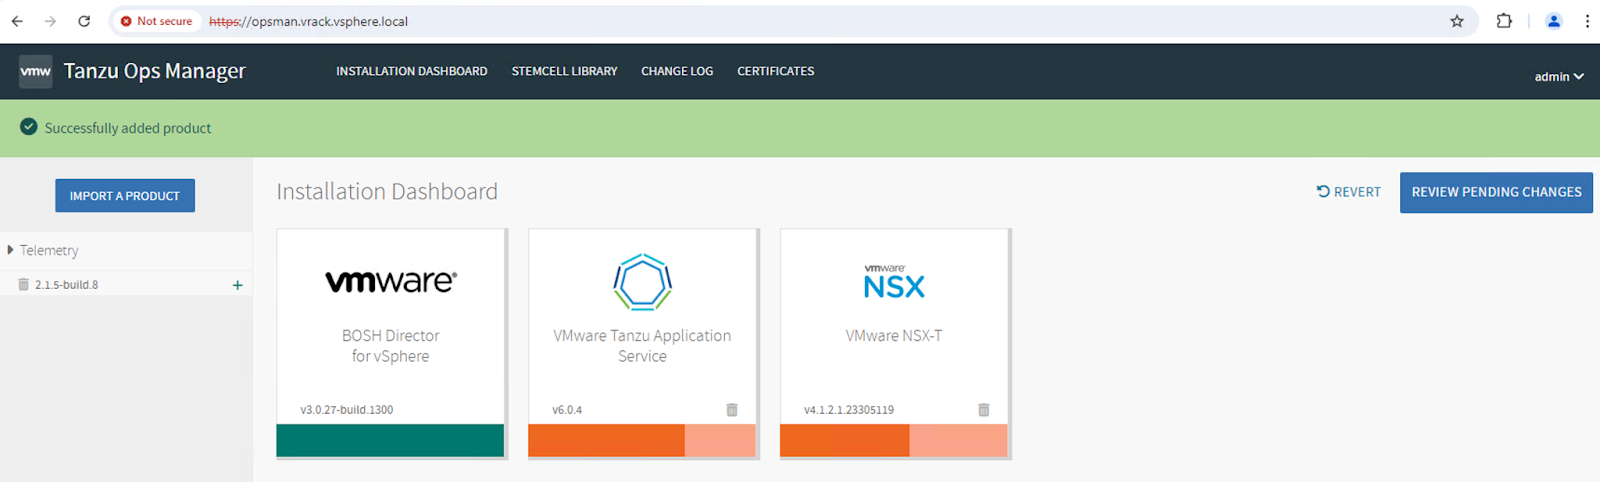
Let us now proceed to install TAS.
0 Comments