Concourse 7.11.2 – Installation Series – Part 2
In this blog, I will walk you through the concourse installation procedure in an air-gapped environment. If you are here for the first time, I recommend you read more about Concourse here.
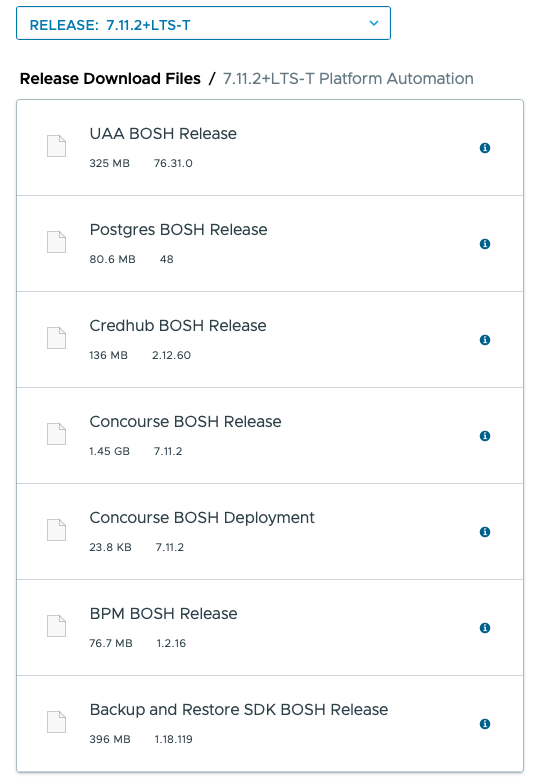
The pre-requisites remain the same as highlighted here. Additionally you may have to download the release files and copy it over to the jump box that you intend to run the installation from.

Procedure
Create a variables file with the following content that we will use while deploying the concourse instance. Replace the highlighted values with equivalent values from your deployment. You can retrieve most of these values from the cloud config file.
deployment_name: concourse
azs: [AZ-1]
network_name: infrastructure
web_vm_type: small.disk
db_vm_type: small
worker_vm_type: small.disk
db_persistent_disk_type: "10240"
external_url: https://concourse.********
external_host: 192.168.3.2
web_instances: 1
worker_instances: 2
local_user:
  username: admin
  password: "VMware1!"
web_network_vm_extension: concourse_lb
web_network_name: infrastructure
concourse_release_file: "/root/workspace/concourse-7.11.2/releases/concourse-bosh-release-7.11.2.tgz"
bpm_release_file: "/root/workspace/concourse-7.11.2/releases/bpm-release-1.2.16.tgz"
postgres_release_file: "/root/workspace/concourse-7.11.2/releases/postgres-release-48.tgz"
bbr_release_file: "/root/workspace/concourse-7.11.2/releases/backup-and-restore-sdk-release-1.18.119.tgz"
To know what values need to be replaced, you can refer to the previous blog in this installation series.
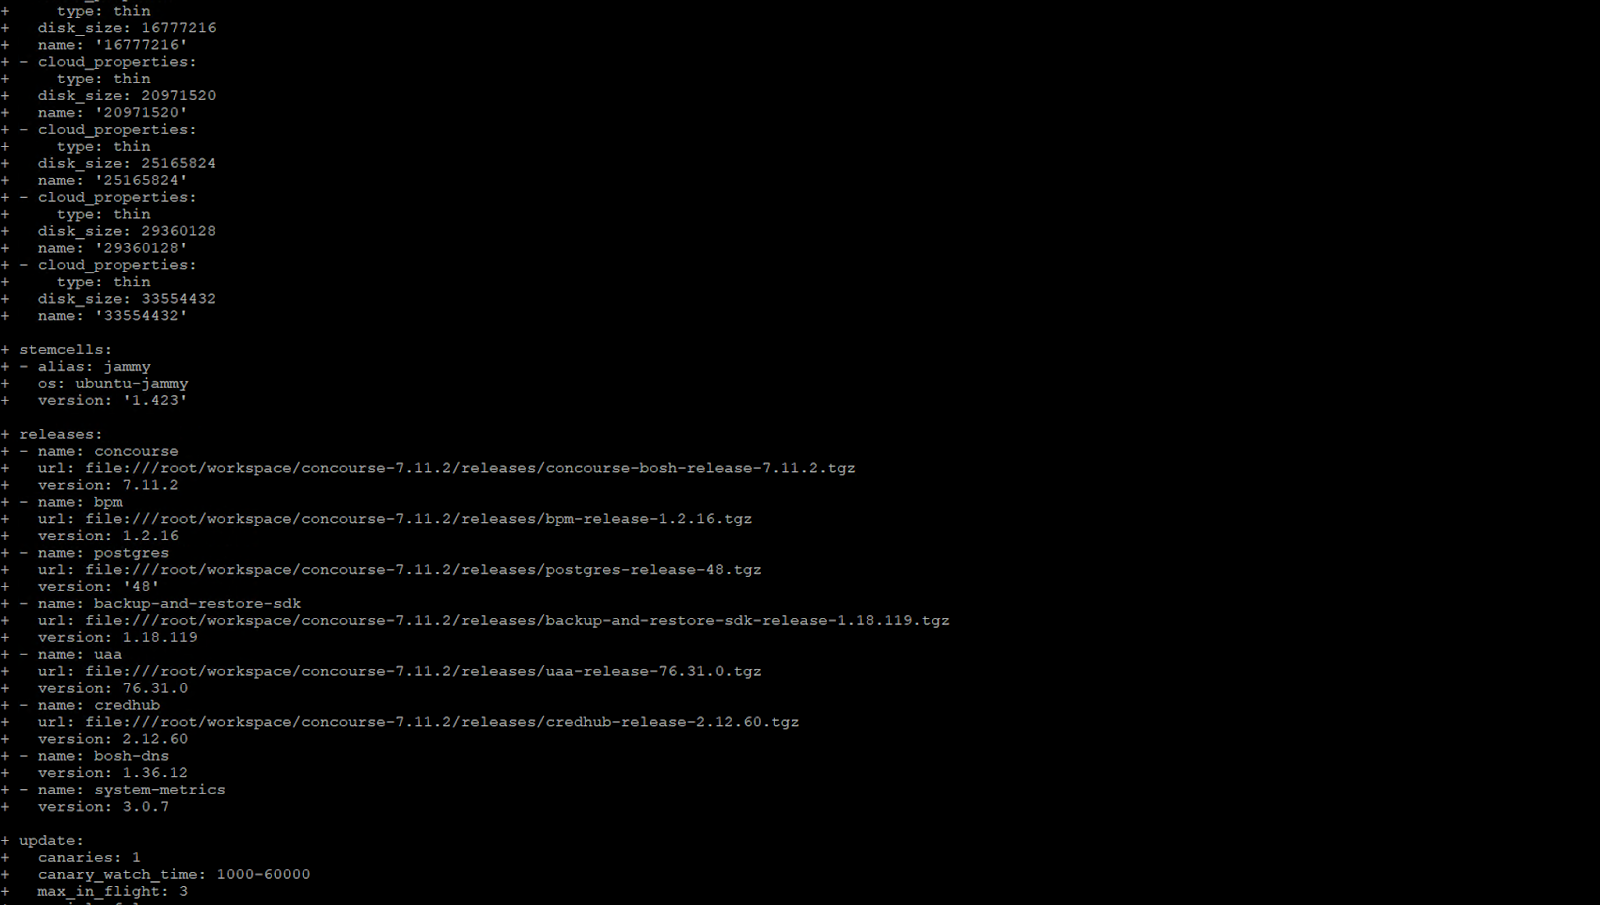
As you can see, the difference between the variables file created in the part-1 of this blog and this is the reference to the release file that needs to be used by the deployment. Now, we need to instruct the deployment to look at these reference files and to do so we create an operations file called releases.yml under the operations directory with the following content.
# Local releases when deployment is in an environment with no Internet access

- type: replace
  path: /releases/name=concourse/url
  value: file://((concourse_release_file))

- type: remove
  path: /releases/name=concourse/sha1

- type: replace
  path: /releases/name=bpm/url
  value: file://((bpm_release_file))

- type: remove
  path: /releases/name=bpm/sha1

- type: replace
  path: /releases/name=postgres/url
  value: file://((postgres_release_file))

- type: remove
  path: /releases/name=postgres/sha1

- type: replace
  path: /releases/name=backup-and-restore-sdk/url
  value: file://((bbr_release_file))

- type: remove
  path: /releases/name=backup-and-restore-sdk/sha1

Now, the deployment command should look like the one below.
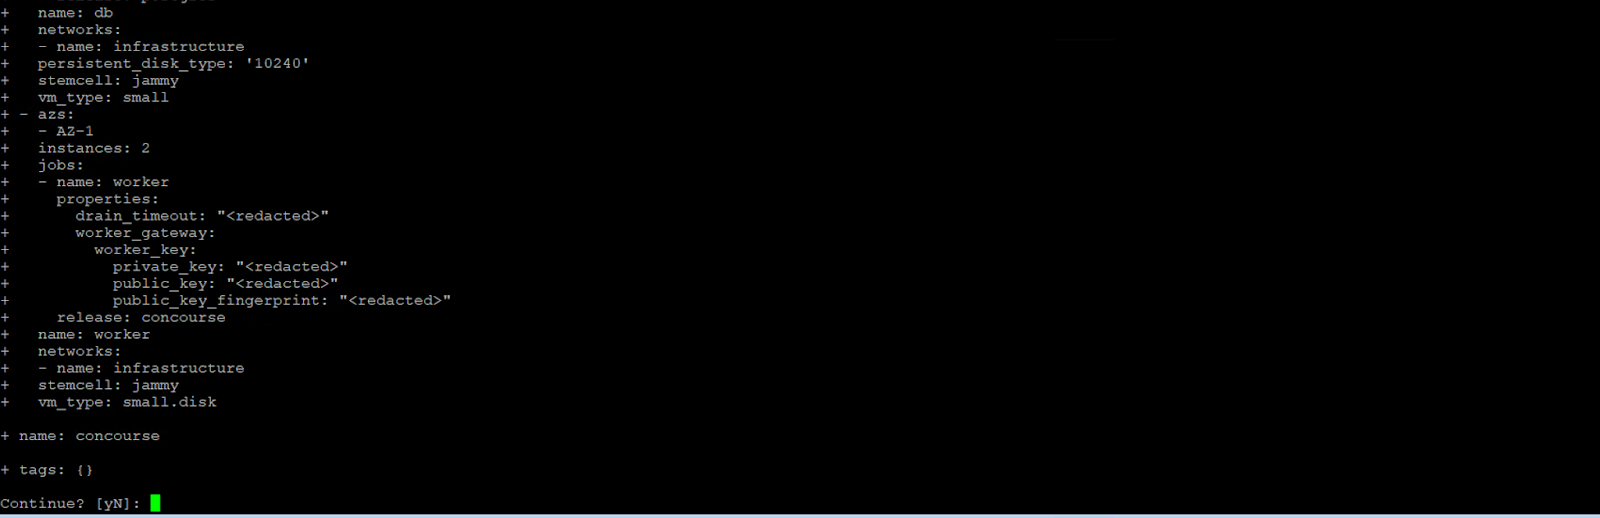
bosh deploy --deployment concourse concourse.yml -l ../versions.yml -l variables.yml -o operations/basic-auth.yml -o operations/privileged-http.yml -o operations/privileged-https.yml -o operations/tls.yml -o operations/tls-vars.yml -o operations/web-network-extension.yml -o operations/scale.yml --vars-store cluster-creds.yml -o operations/secure-internal-postgres.yml - o operations/releases.ymlOnce the command is executed, you should see the following screen.
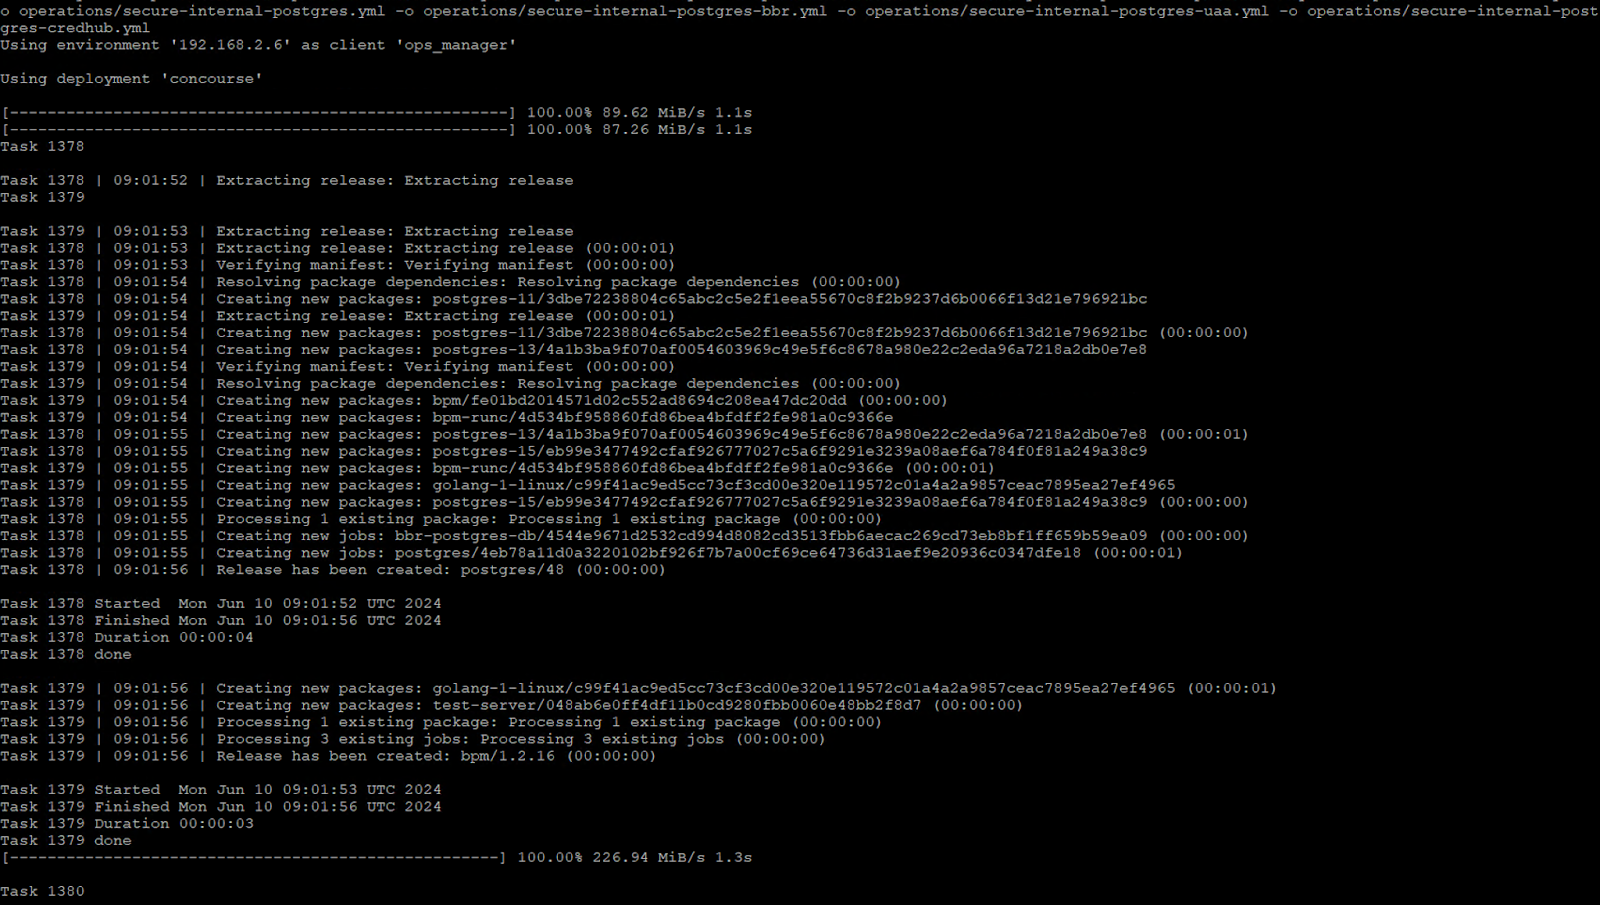

Once the deployment is complete, you should be able to see the concourse screen.
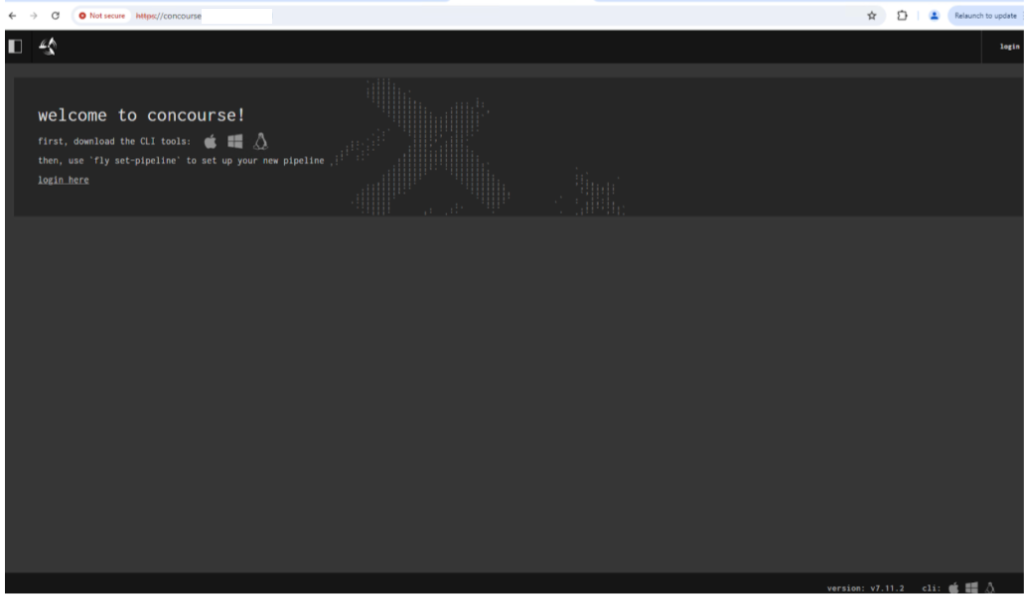
You can now login with the “admin/VMware1!” credentials that we defined in the variables file and confirm things are working!
In the next article, I will cover the installation of concourse with co-located Credhub and UAA components. Happy learning!