
Velero Setup Pre-requisites – Others
In this blog we will look at the other pre-requisites and pre-configured information required for the installation apart from the one’s we did earlier in this series here and here.
Install Velero CLI
Step 1 – Install the binary
Extract the tar bundle and install Velero CLI which we will use later to deploy Velero.


gunzip velero-linux-v1.12.1+vmware.1.gz
chmod +x velero-linux-v1.12.1+vmware.1
mv velero-linux-v1.12.1+vmware.1 /usr/bin/velero
velero version
Create a Credentials File
We will now create a credentials file (credentials-minio) that will include the access key and secret key to access the MinIO s3 bucket. You can create this access key and secret key via the MinIO UI (Users –> Access Keys –> Create Access Key).
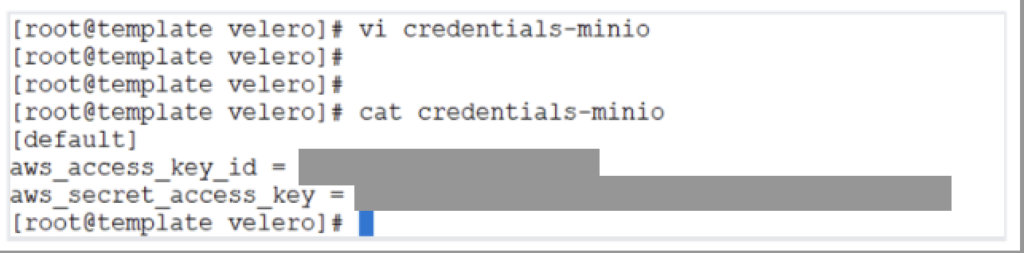
[default]
aws_access_key_id = <youraccesskey>
aws_secret_access_key = <yoursecretkey>
TKGi Installation Pre-requisites
Ensure Privilege escalation is allowed and the CSI Driver is integrated on TKGi clusters.

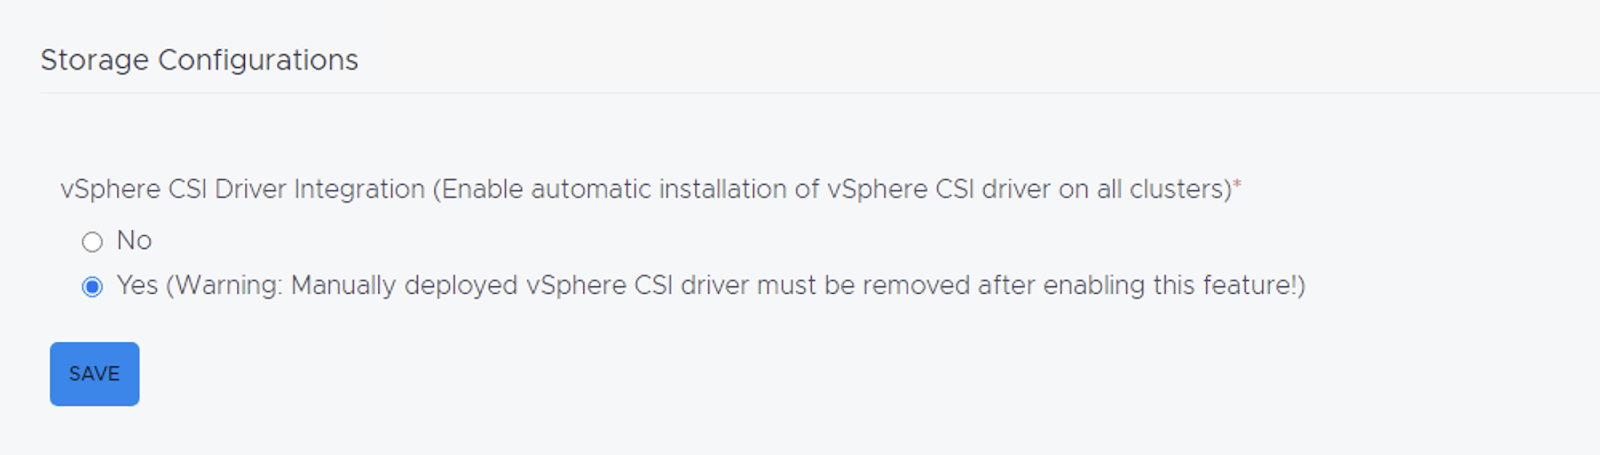
Note: If this was already enabled, you can then login to your TKGi cluster and proceed with the next steps. If this wasn’t already enabled, you need to save your changes and perform an “Apply Change” and run the TKGi errands for this to be propagated to your TKGi Clusters.
TKGi Cluster Login and Resource Pre-requisites
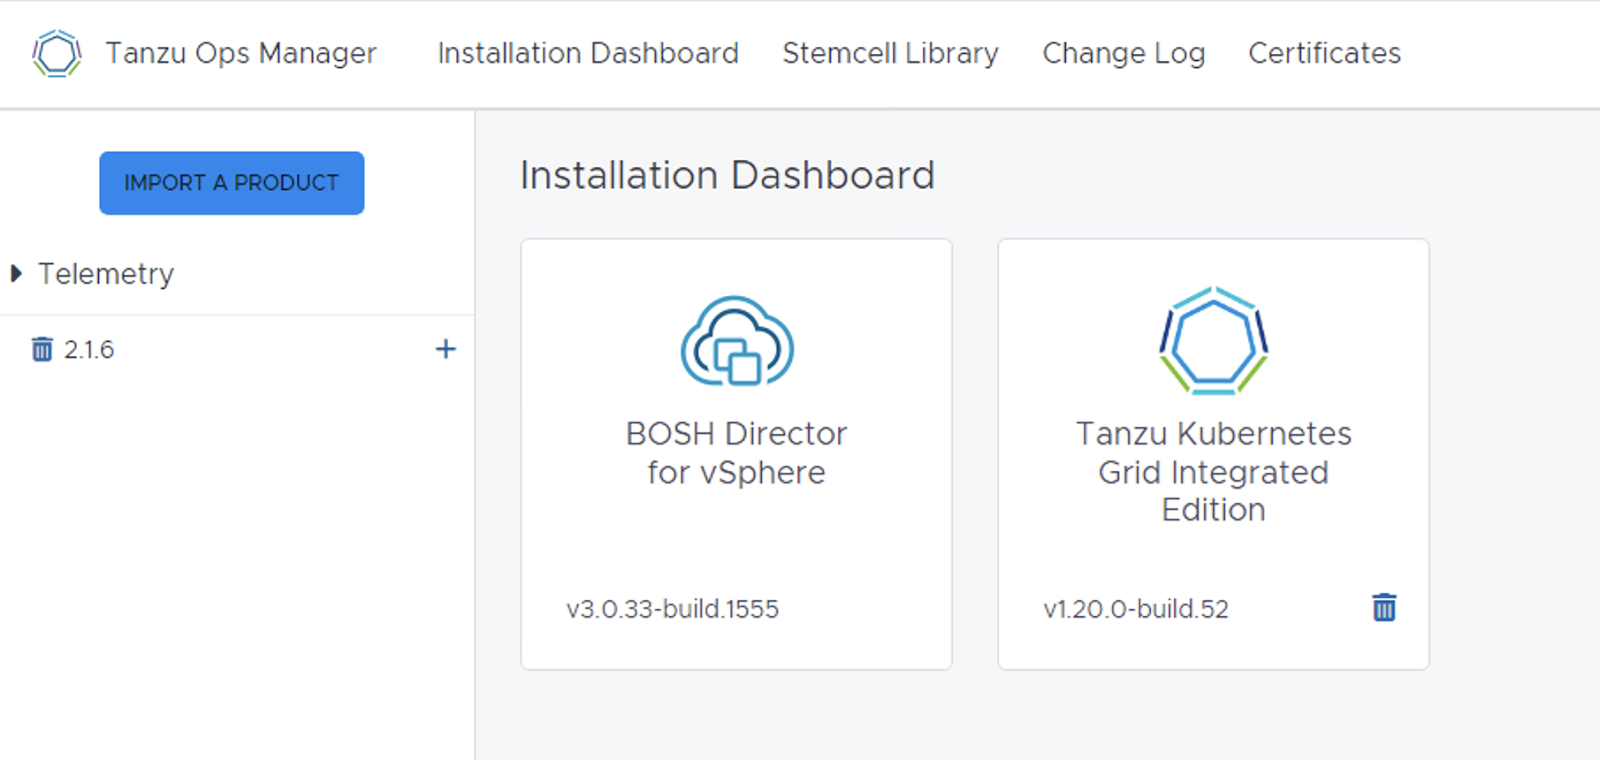
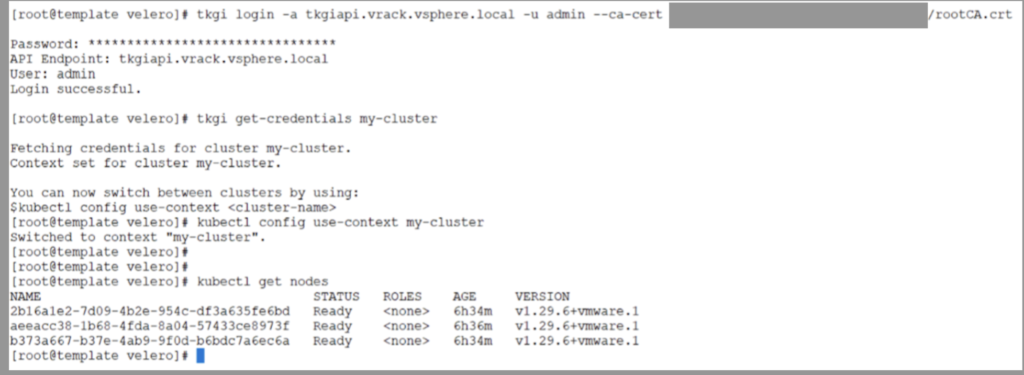
Below is a snapshot of the infra that was used for this demo. TKGI version 1.20 and K8s Cluster version is 1.29.6.
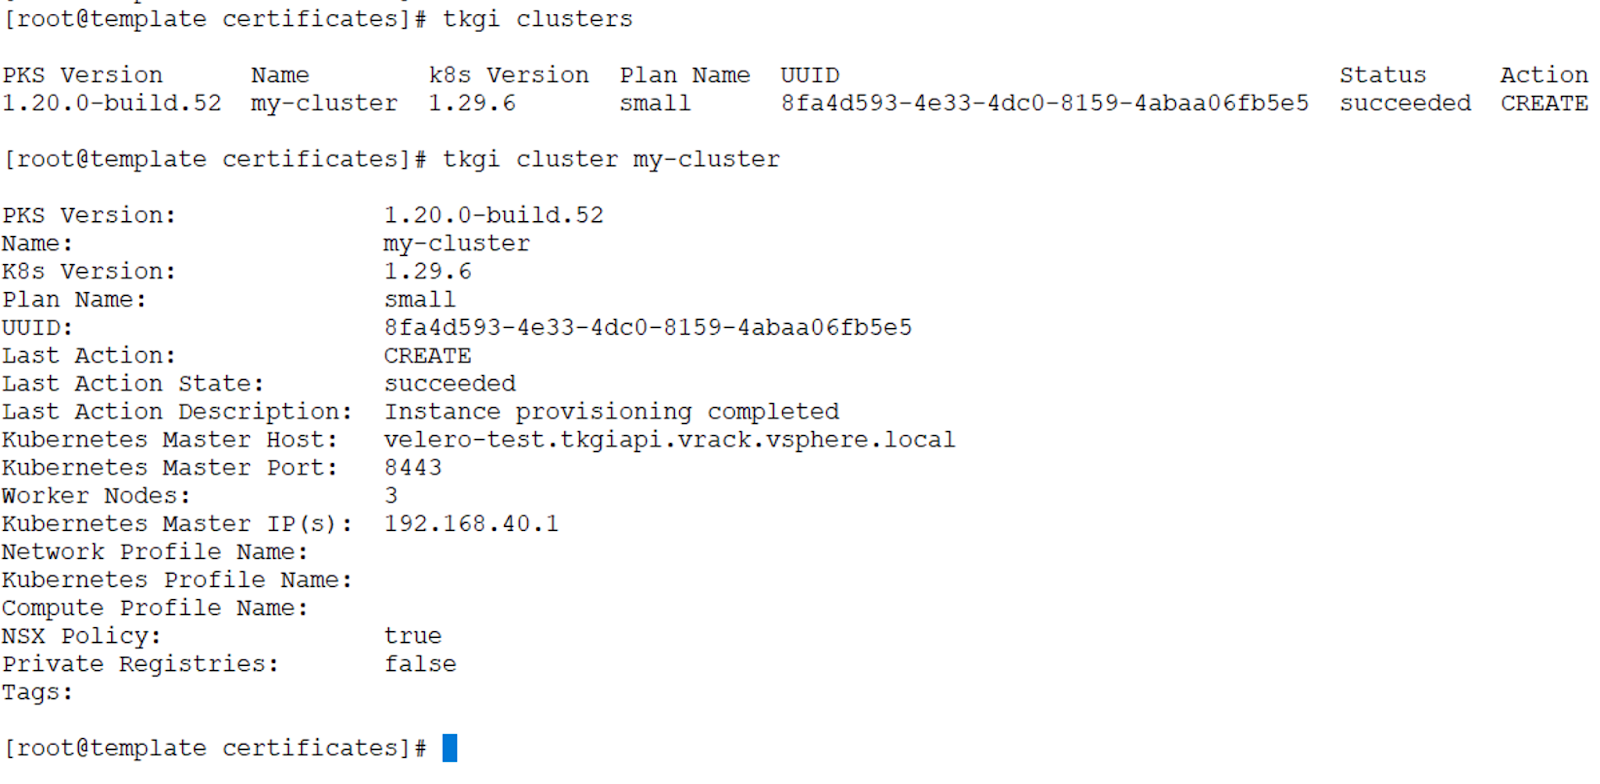
You can now login to your TKGi Cluster using the TKGi CLI.
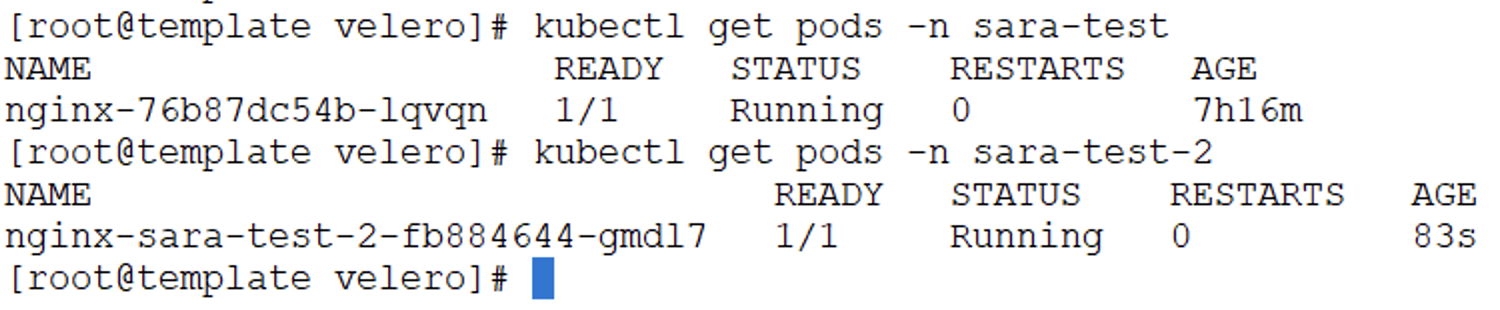
Now create two namespaces and create a deployment in both of those namespaces and expose them via a service. We will demonstrate the backup and restore procedure using these resources.
kubectl create ns sara-test
kubectl create deployment nginx --image=harbor.vrack.vsphere.local/testimages/hostname -n sara-test
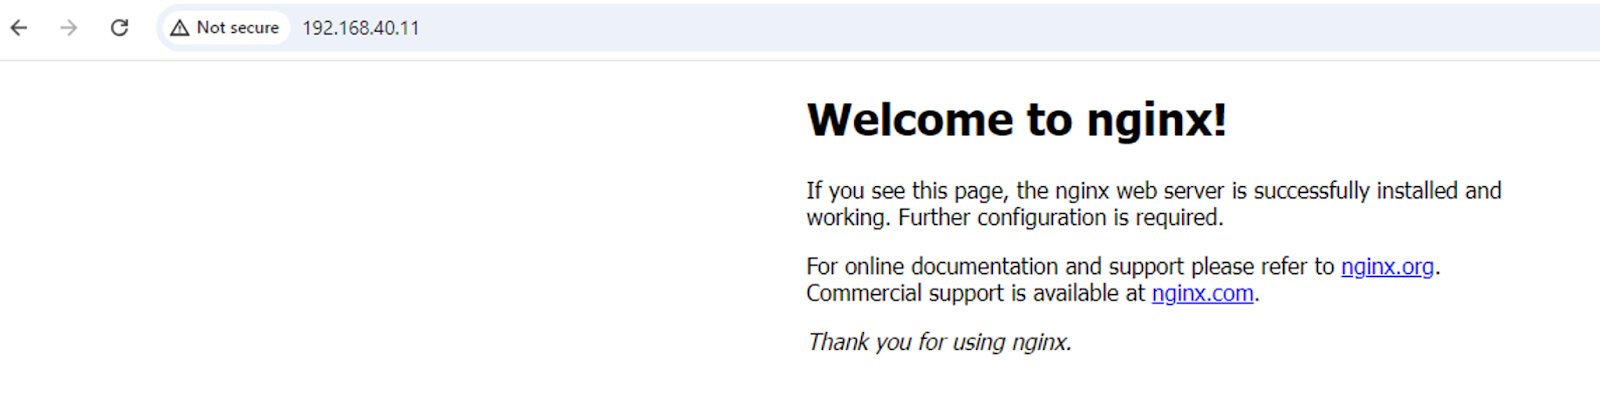
kubectl expose deployment nginx --port=80 --target-port=80 --type=LoadBalancer --name=nginx-service -n sara-test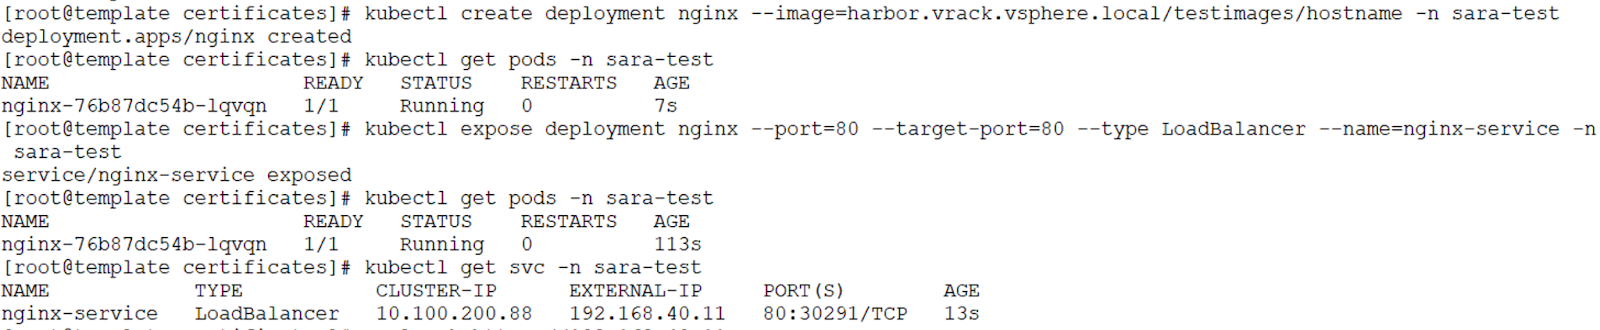
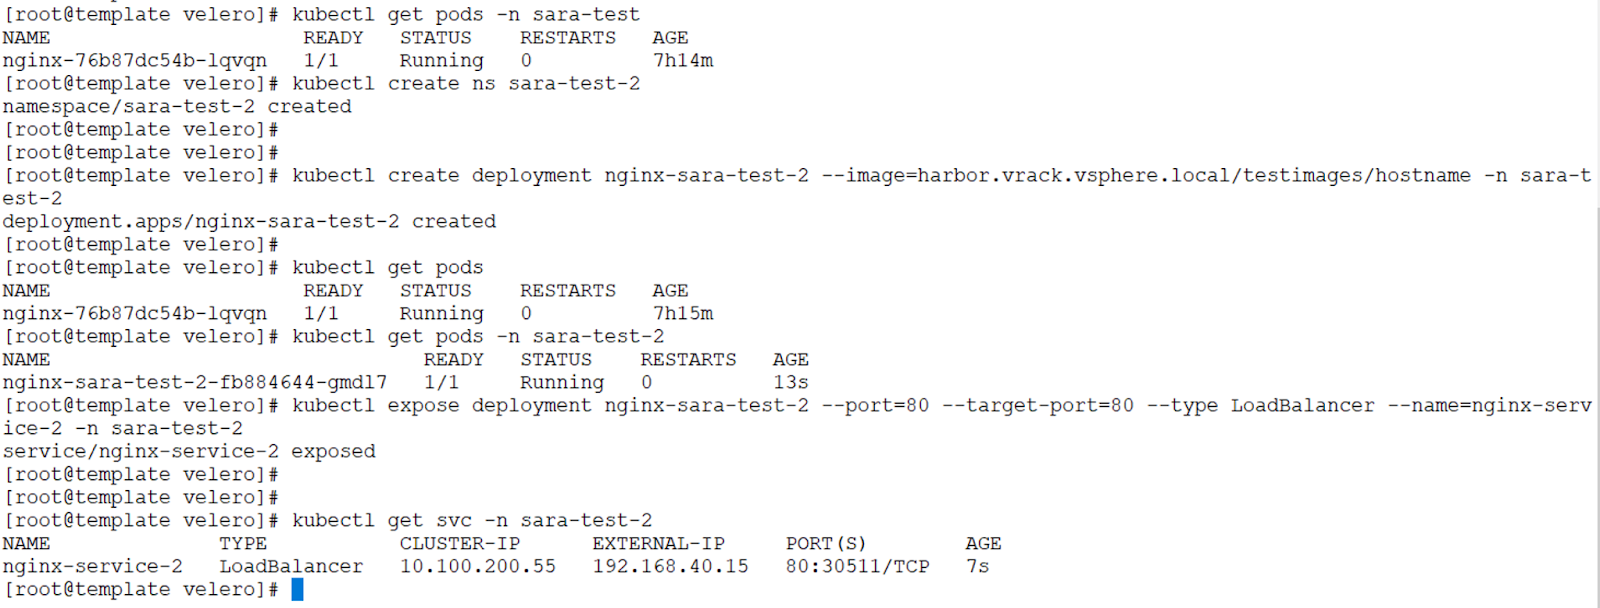
Now repeat the same procedure to create a second namespace and deployment.
kubectl create ns sara-test-2

kubectl create deployment nginx-sara-test-2 --image=harbor.vrack.vsphere.local/testimages/hostname -n sara-test-2

kubectl expose deployment nginx-sara-test-2 --port=80 --target-port=80 --type=LoadBalancer --name=nginx-service -n sara-test-2
Create CSI contents
The “csi-vsphere.conf” file and “velero-vsphere-plugin-config” configmap needs to be created before we install the Velero vSphere plugin that will be used for PV backup and restore operations.
Create the conf file and paste the following content into it.
[Global]
cluster-id = "<yourvsphereclustername>"
[VirtualCenter "<yourvcip>"]
user = "youruserwithstorageprivileges"
password = "yourpasswordfortheuser"
port = "443"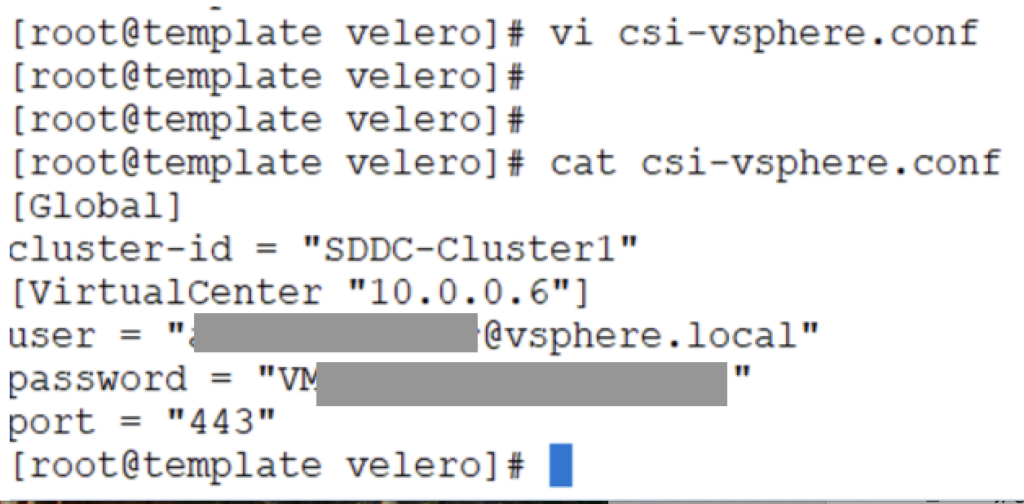
Also, create a configmap YAML file with the following contents.
apiVersion: v1
kind: ConfigMap
metadata:
  name: velero-vsphere-plugin-config
data:
  cluster_flavor: "VANILLA"
  vsphere_secret_name: "velero-vsphere-config-secret"
  vsphere_secret_namespace: "velero"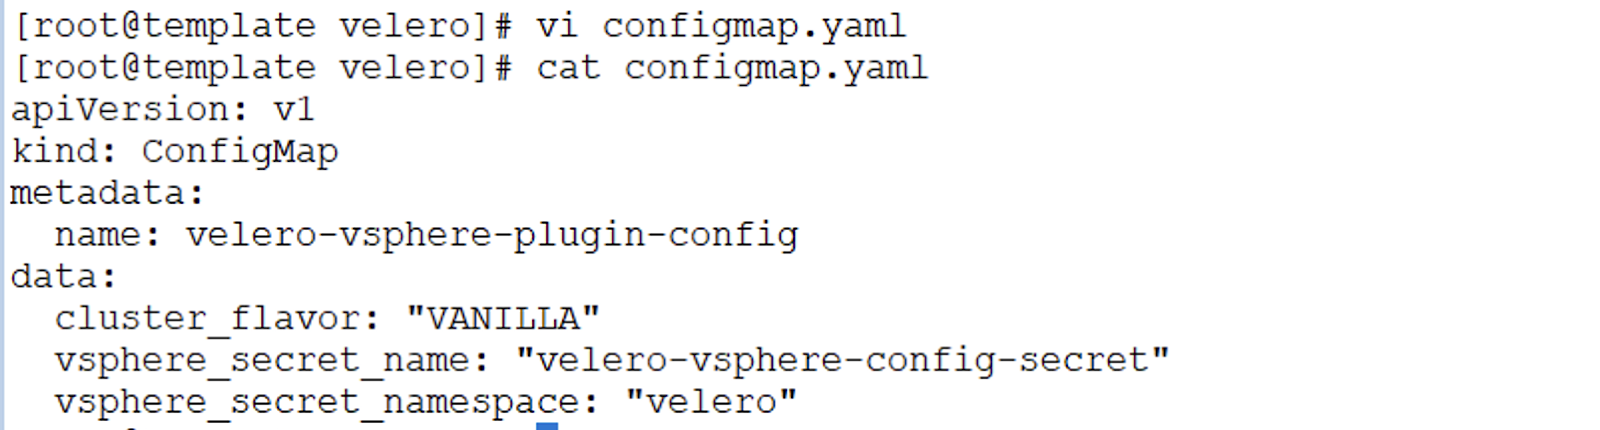
Now, the secret “velero-vsphere-config-secret” will be created from the csi-vsphere.conf file that we created above. We will create that secret later as described here, because the velero installation automatically creates the velero namespace and we want to leverage that.
It is for this very reason, we will create the configmap later as well.
That’s it as far as the pre-requisites are concerned. We will now proceed to setting up Velero.
0 Comments