
TAS/ALB Installation Series – Part 7
If you had been following all my previous posts, you would have ended up in a situation where your smoke tests would have succeeded, while push usage errand would have failed.
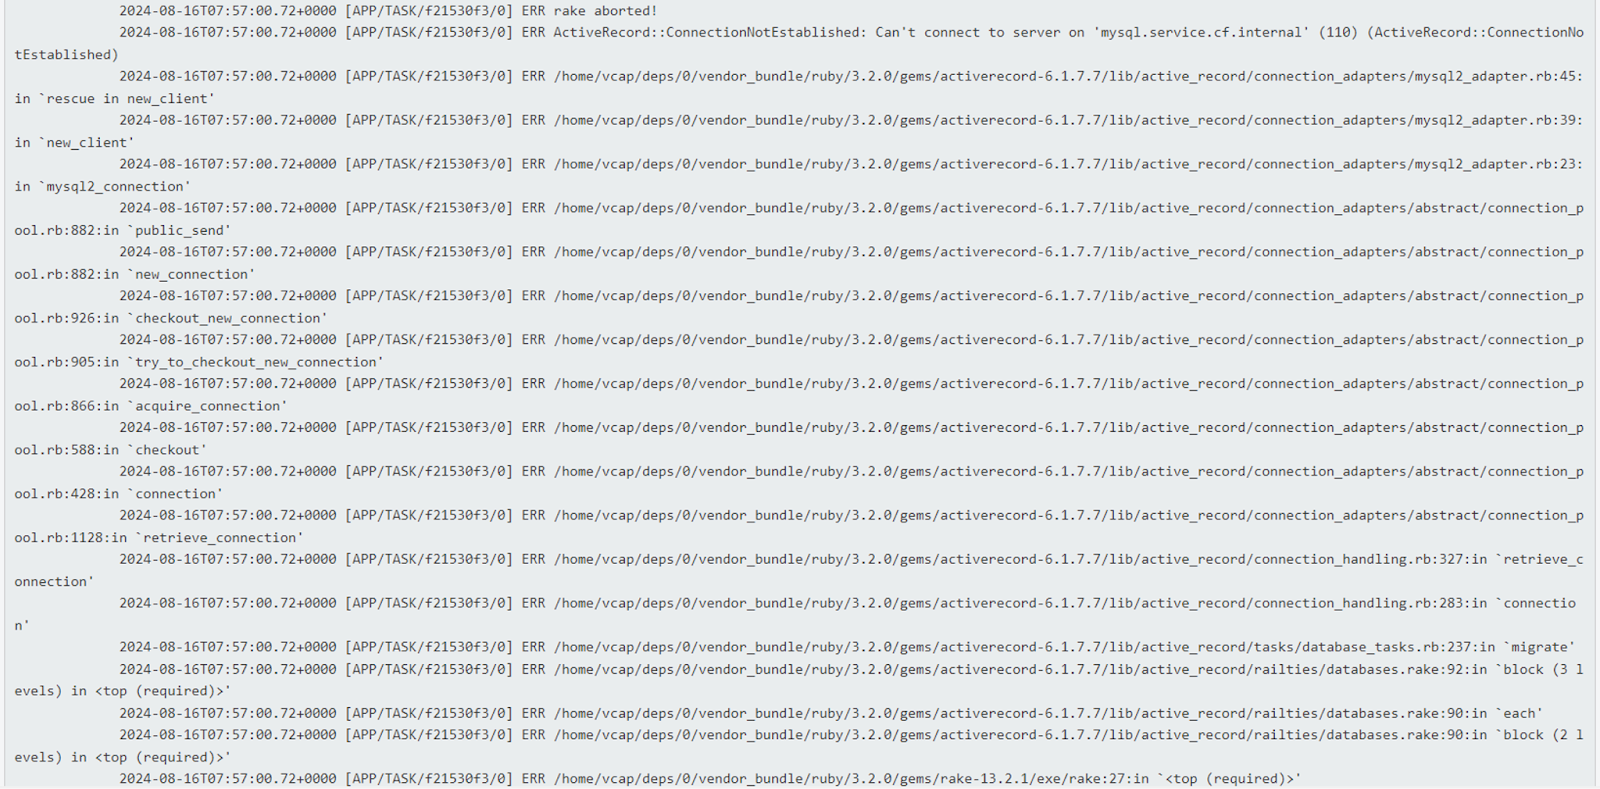
If you take a closer look at the error message it says “Can’t connect to server on ‘mysql.service.cf.internal'”. So, this means that your container network is not able to establish communication with your mysql component VMs. Now that we have understood the problem, let’s identify why is this happening?
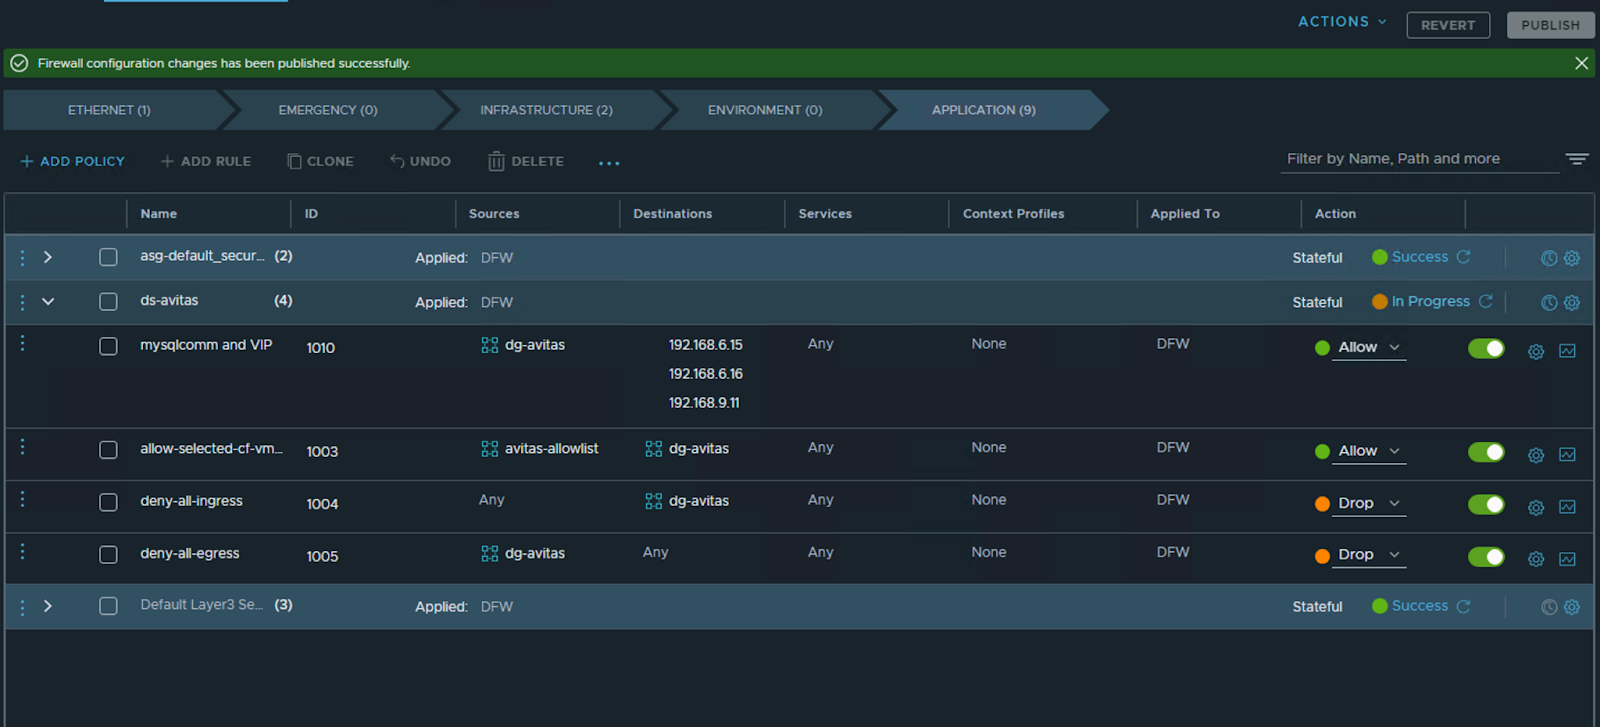
Login to your NSX-T manager UI and navigate to “Security – Distributed Firewall” and now you should see additional policies apart from the default rule. These are created by ncp when TAS was deployed.

If you look at the Drop rules at the bottom, it implies that any traffic in and out of the container network is blocked. How do I know that it is the container network? It’s because I verified who the members of “dg-avitas” were. It was the Container IP block that I had defined for use in the NCP tile.
Okay so now that we have identified the problem, how do we fix it? We add a firewall rule. Right.
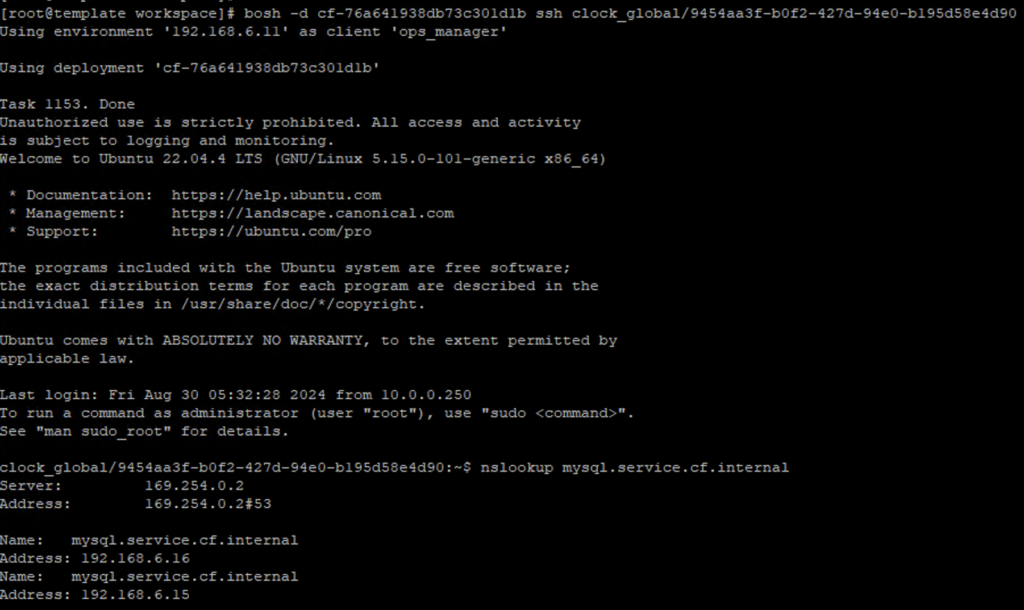
But do we know what the destination IP is? Well, let’s figure it out. We know that the destination url is “mysql.service.cf.internal”. To verify what this resolves to, we will be doing a nslookup from one of the TAS component VMs.
To do this, we will have to make use of the BOSH CLI. We will have to get the command line credentials first from the UI and then copy over the cert content from Operations Manager to the bastion host.
Login to the Ops Manager UI and click on the BOSH Director tile and choose the link to Bosh commandline credentials tile.
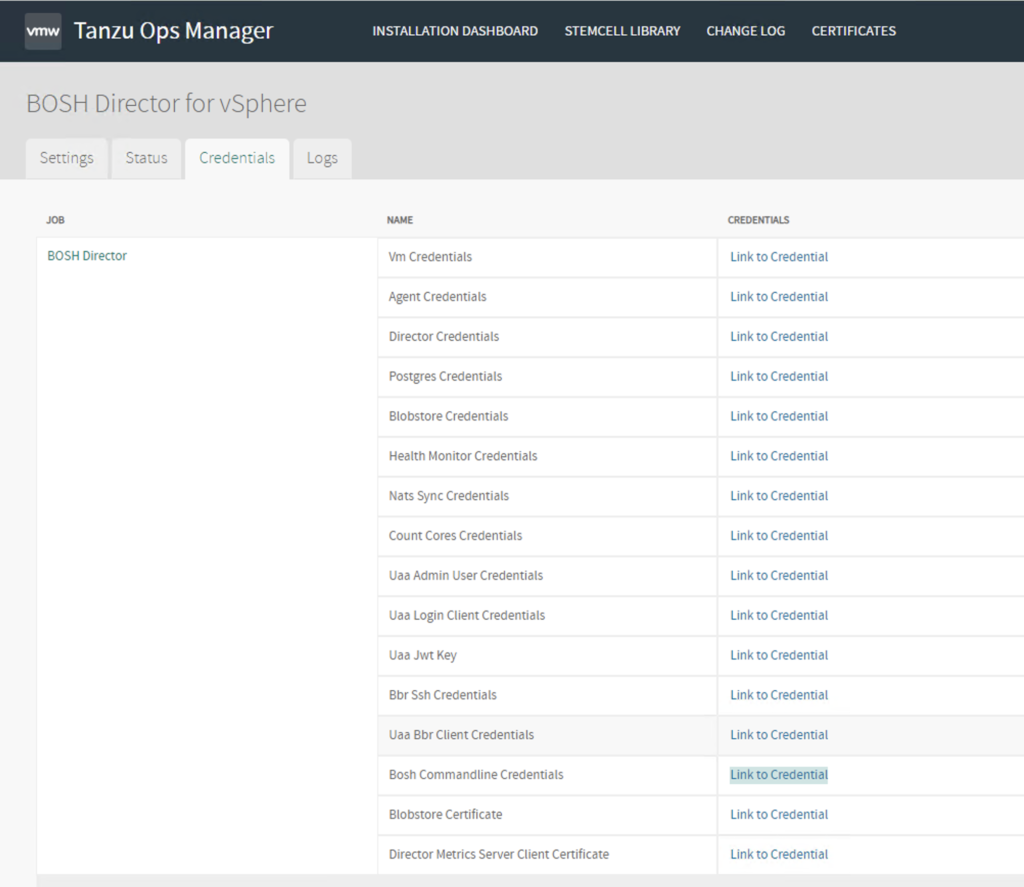
This should give you a command that you can export into any linux environment.

BOSH_CLIENT=ops_manager
BOSH_CLIENT_SECRET=*********** BOSH_CA_CERT=/var/tempest/workspaces/default/root_ca_certificate BOSH_ENVIRONMENT=192.168.6.11 bosh
If you look at the BOSH_CA_CERT value, it directs to a path within the operations manager. So, we need to copy out this cert to the bastion host.
scp -i opsman ubuntu@opsman.vrack.vsphere.local:/var/tempest/workspaces/default/root_ca_certificate root_ca_cert

So now, i will replace this value for the BOSH_CA_CERT field and update my ~.env file as shown below.
export BOSH_CLIENT=ops_manager BOSH_CLIENT_SECRET=***
BOSH_CA_CERT=/nfs_mount/workspace/root_ca_cert BOSH_ENVIRONMENT=192.168.6.11 bosh
Now source the file using “source ~/.env” and then run “bosh ds | grep cf”.
Note: For this to work, your bastion host needs to be able to reach bosh director IP (192.168.6.11 in this case). If that’s not possible, you can then SSH into your Operations Manager and export the commandline credentials and run the same command.
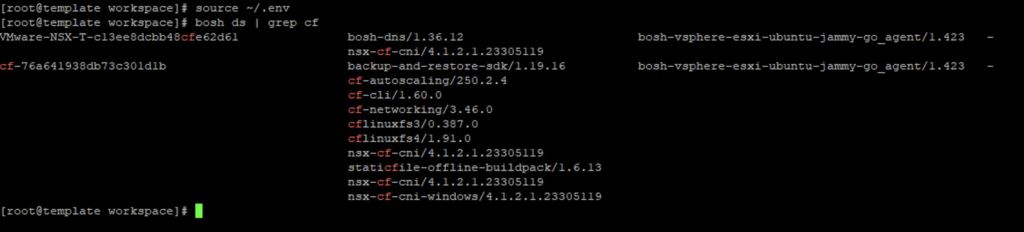
We now have the TAS deployment name which is “cf-76a641938db73c301d1b“. Let us now list the VMs within this TAS deployment using “bosh -d cf-76a641938db73c301d1b vms”
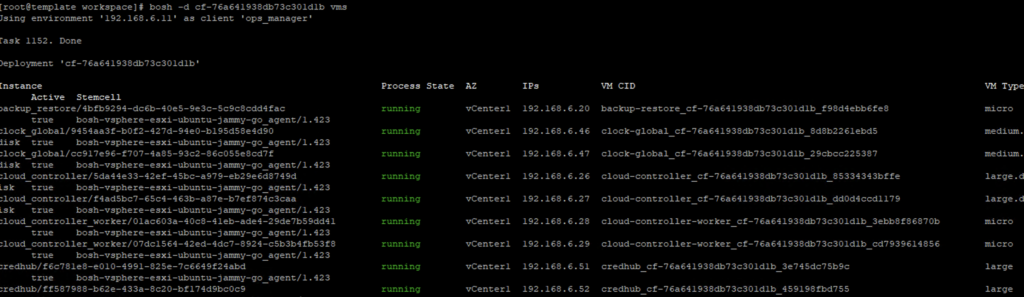
Now, let’s ssh (bosh -d <deploymentname> ssh <vmname>) into one of the VMs and perform a nslookup.
Now that we have the IPs that the URL resolves to, let’s get that firewall rule added.
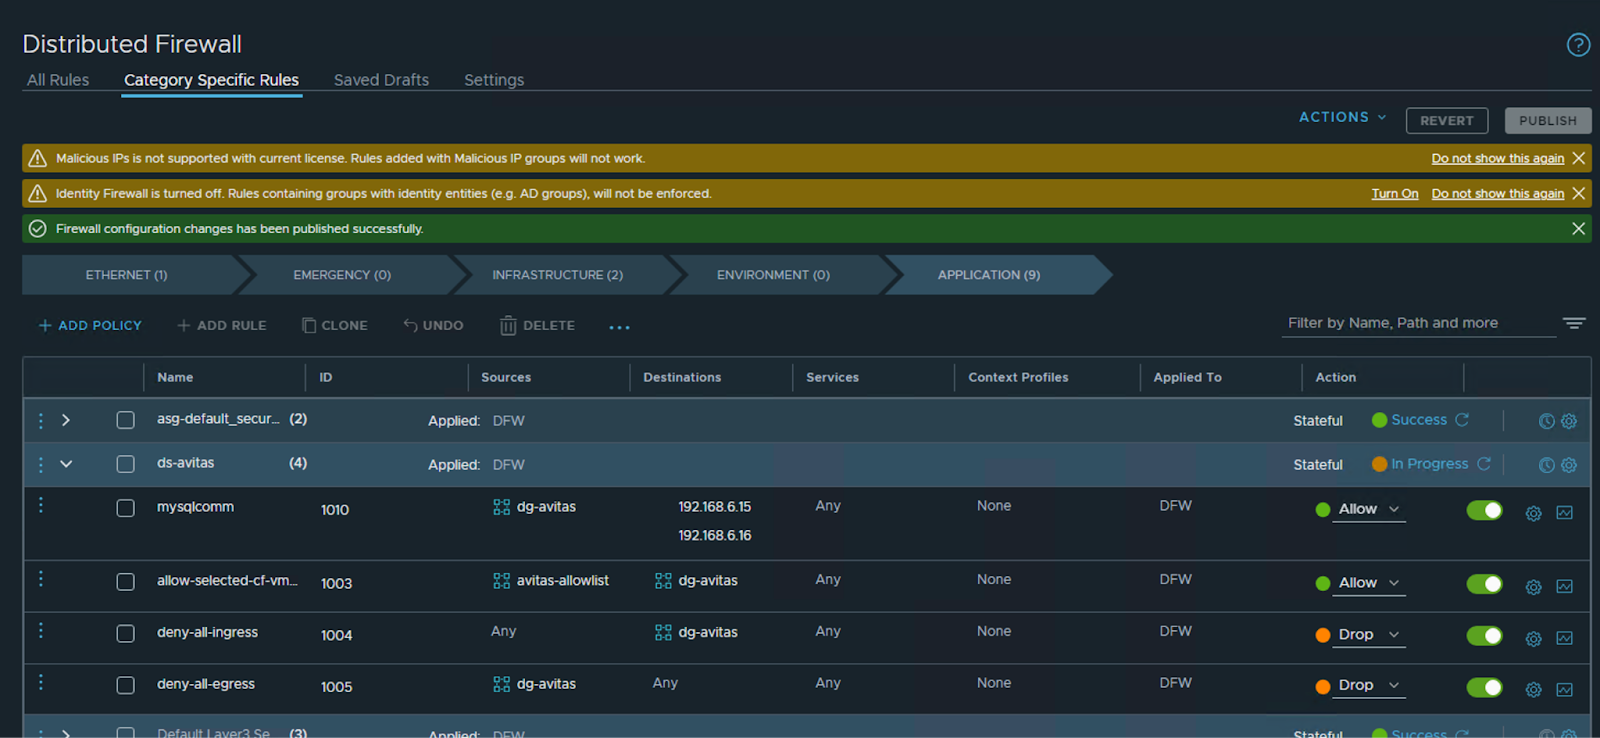
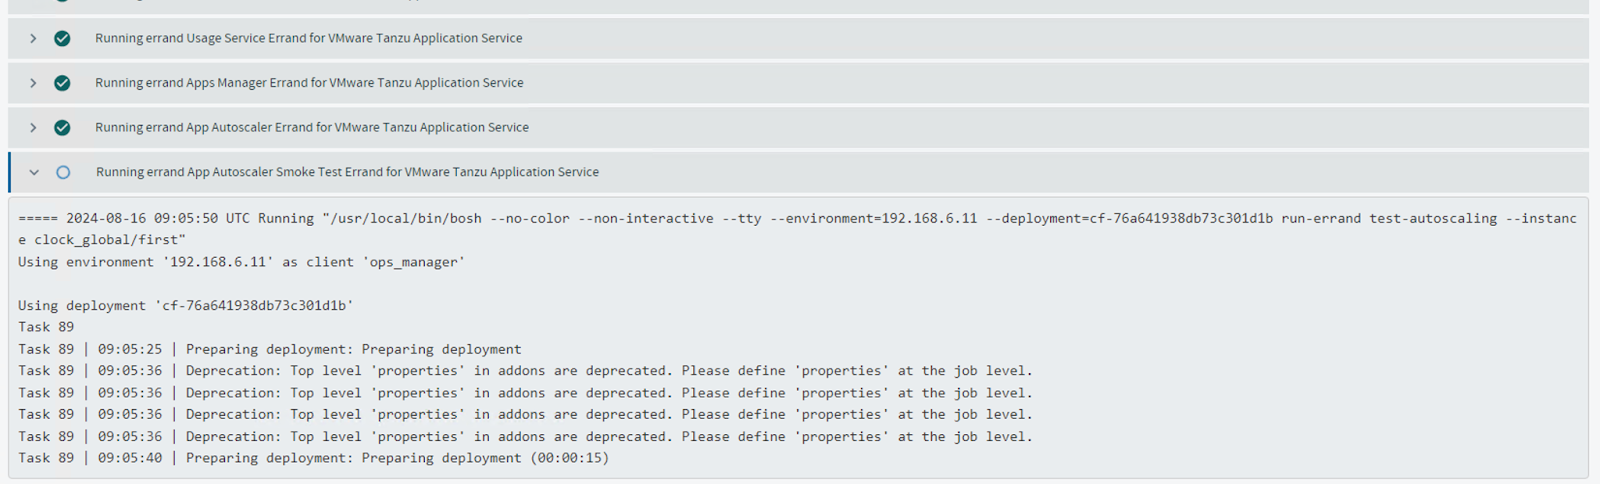
As you can see, I added a firewall rule “mysqlcomm” with dg-avitas as the source and the mysql service IPs as the destination which allows communication between them on any port. Let’s now proceed to apply changes again with all the products and see what happens?
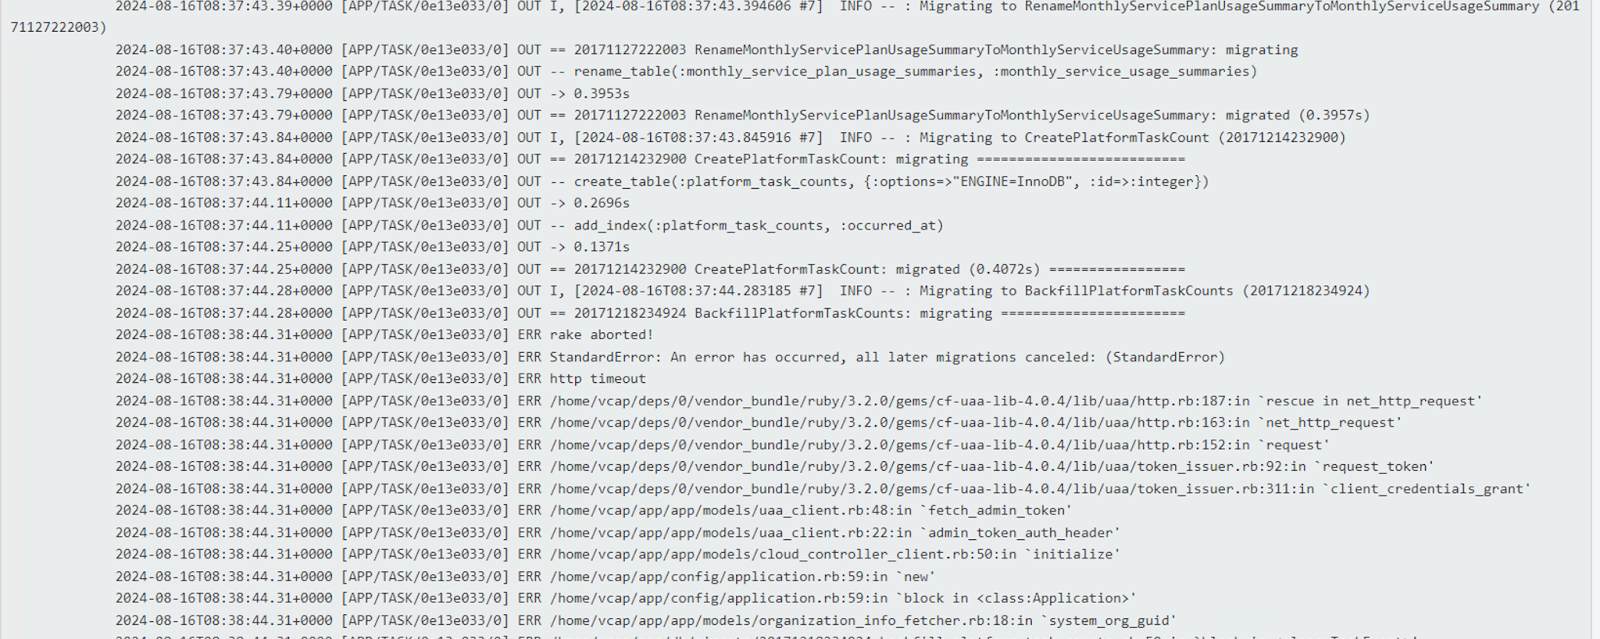
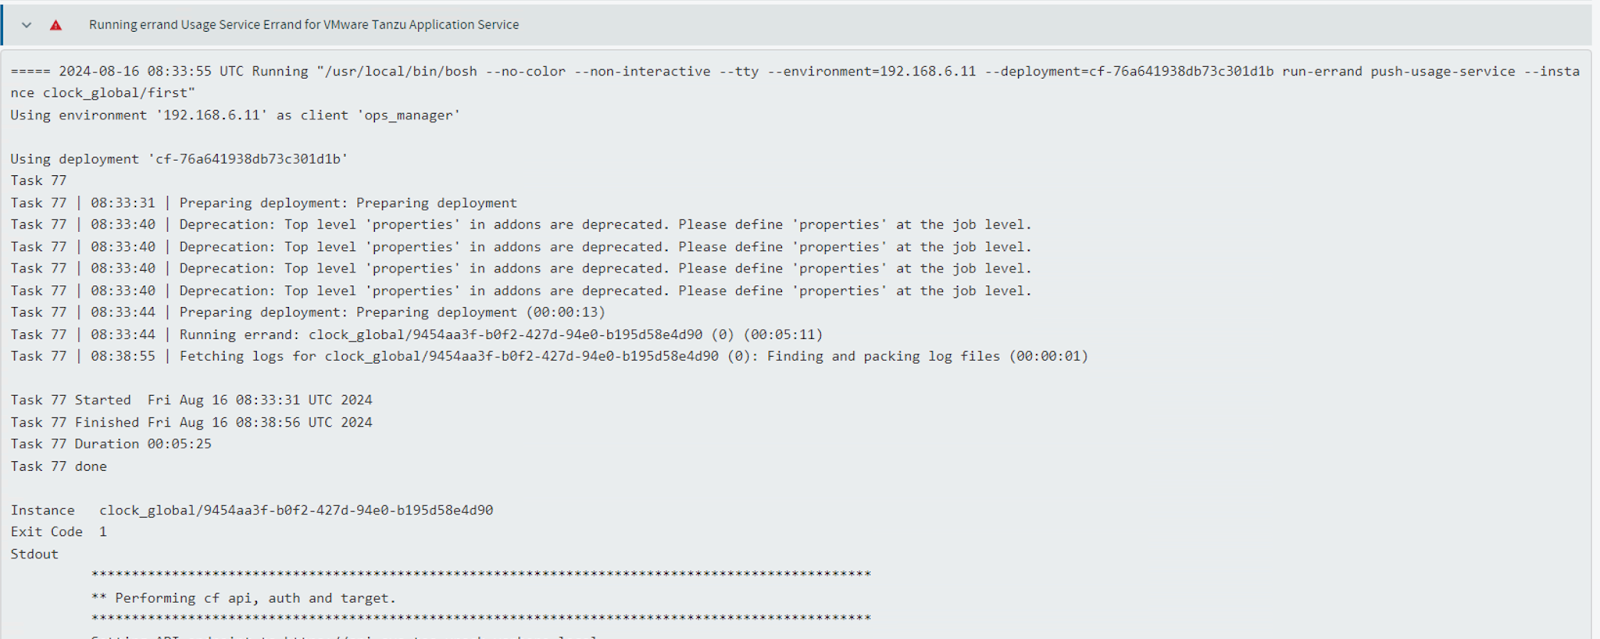
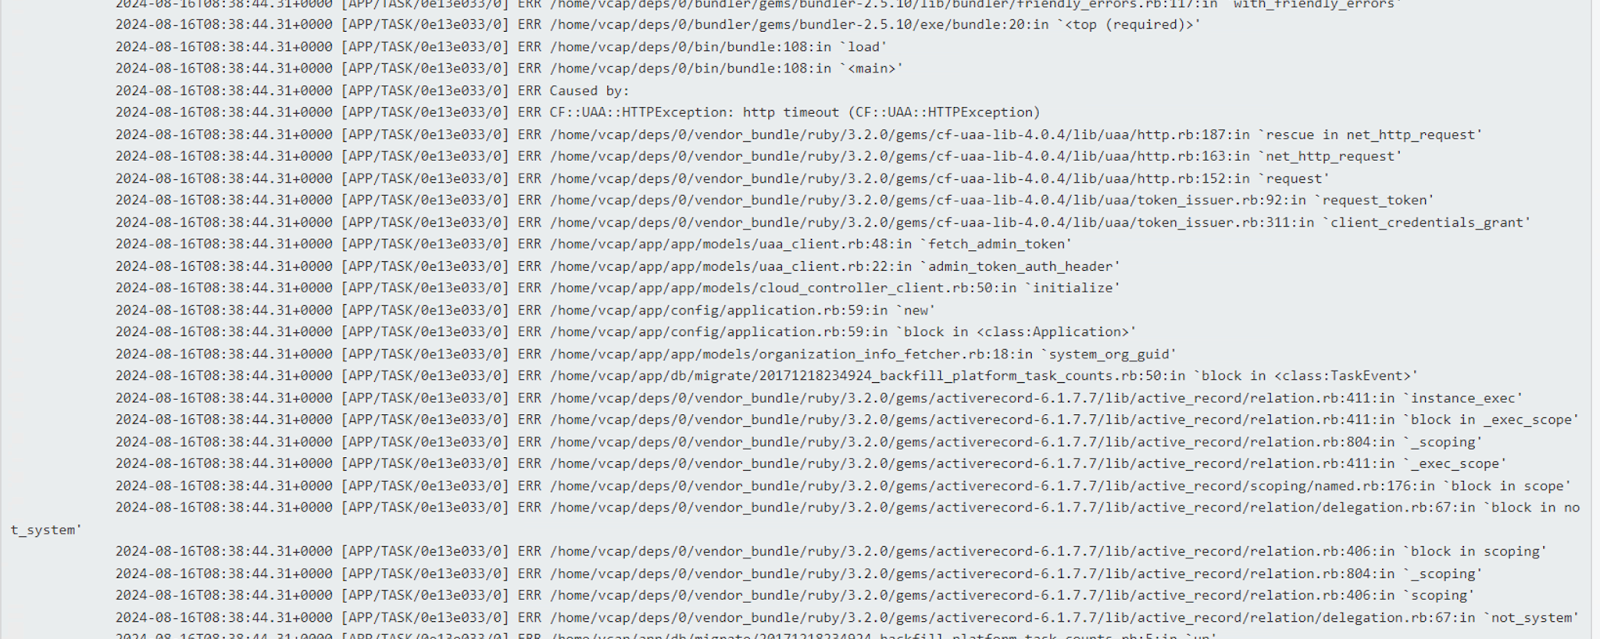
It failed at the same push-usage-service errand again. Wait, but the error seems to be different, if you take a closer look.
"ERR http timeout"
"ERR Caused by:"
"ERR CF::UAA::HTTPException: http timeout (CF::UAA::HTTPException)"
Similar to the previous issue of not being able to talk to the mysql service, now this means that the container network is not being able to talk to the UAA server. UAA is basically hosted behind the same system domain, so in this case your destination IP should be the web vip that you created on AVI LB. So we just add that IP to the rule we previously created as shown below.
Now, we apply changes again.
There we go!
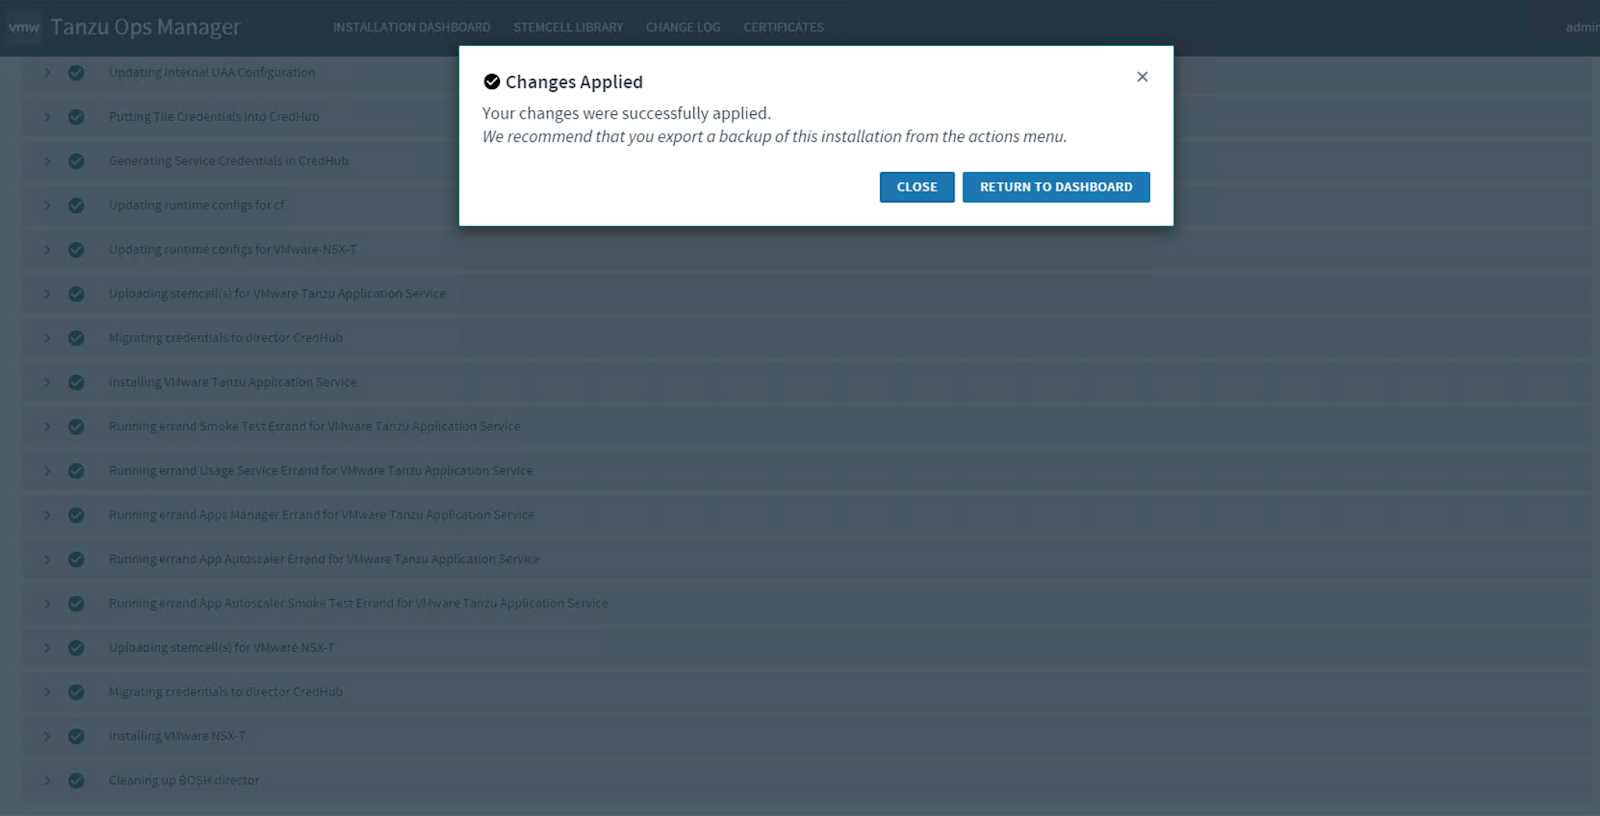
That’s it, our TAS deployment with AVI is now complete. Let us proceed to deploy an app using cf cli and see it in action in the following post!