
TAS/ALB Installation Series – Part 3
In my previous articles, I spoke about deploying and setting up AVI controller. In this article, we will discuss the pre-requisites required to setup TAS both from a NSX-T and AVI perspective.
NSX-T Pre-requisites
Constructs to be used by ALB
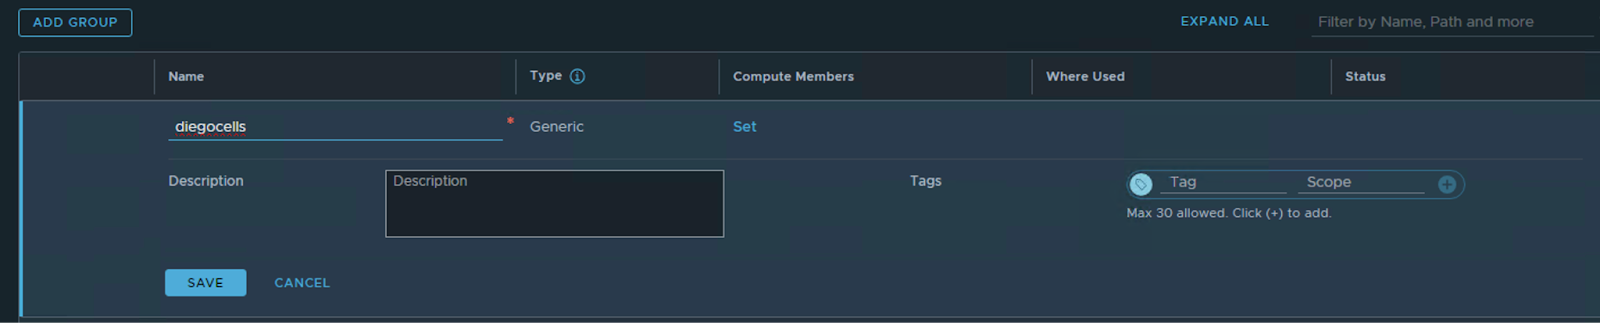
We will first create security groups that we will use while creating LBs on AVI. Navigate to “Inventory – Groups – Add Group”.
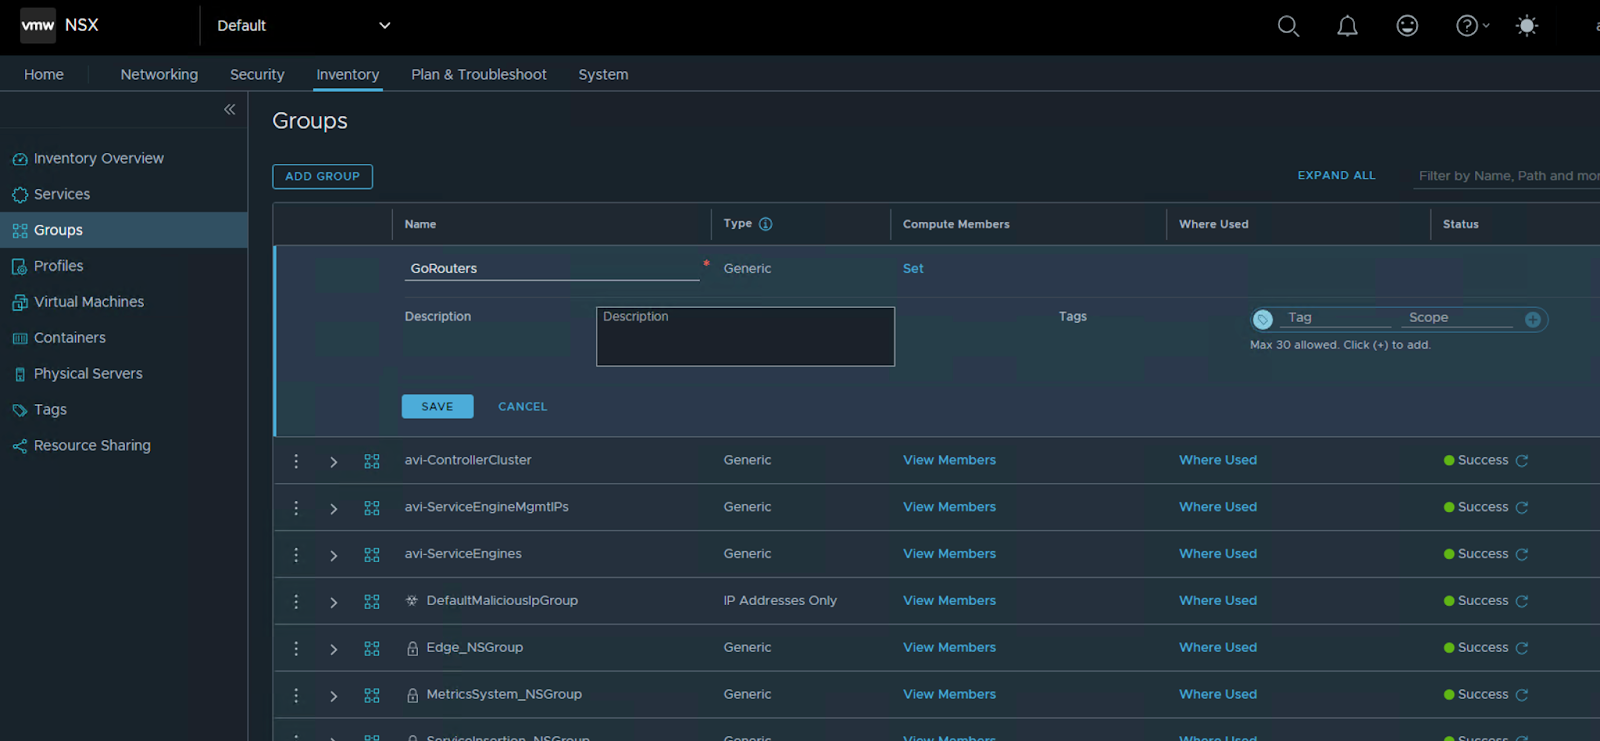
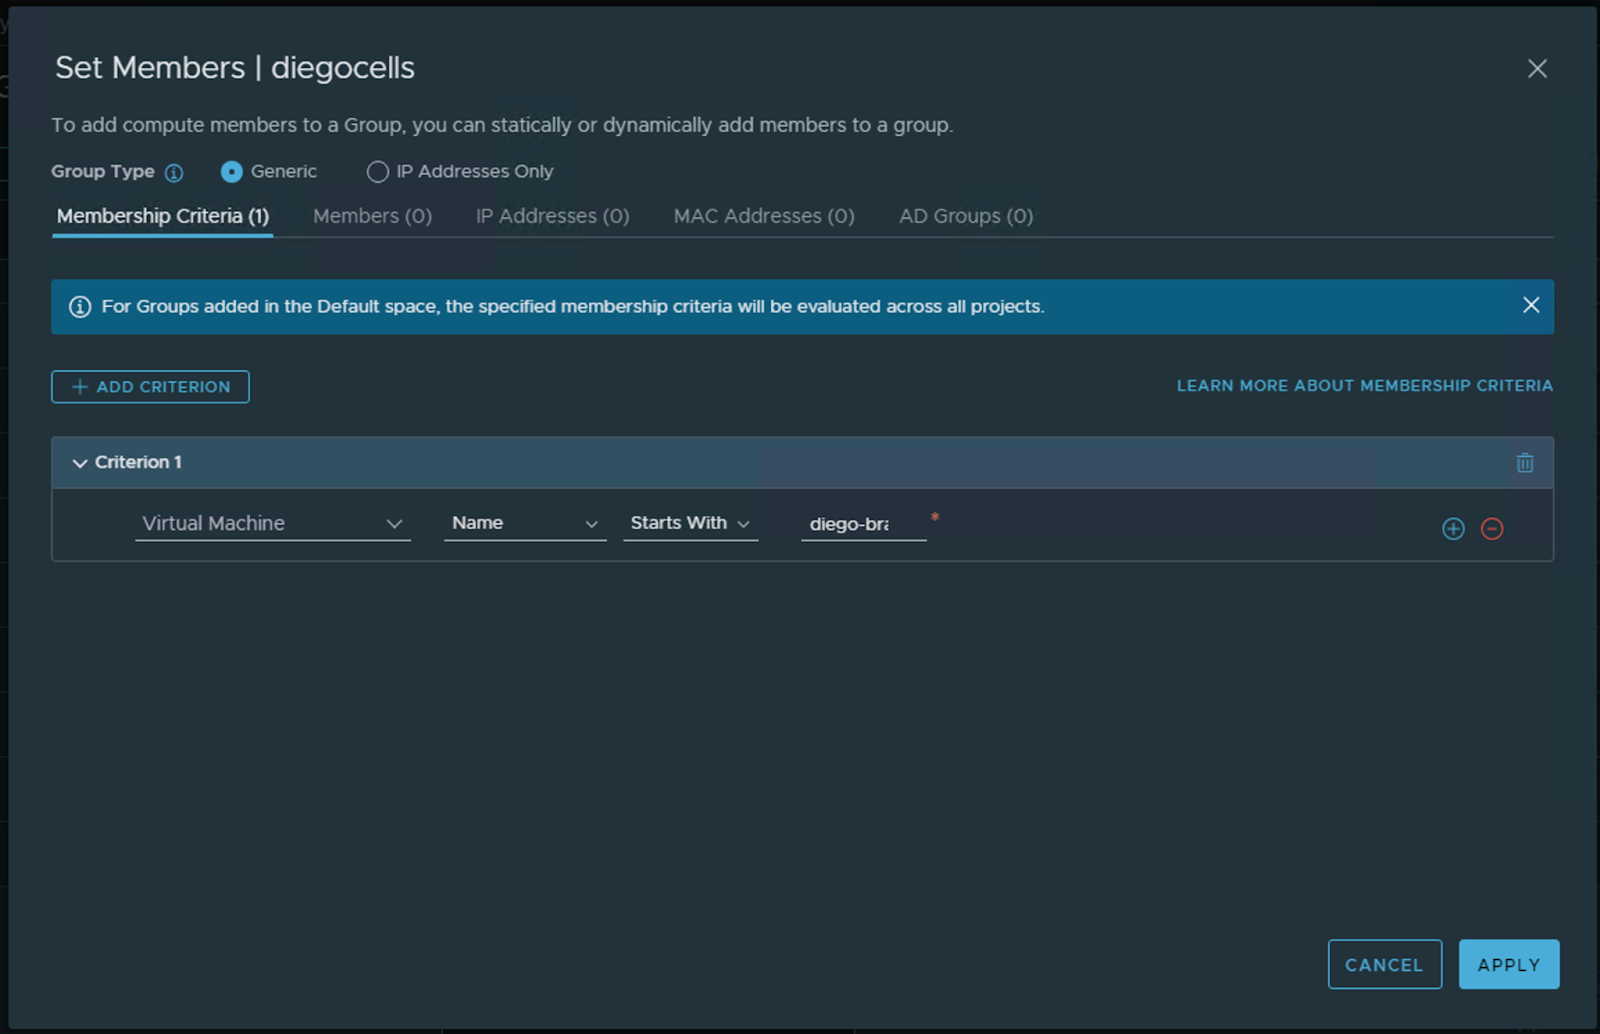
Click on “Set” under Compute Member and define the “Membership Criteria” as shown below.
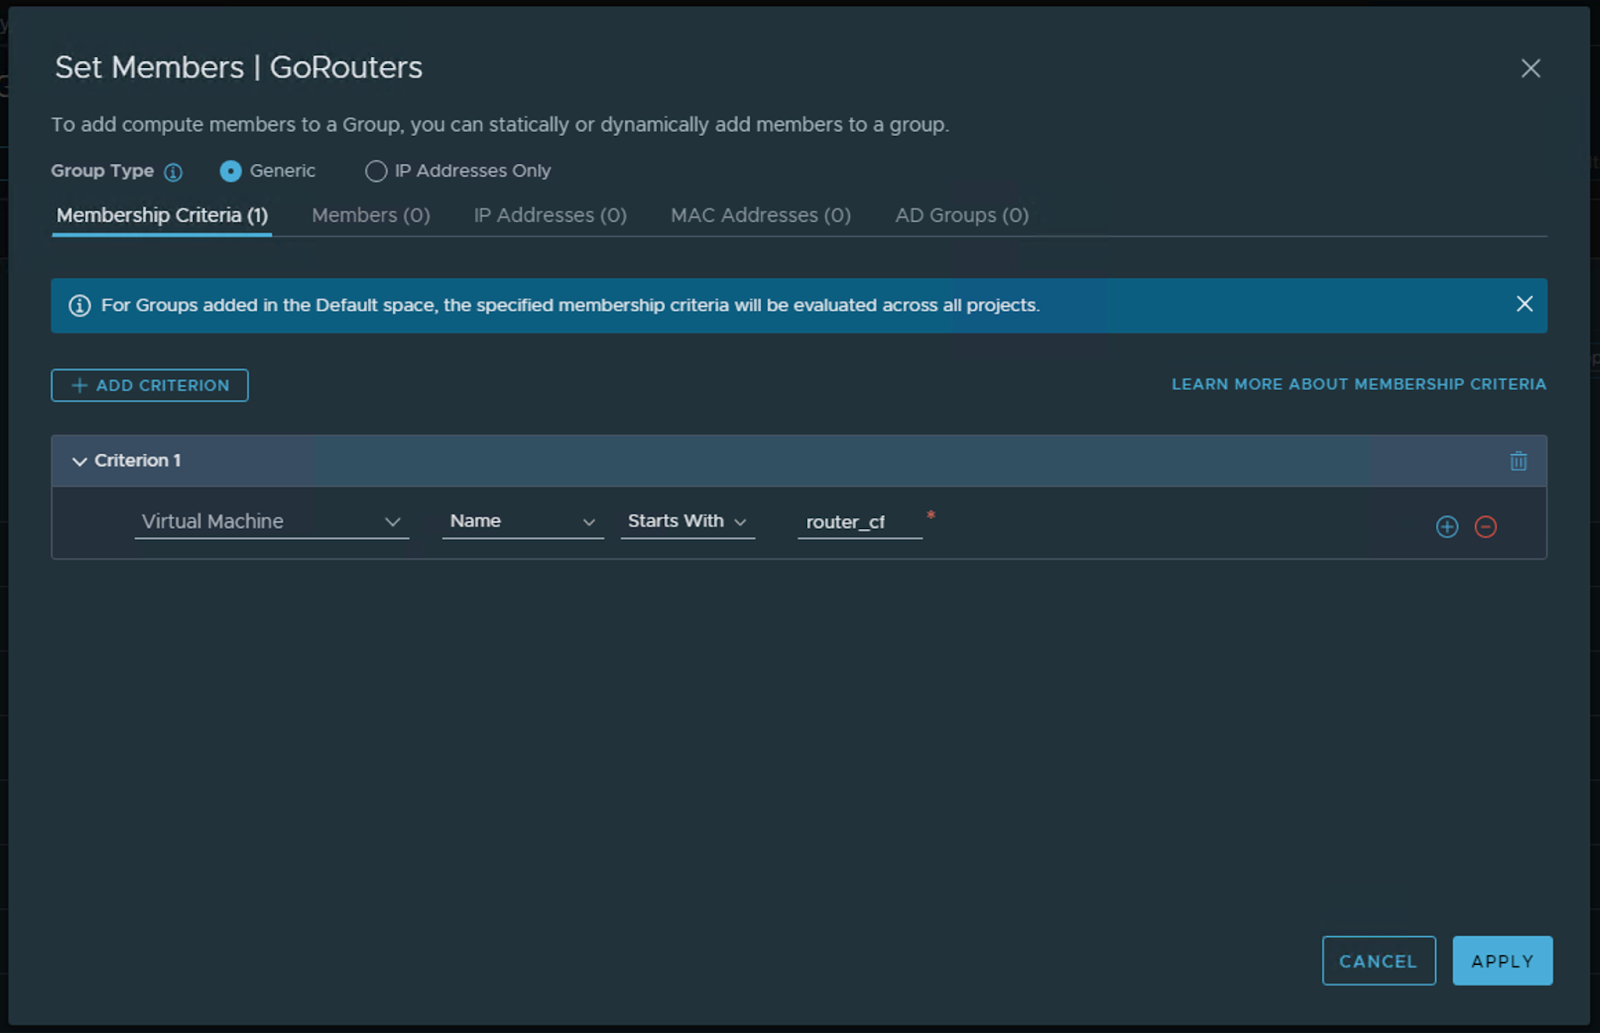
Go Router VMs are deployed with a name that looks like “router_cf-xxx” when the “Use human readable names” option is enabled. So, we leverage this to create our security groups. Similary we will create a security group for Diego Brain VMs.
Constructs to be used by NCP Overlay
We will create the overlay segments that will be used during the TAS deployment.


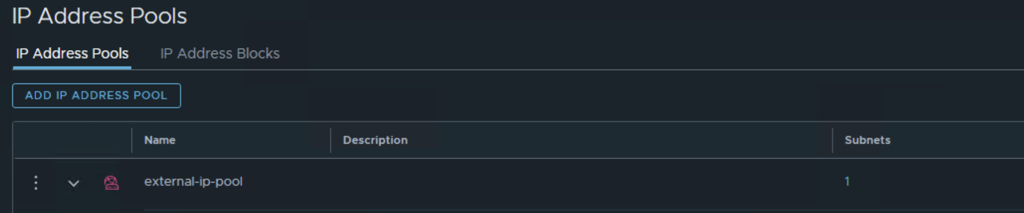
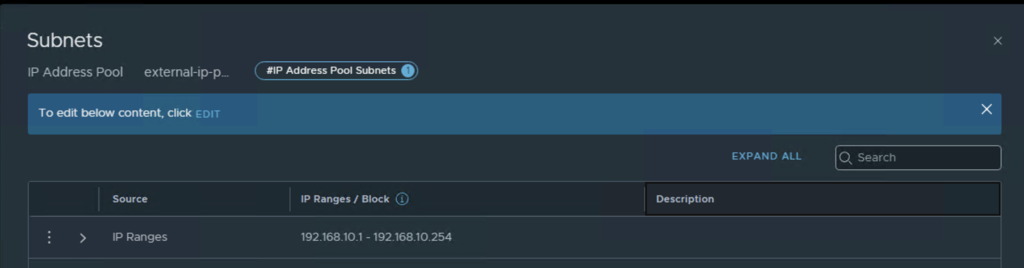
Create an IP block to be used by the containers (can be any private network) and an external IP pool to be used as SNAT for the orgs (should be a routable network).

AVI Pre-requisites
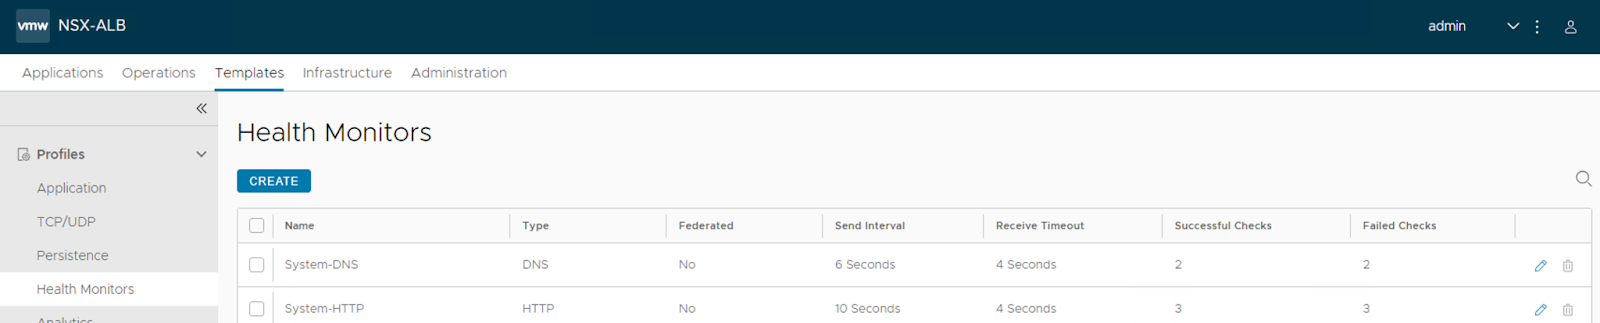
Health Monitors
Navigate to “Templates – Health Monitors – Create”.
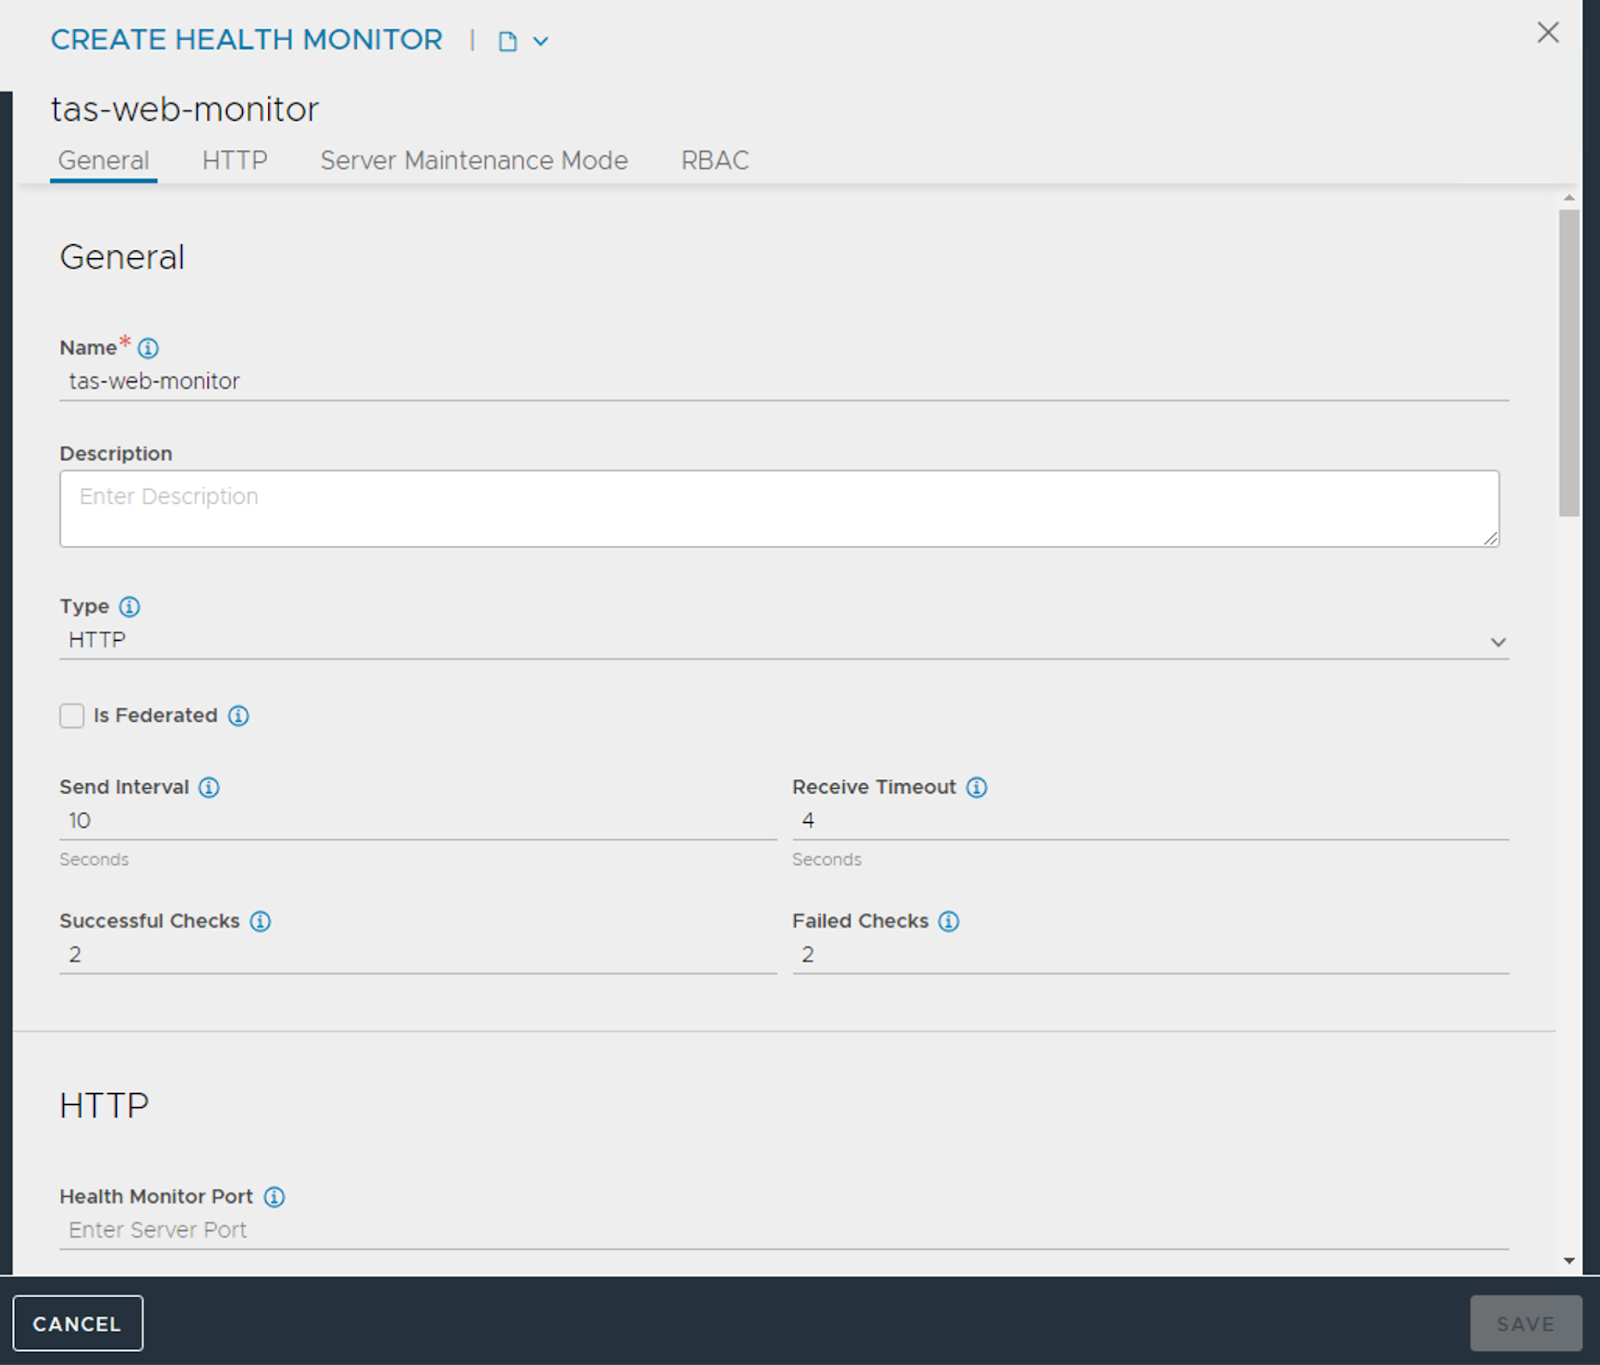
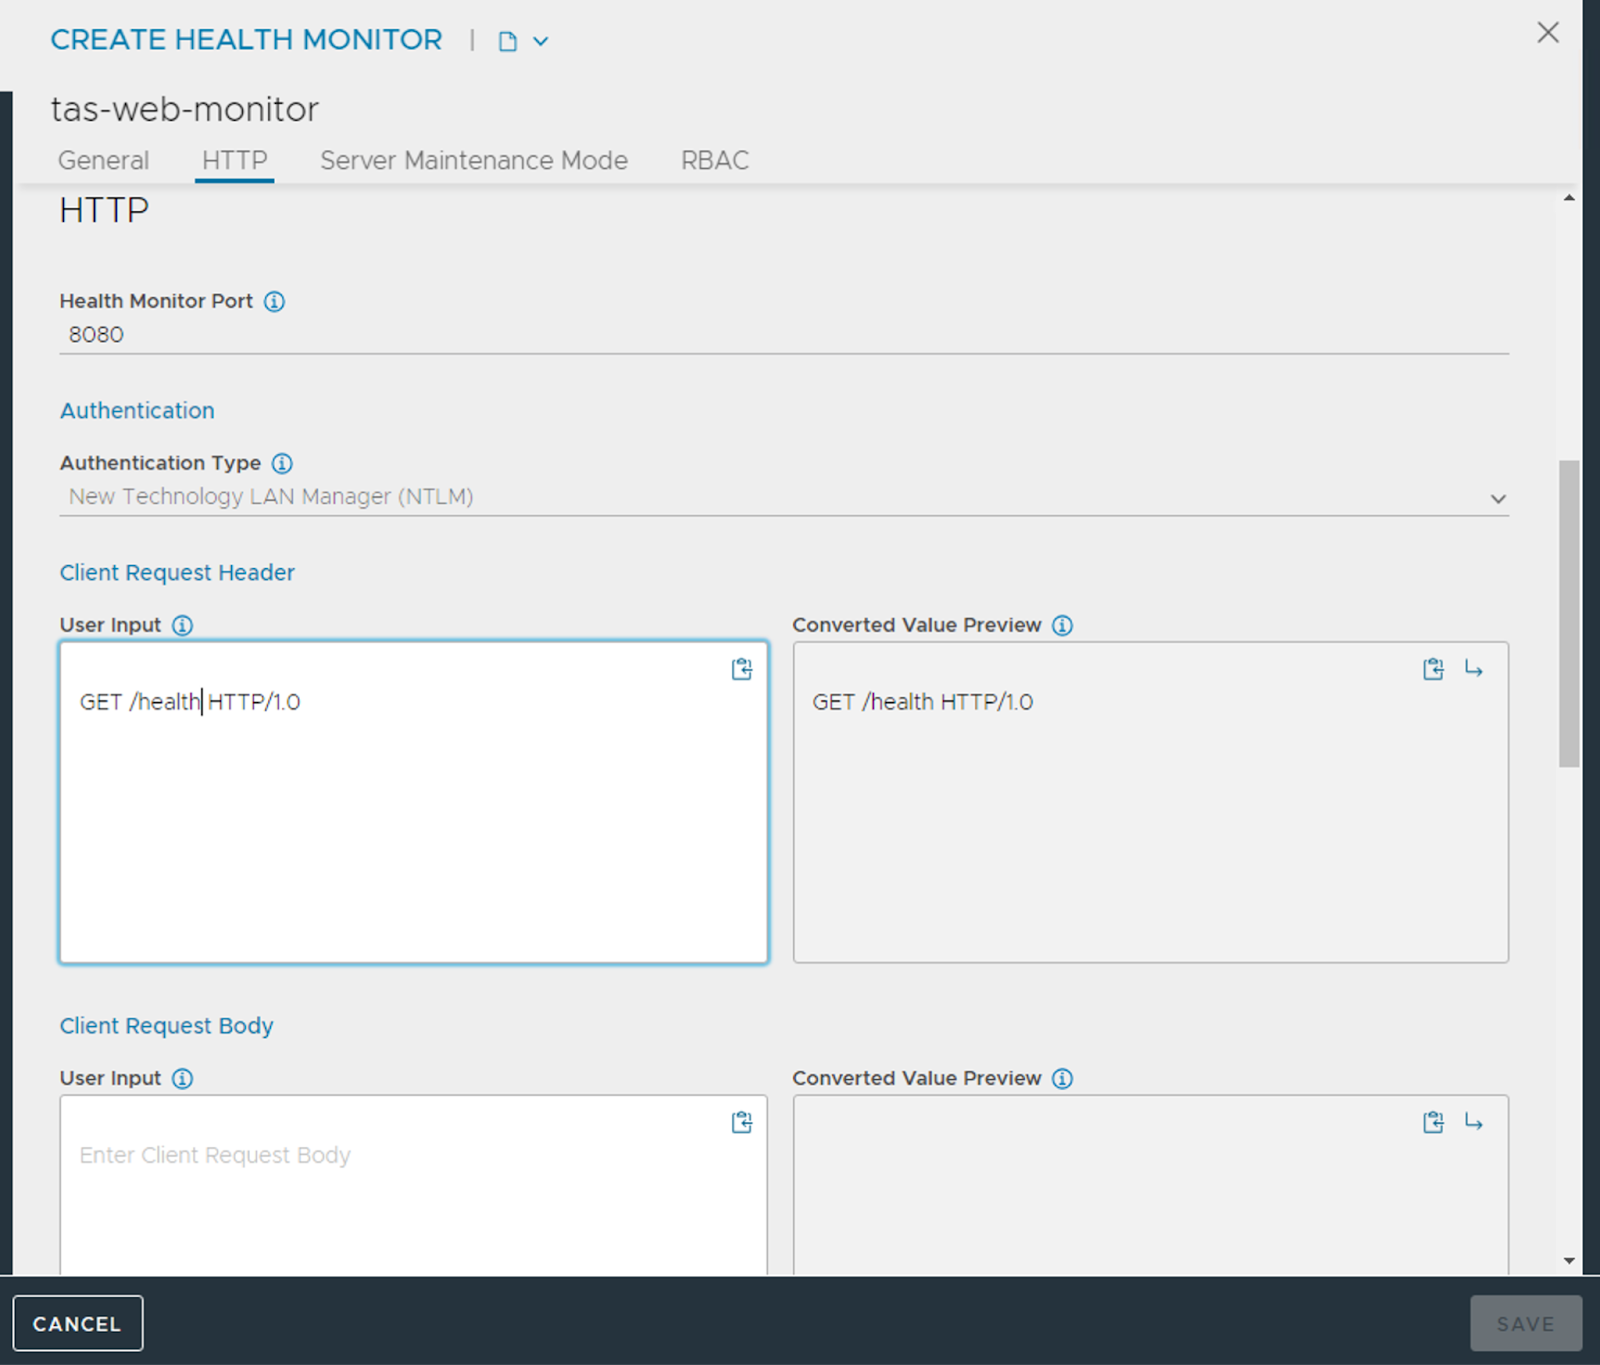
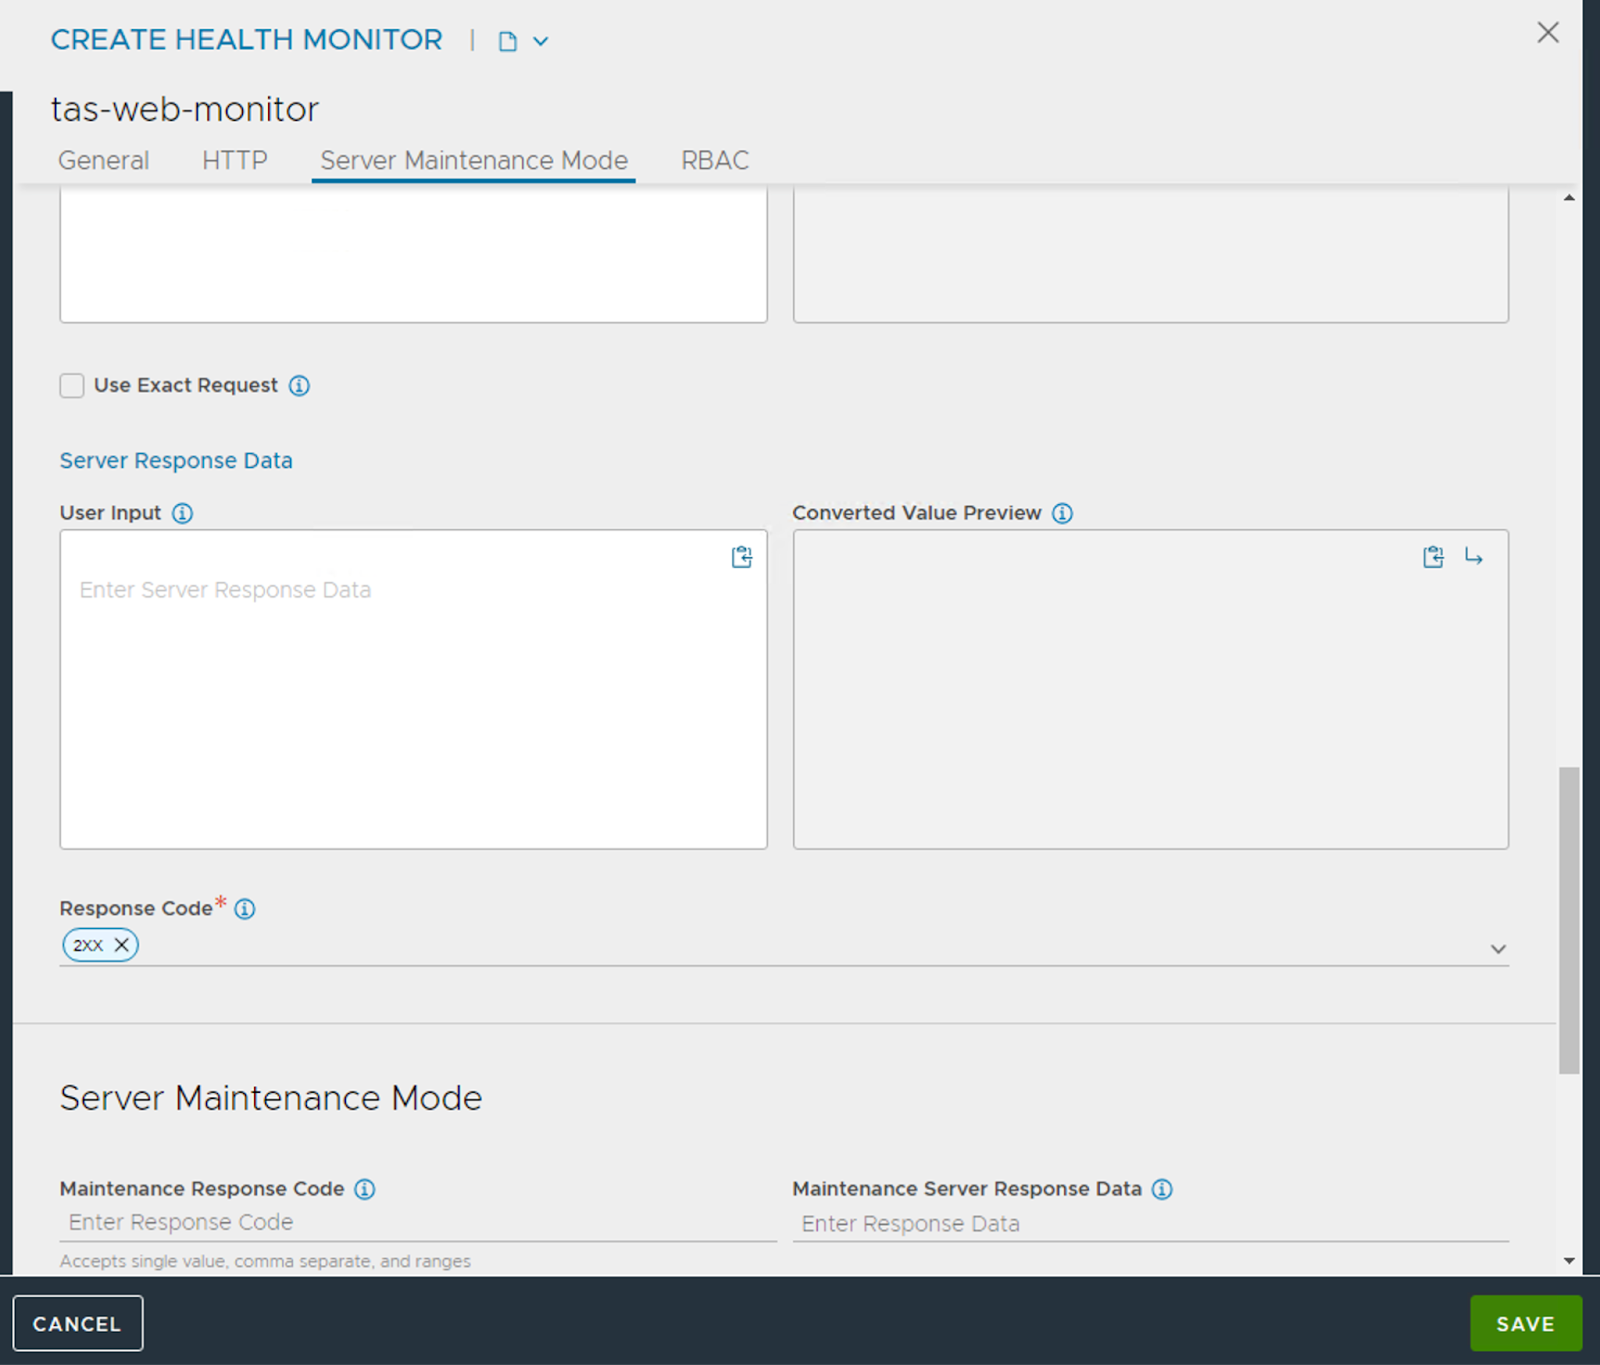
Name the health monitor and use 8080 as the monitor port with the following Client Request Header and Response codes and Save the configuration (Leave the rest of the fields to their default values).
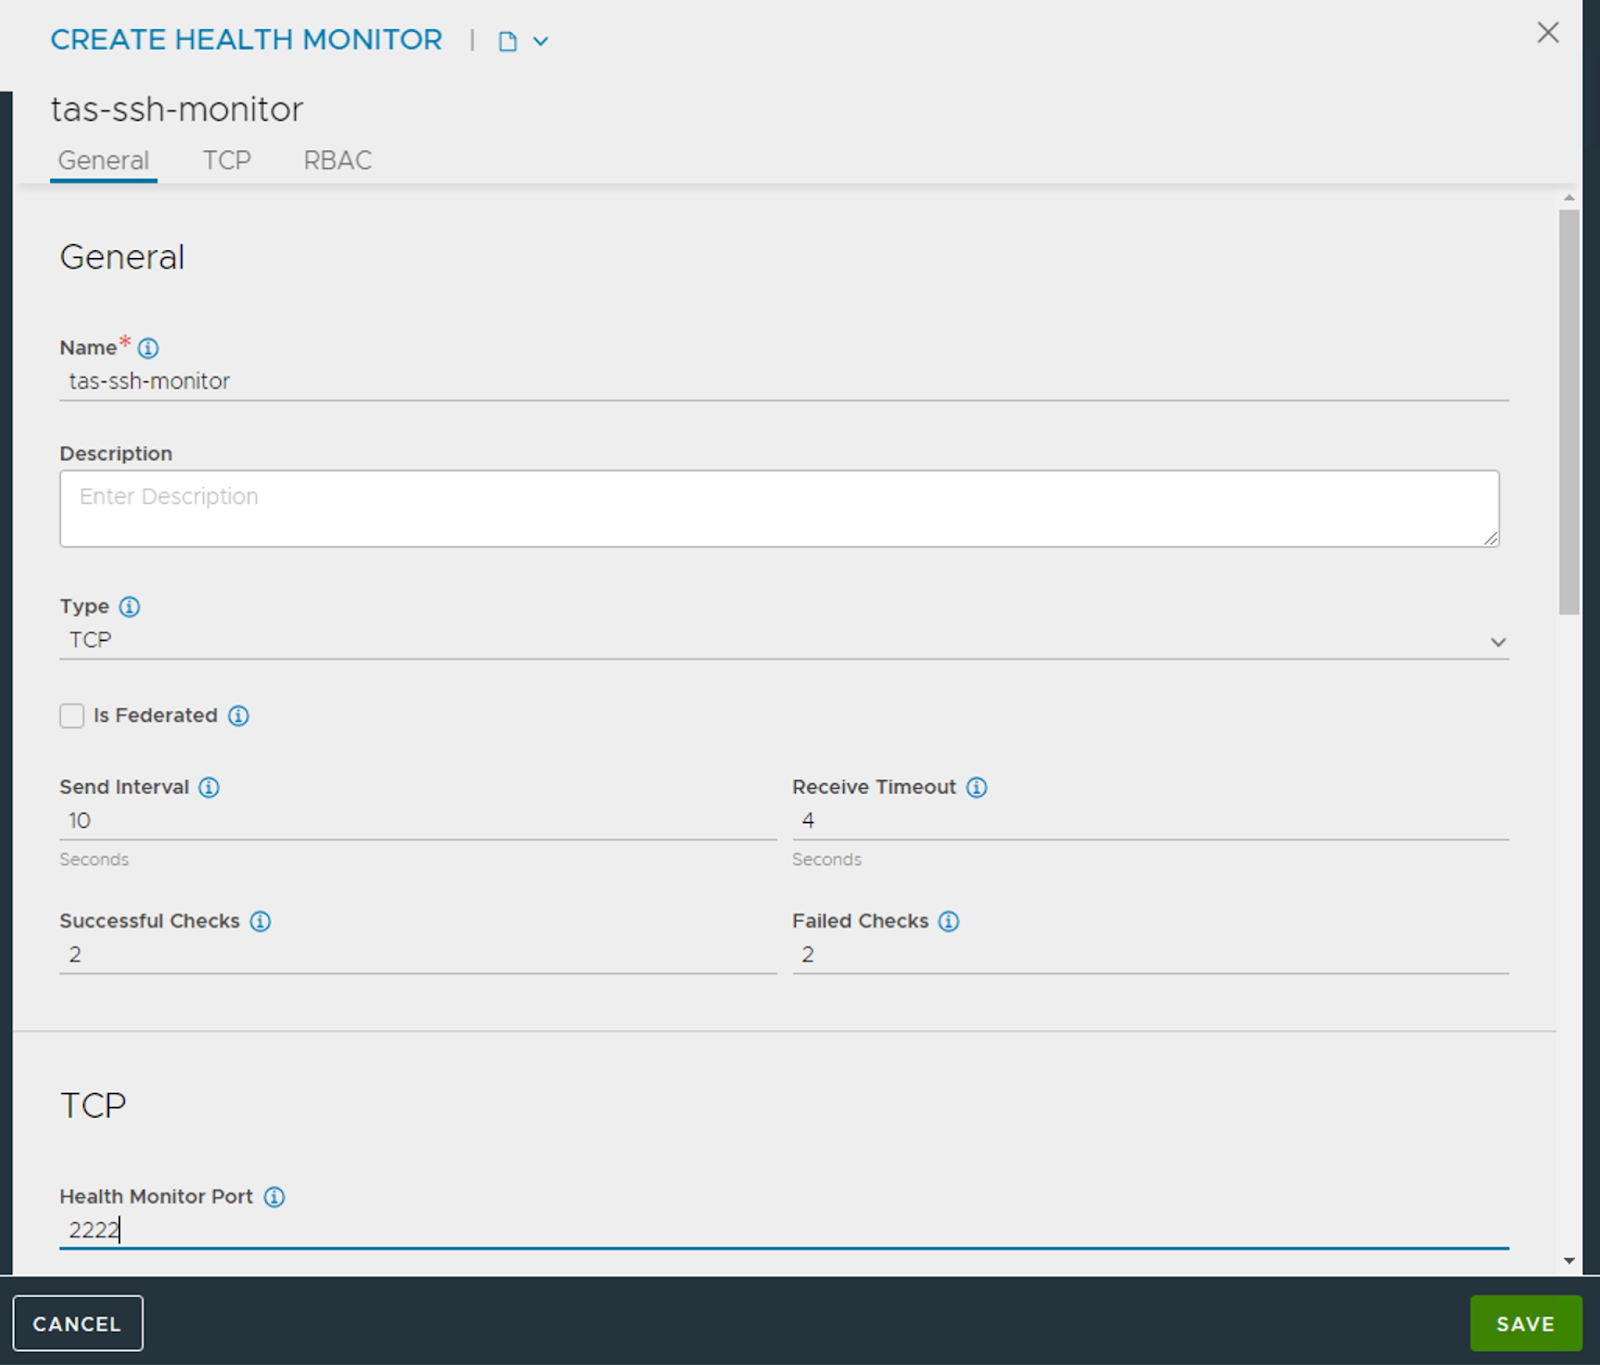
Create another TCP monitor with monitoring port set to 2222 as shown below.
Import SSL Certs
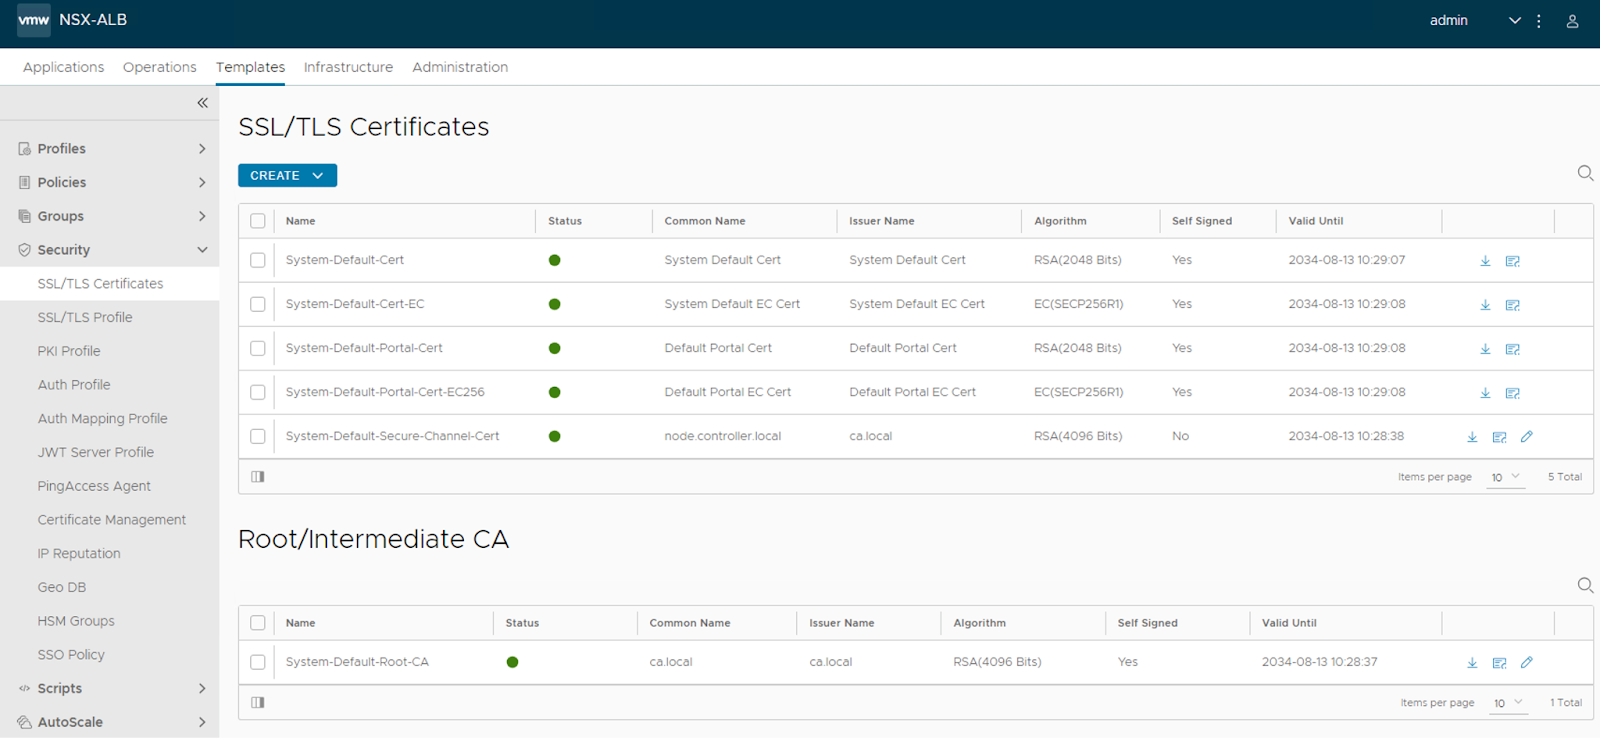
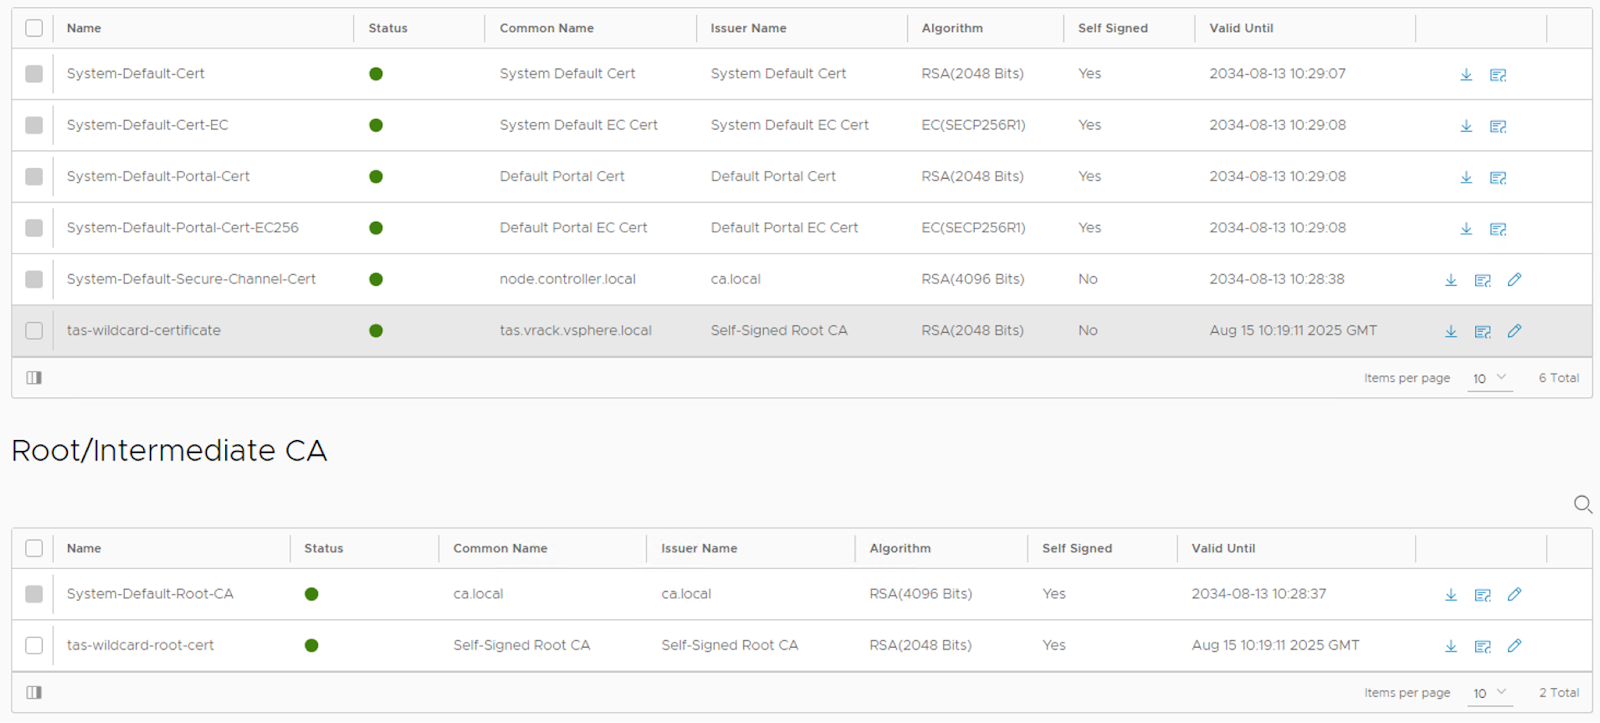
To be able to create a Virtual Service with HTTPS, we will have to import the (wildcard) cert(s) of the TAS domain. Navigate to “Templates – SSL/TLS Certificates – Create”
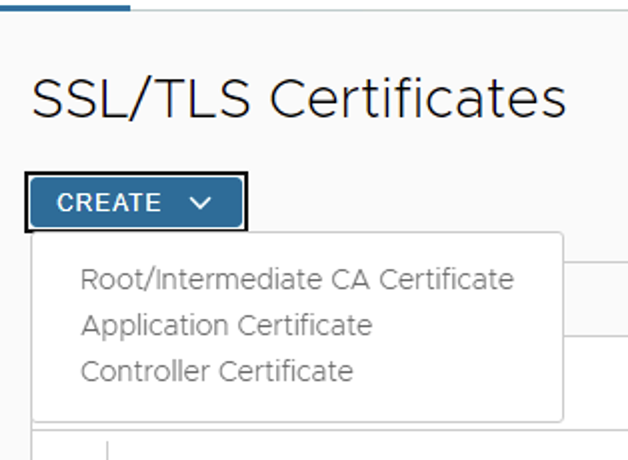
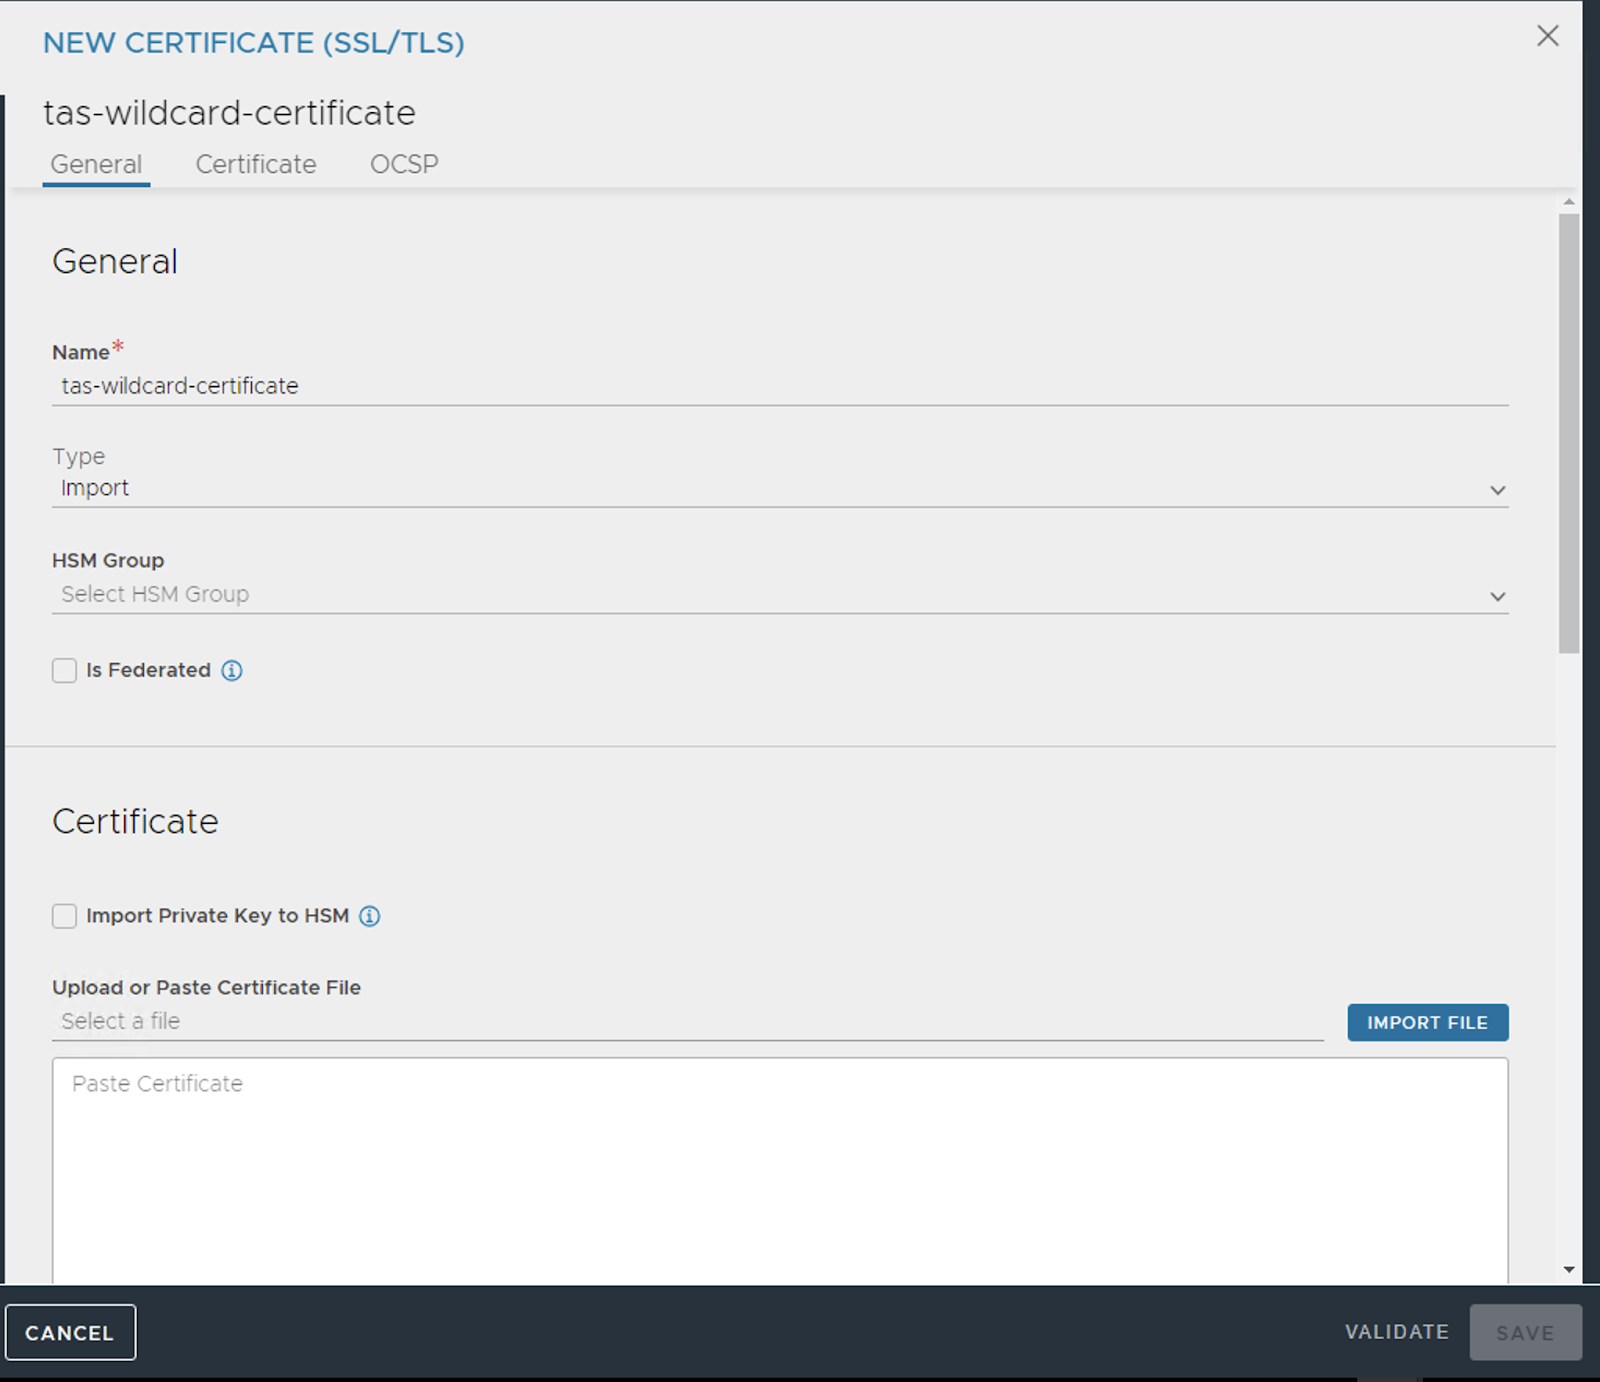
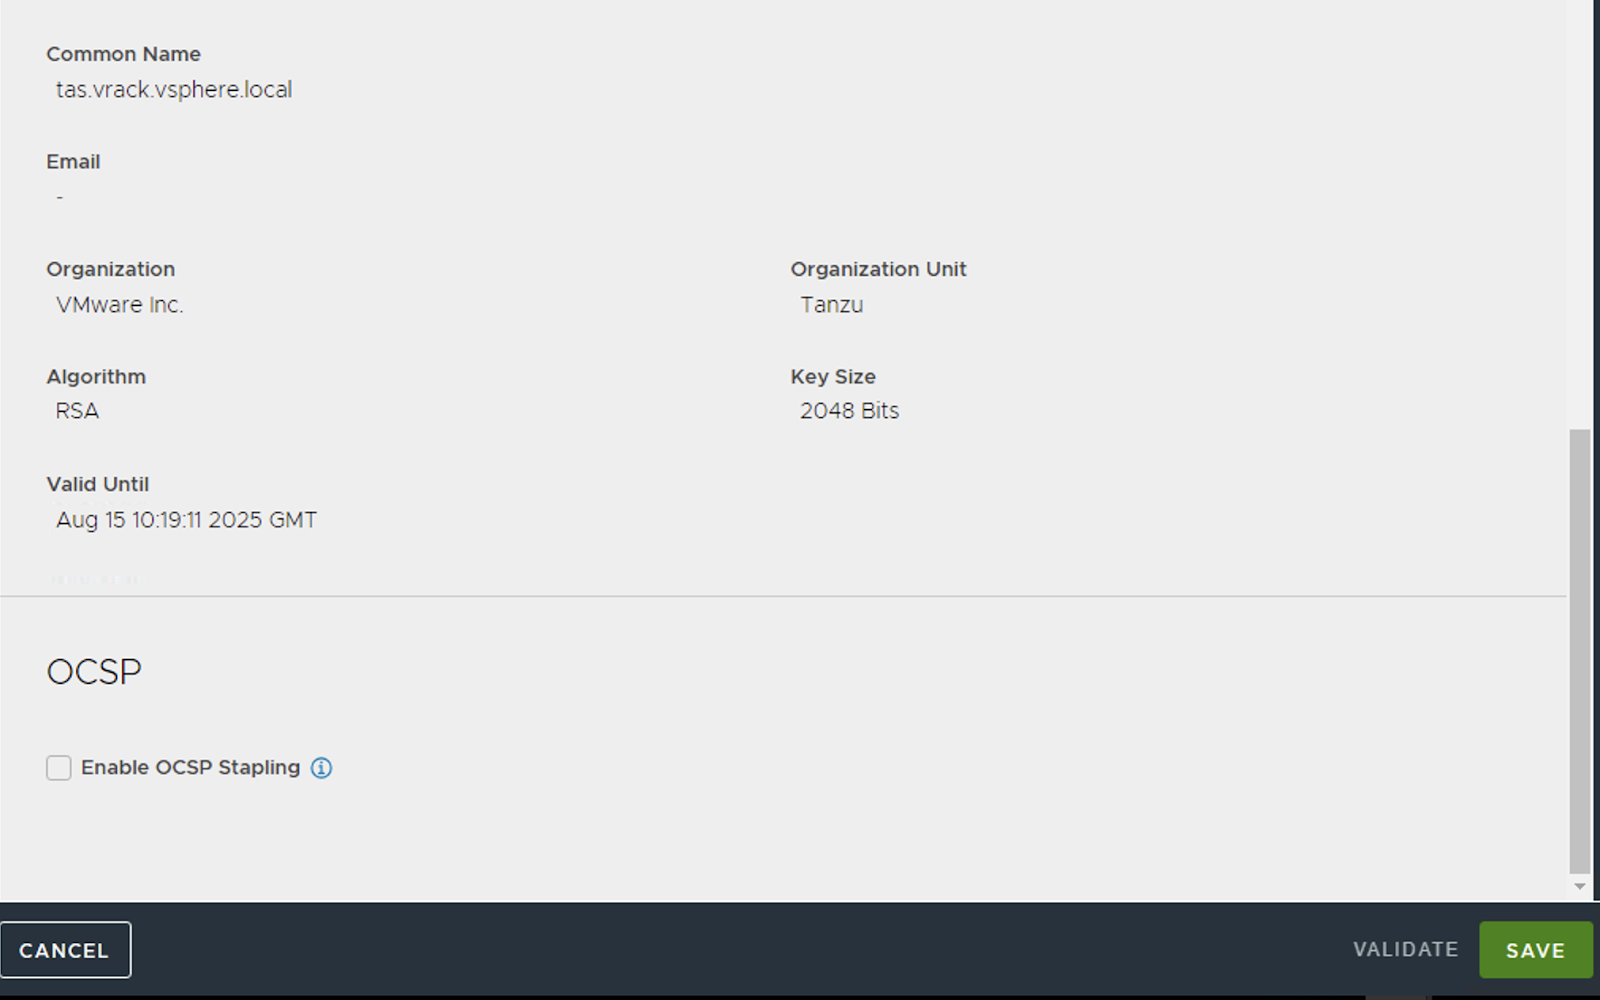
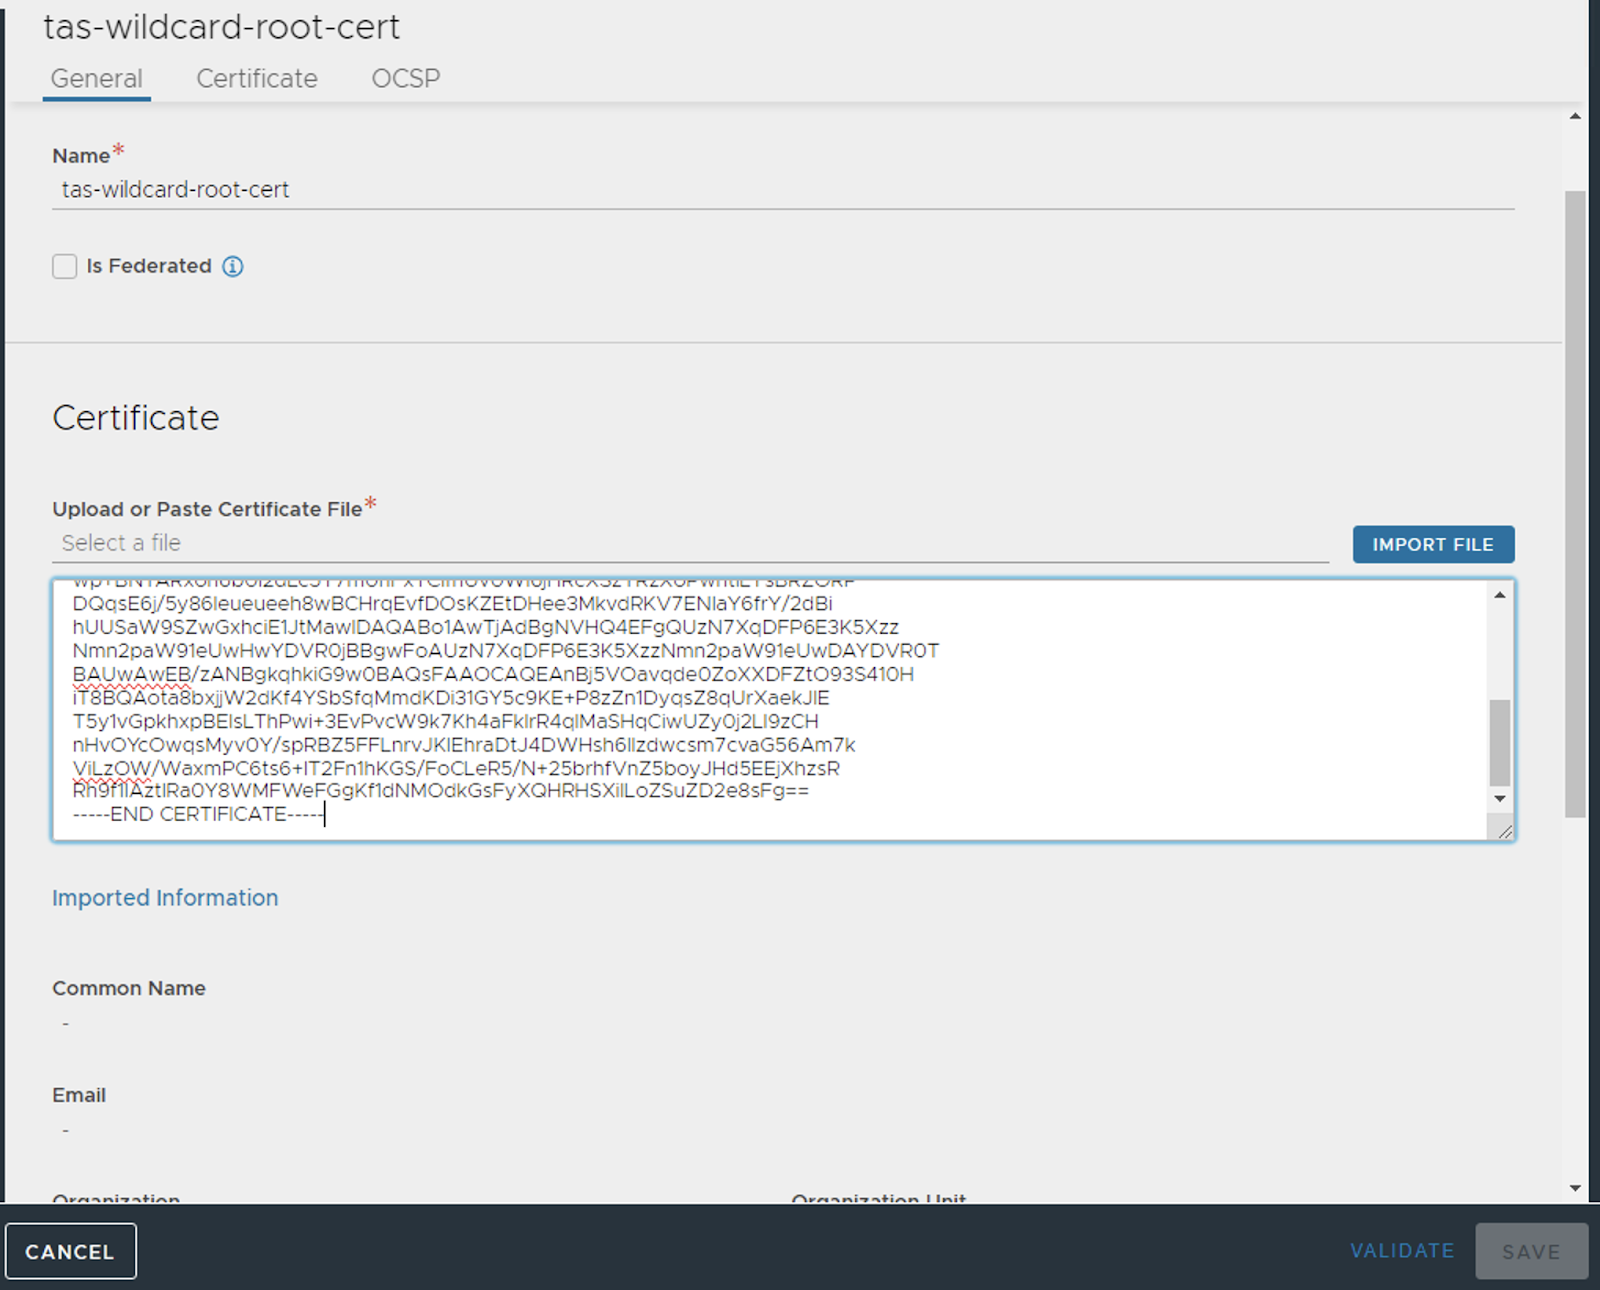
Choose “Application Certificate”. Give it a name and paste the contents of your cert and key into the respective fields.
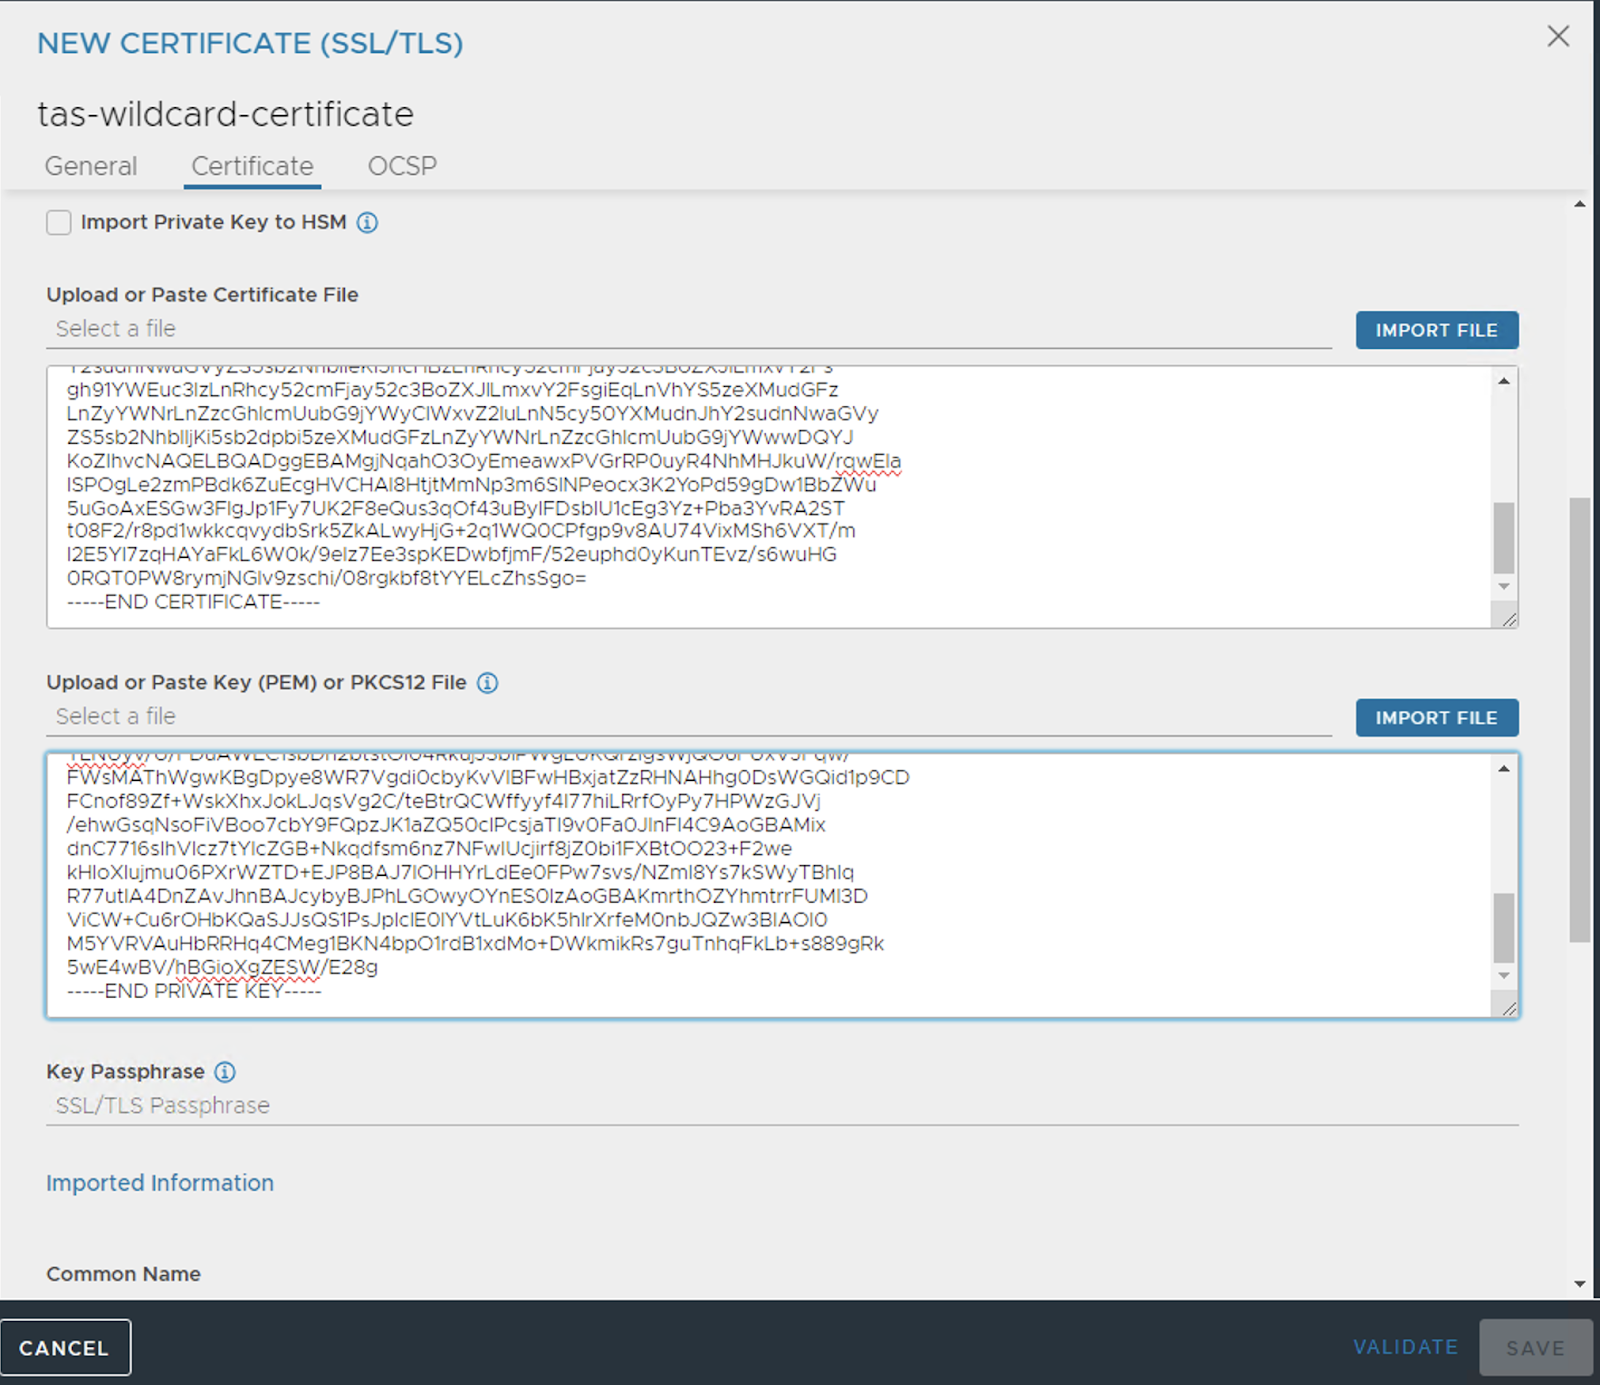
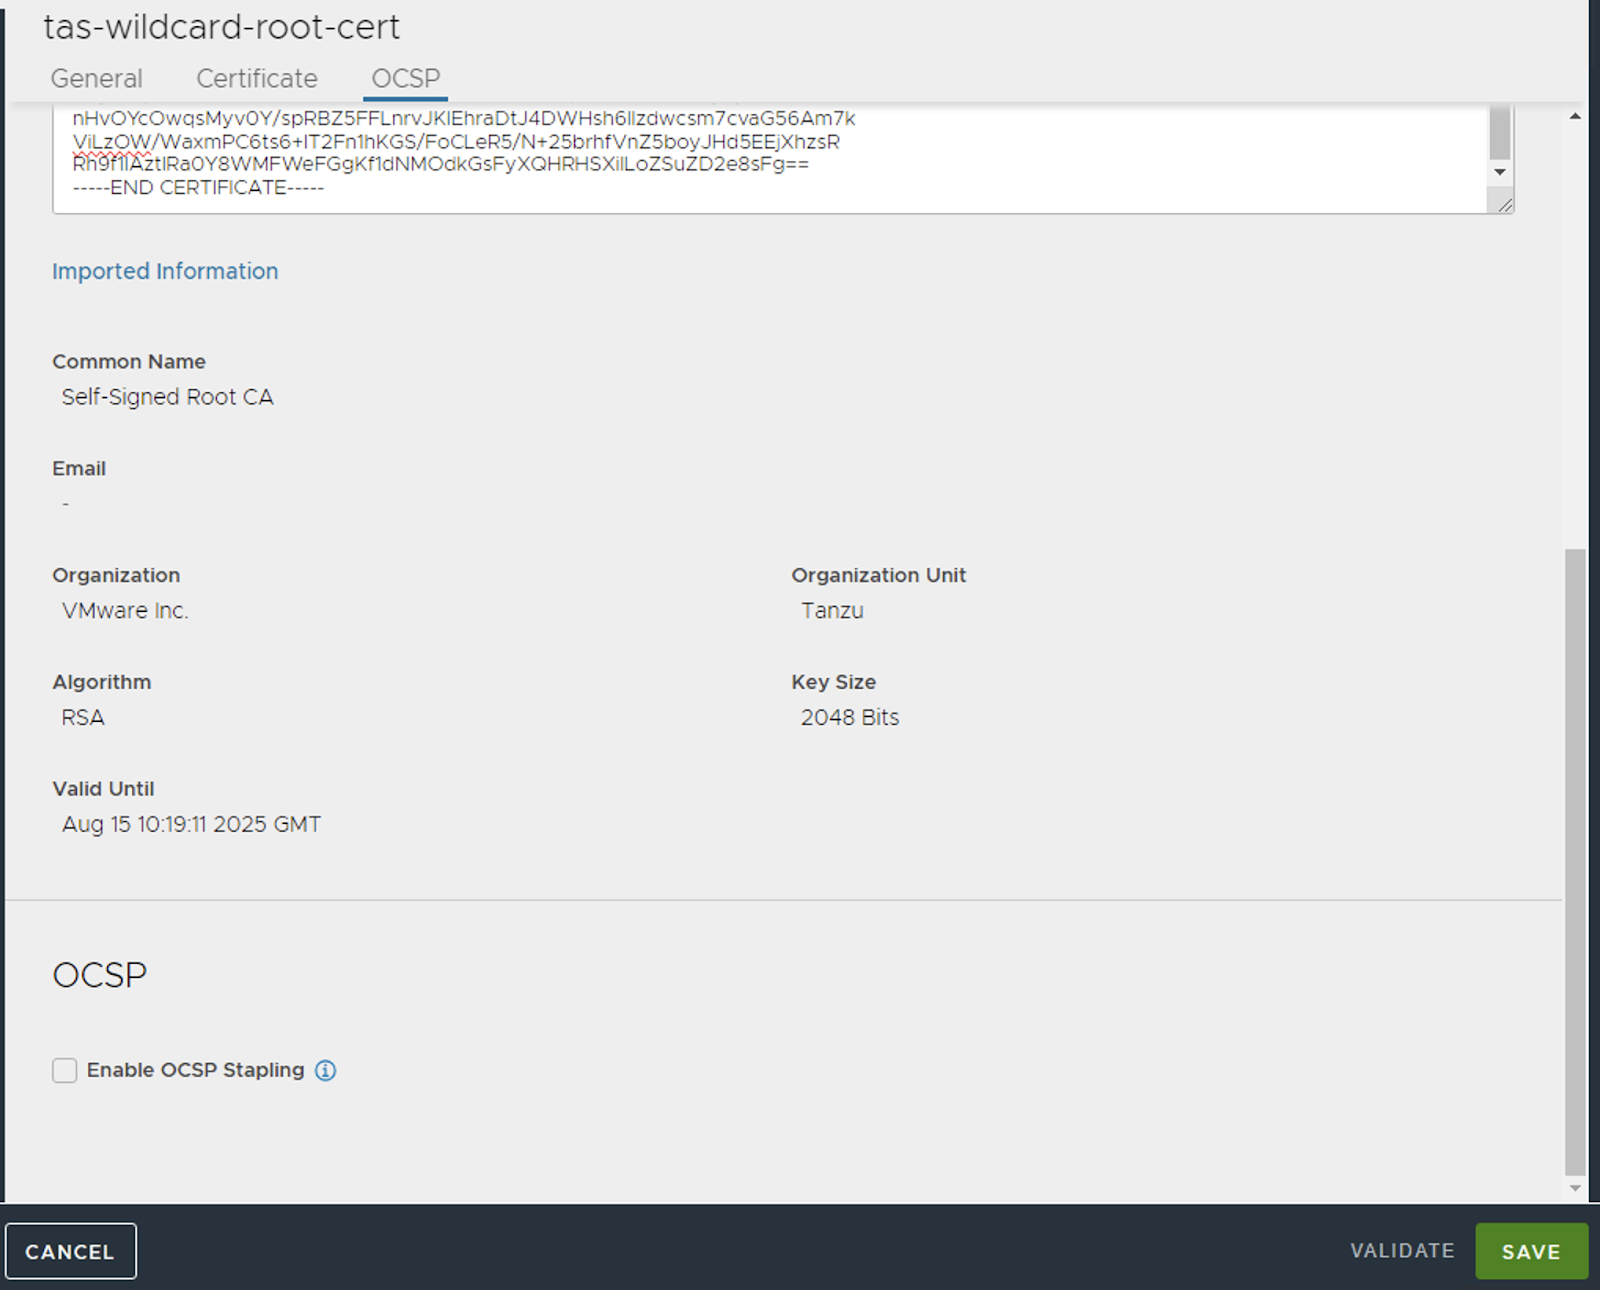
Upon clicking Validate, you should see the CN name (TAS domain) and other details from your certificate. Click Save and proceed.
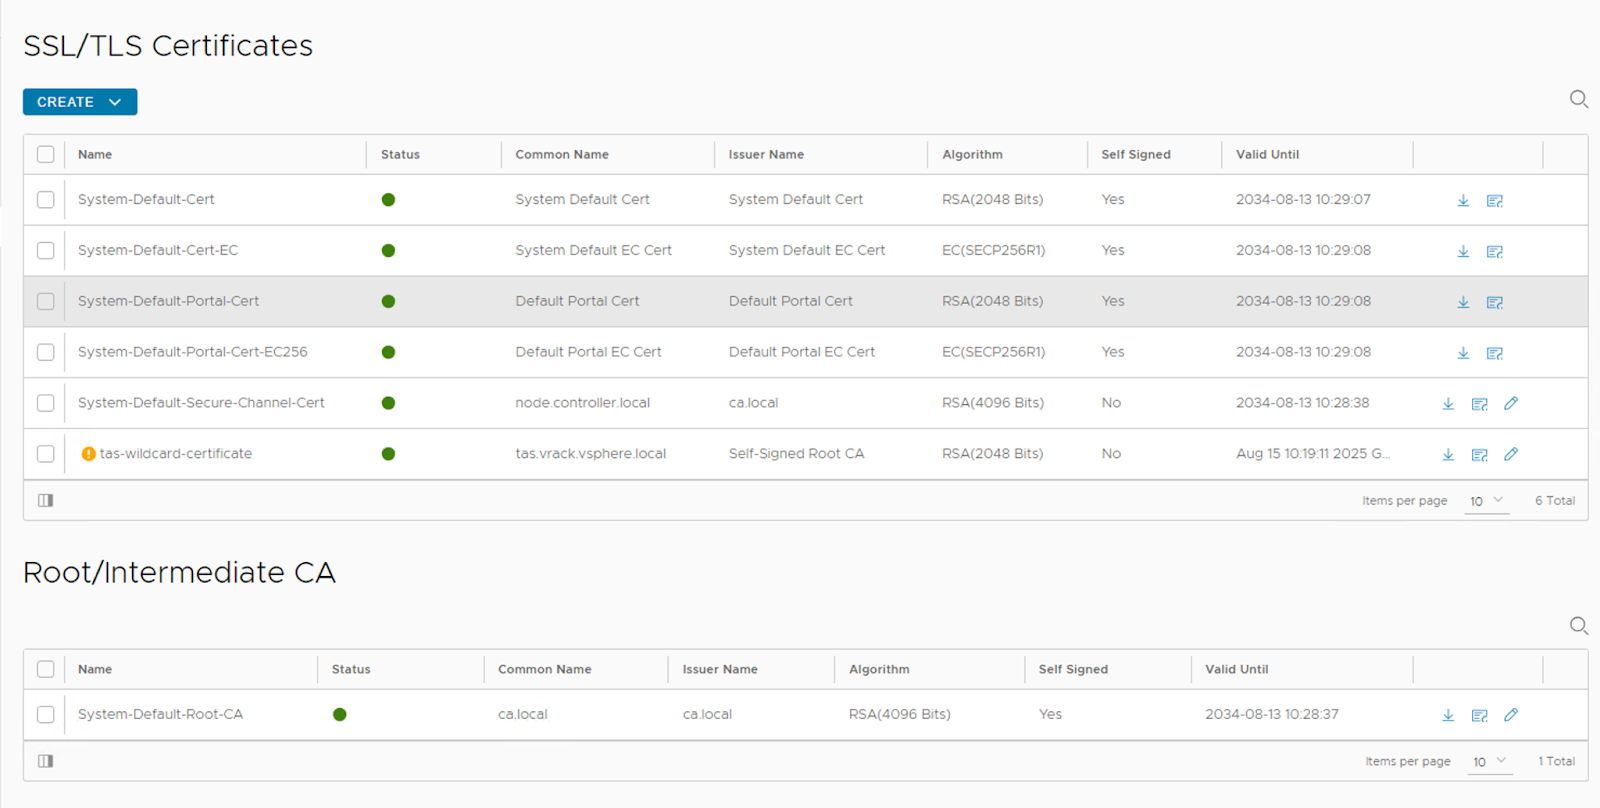
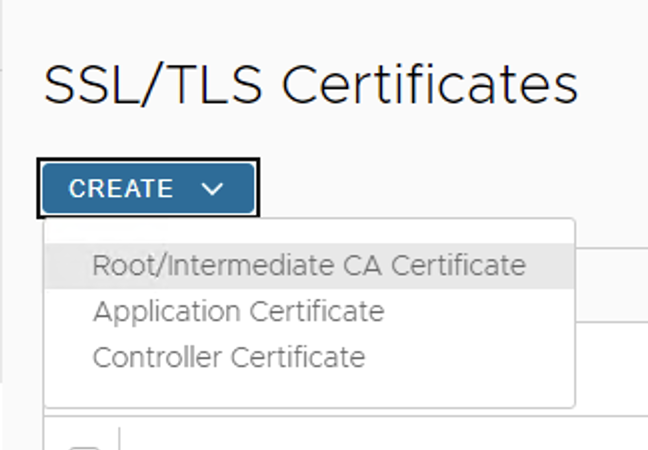
There is a warning on the UI against the certificate we just imported, this is because AVI Controller doesn’t know who signed the certificate that we just imported, since the cert I used was a self-signed one. So, we repeat the same procedure to import the root certificate as well, except that we choose Root/Intermediate CA Certificate from the Create dropdown instead of Application Certificate.
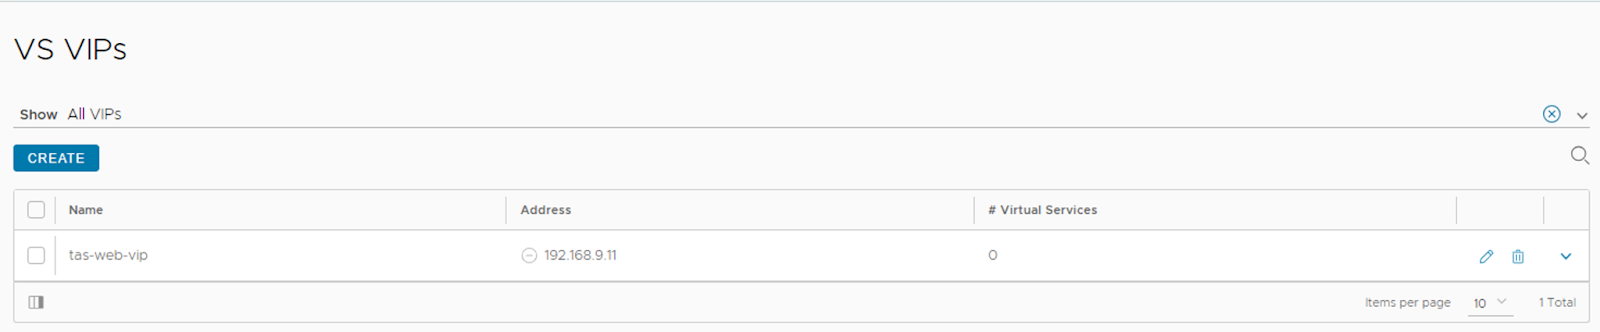
Virtual IP Creation
Navigate to “Applications – VS VIPs – Create”.
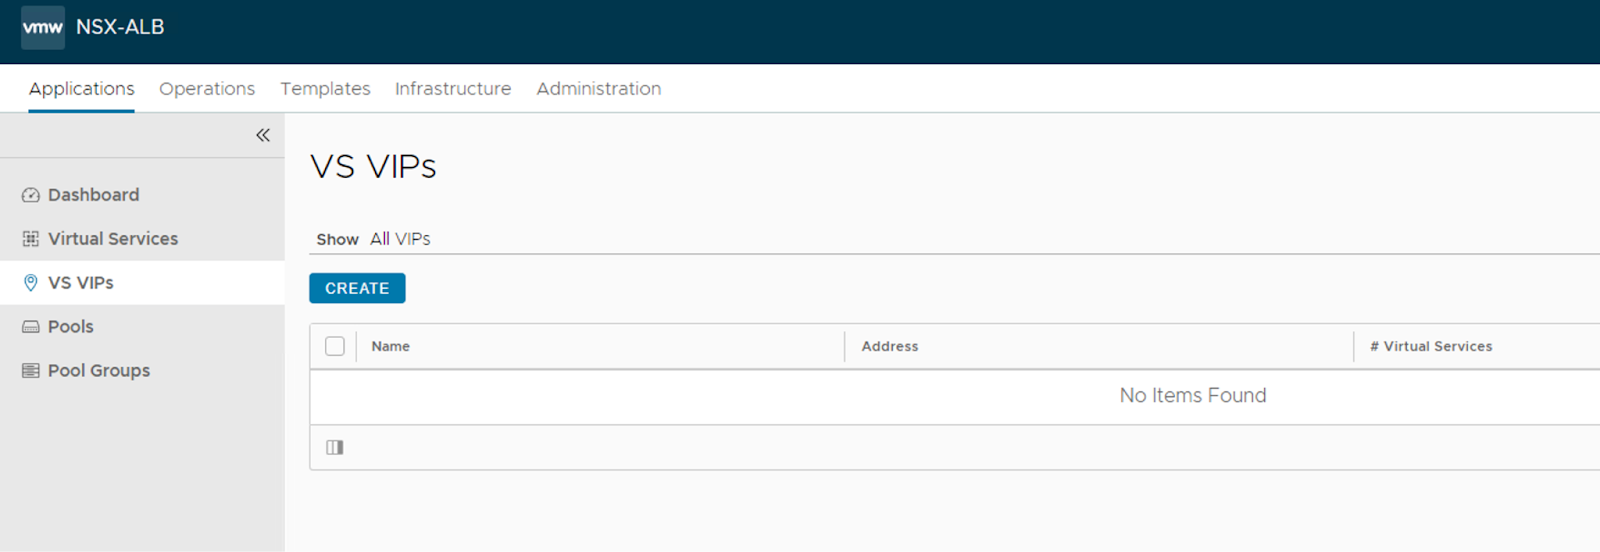
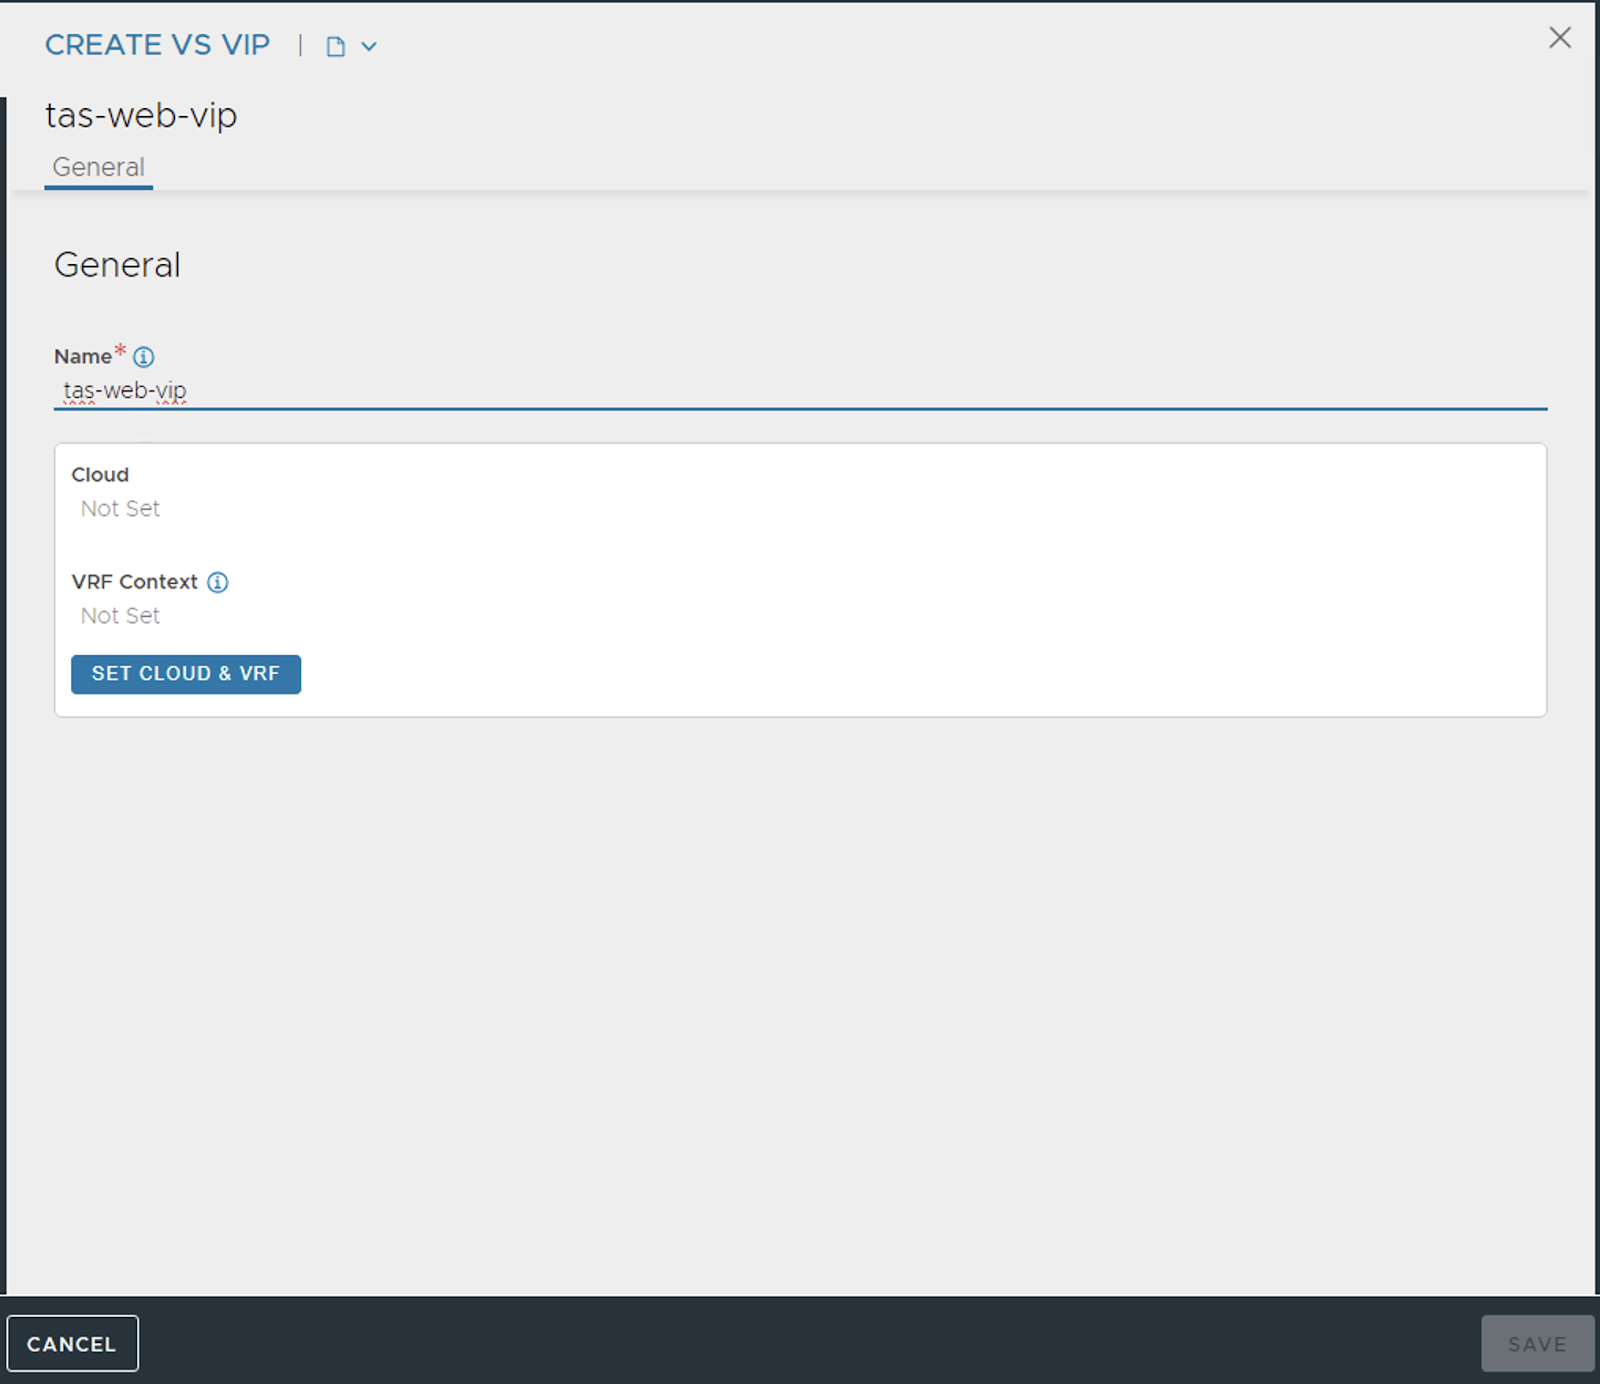
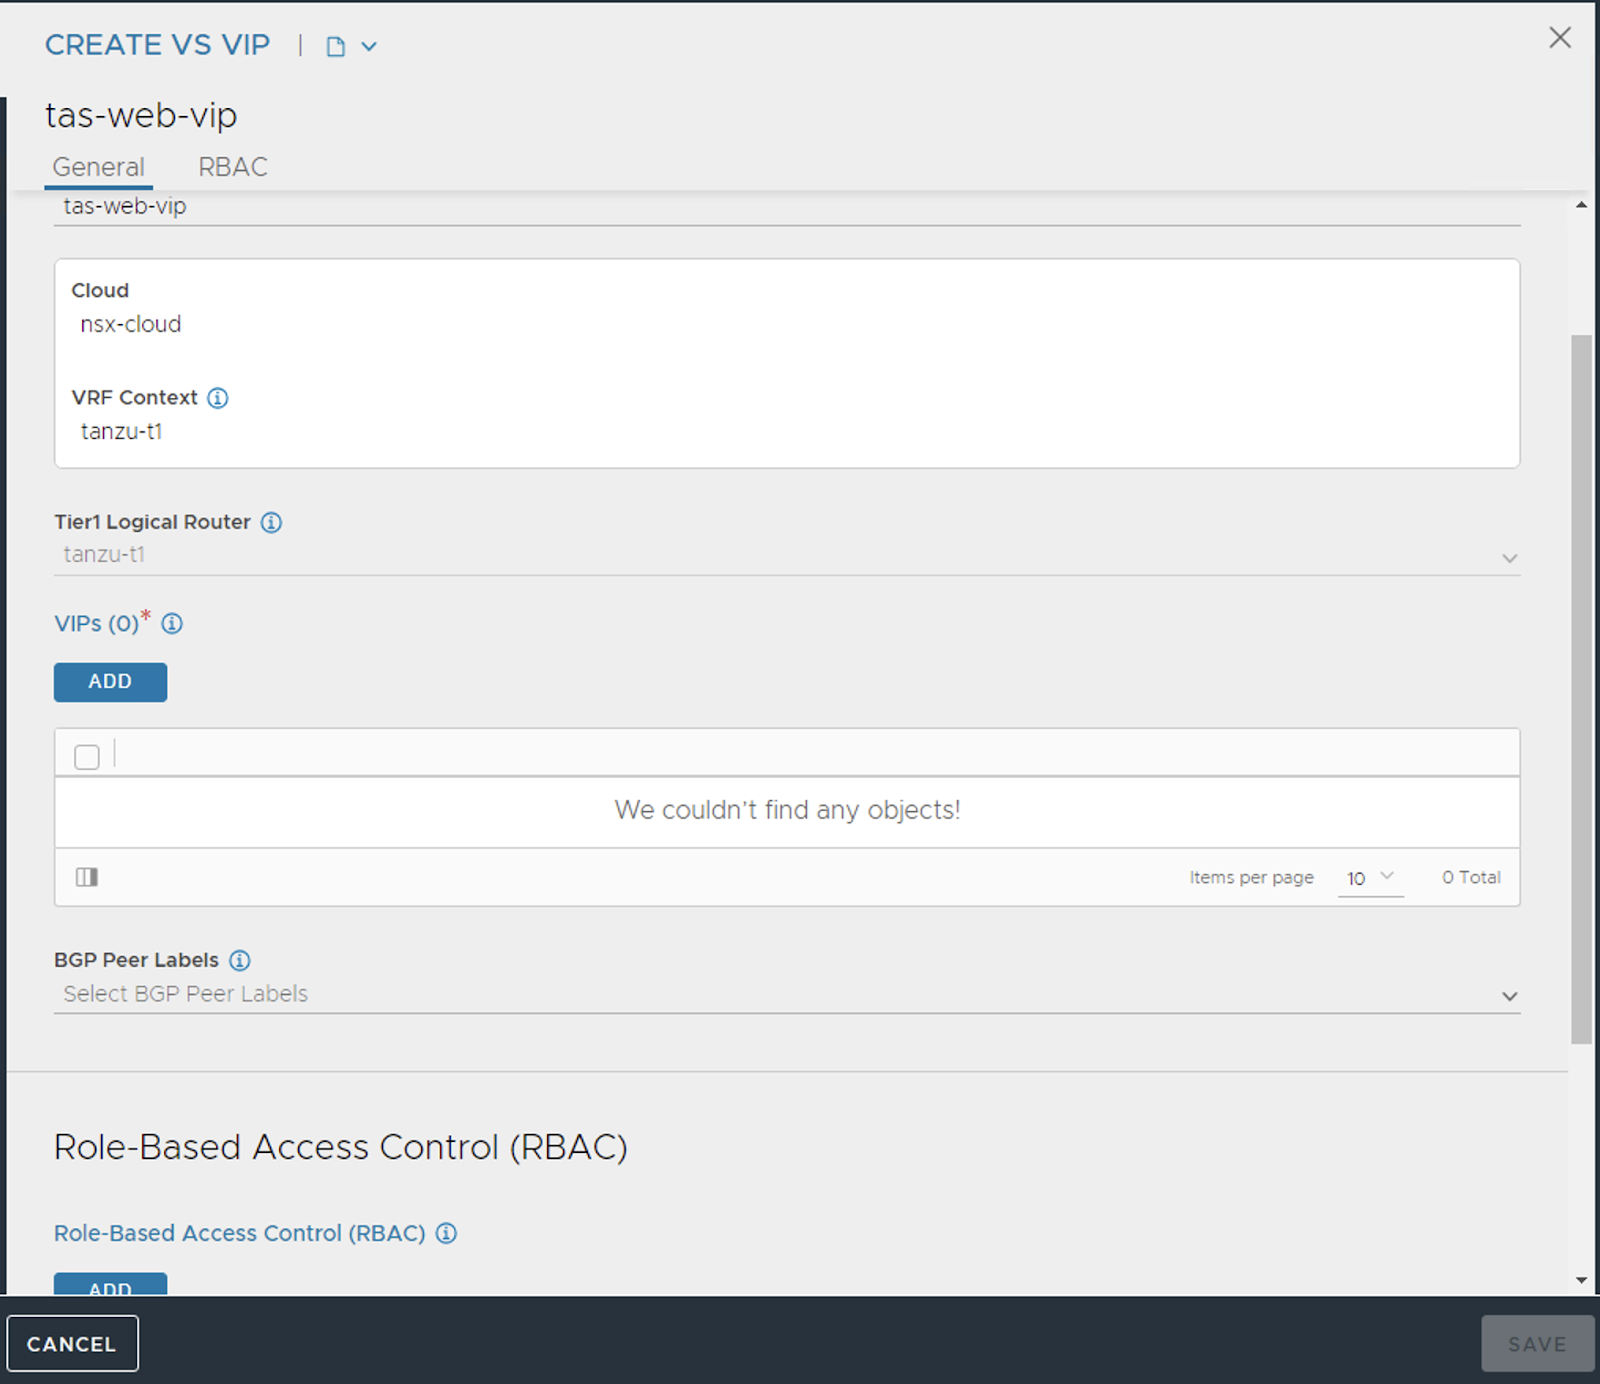
Click on “Add” under “VIPs”. You should see the screen below.
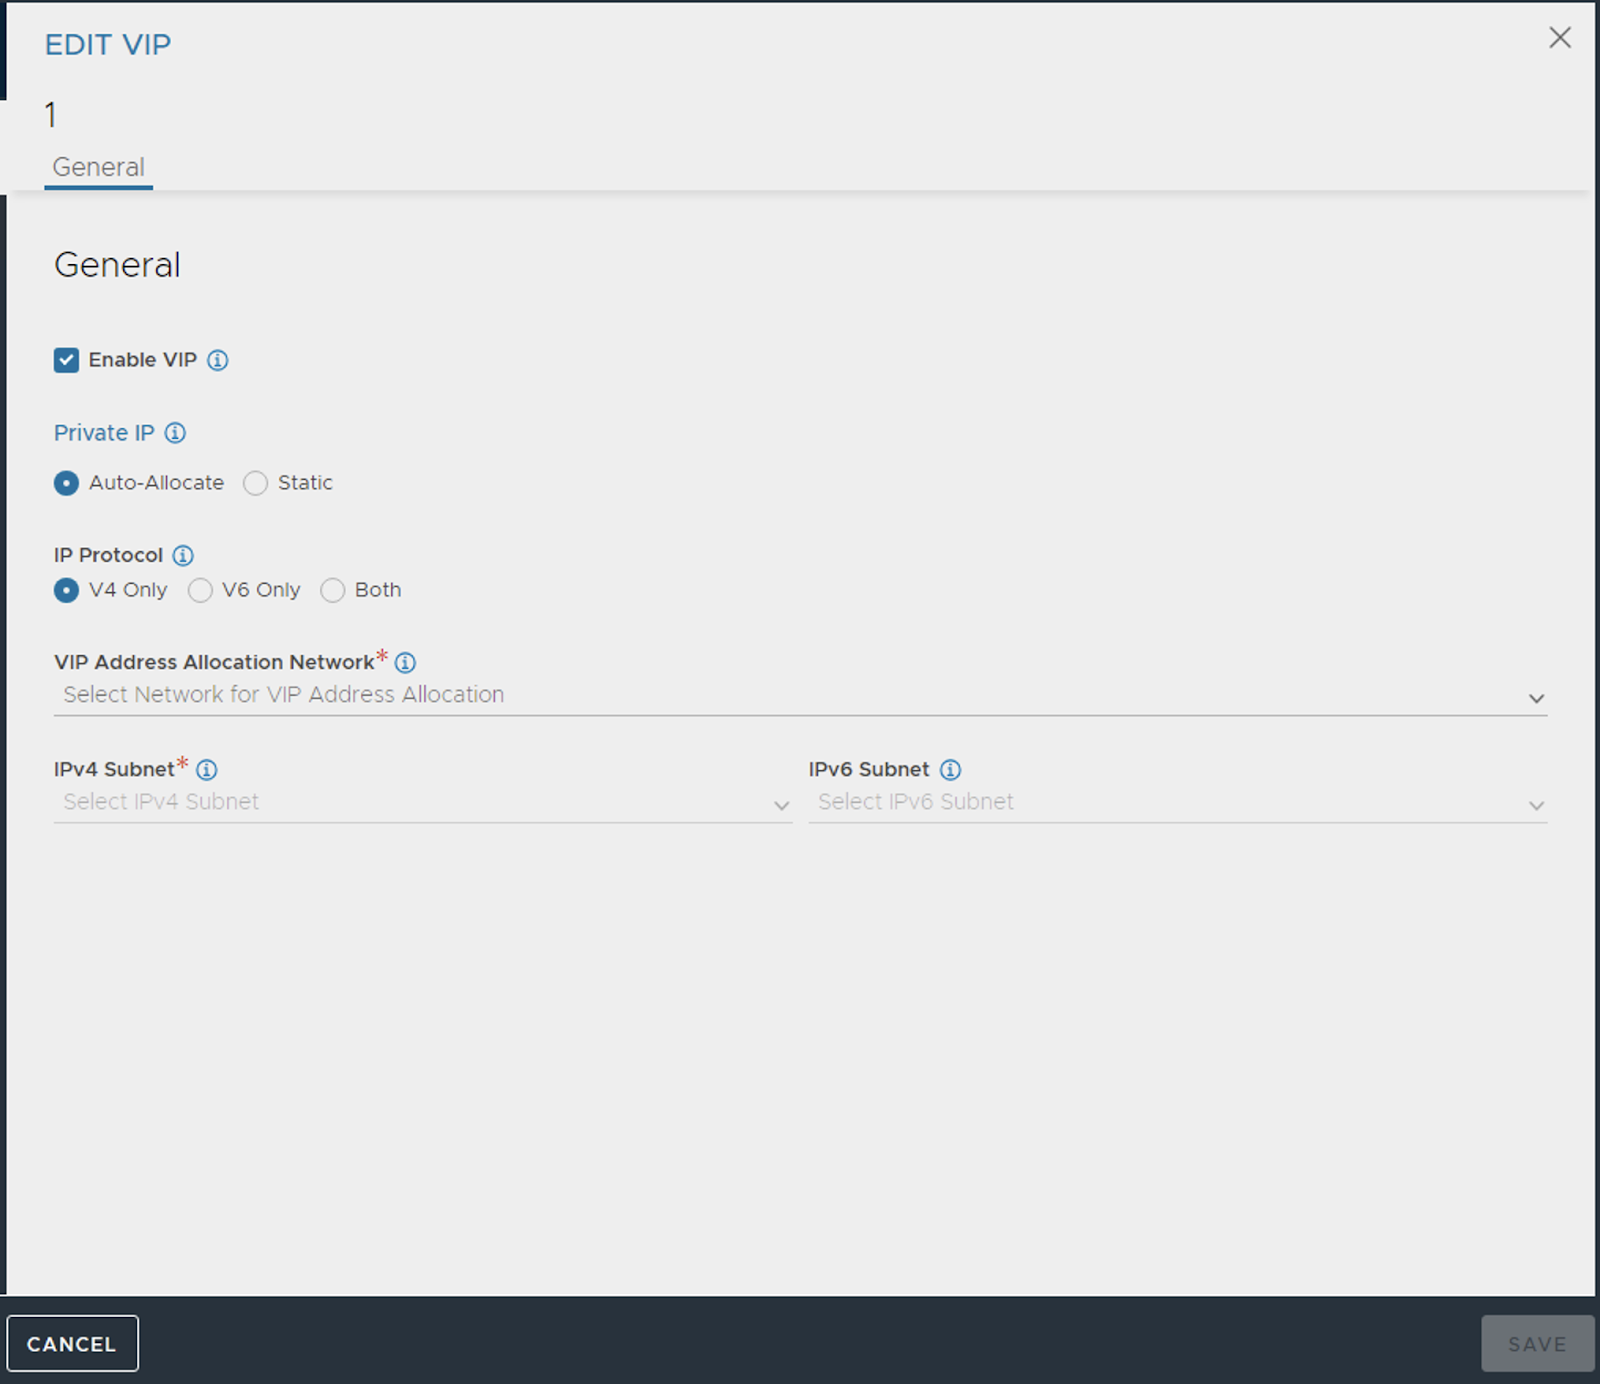
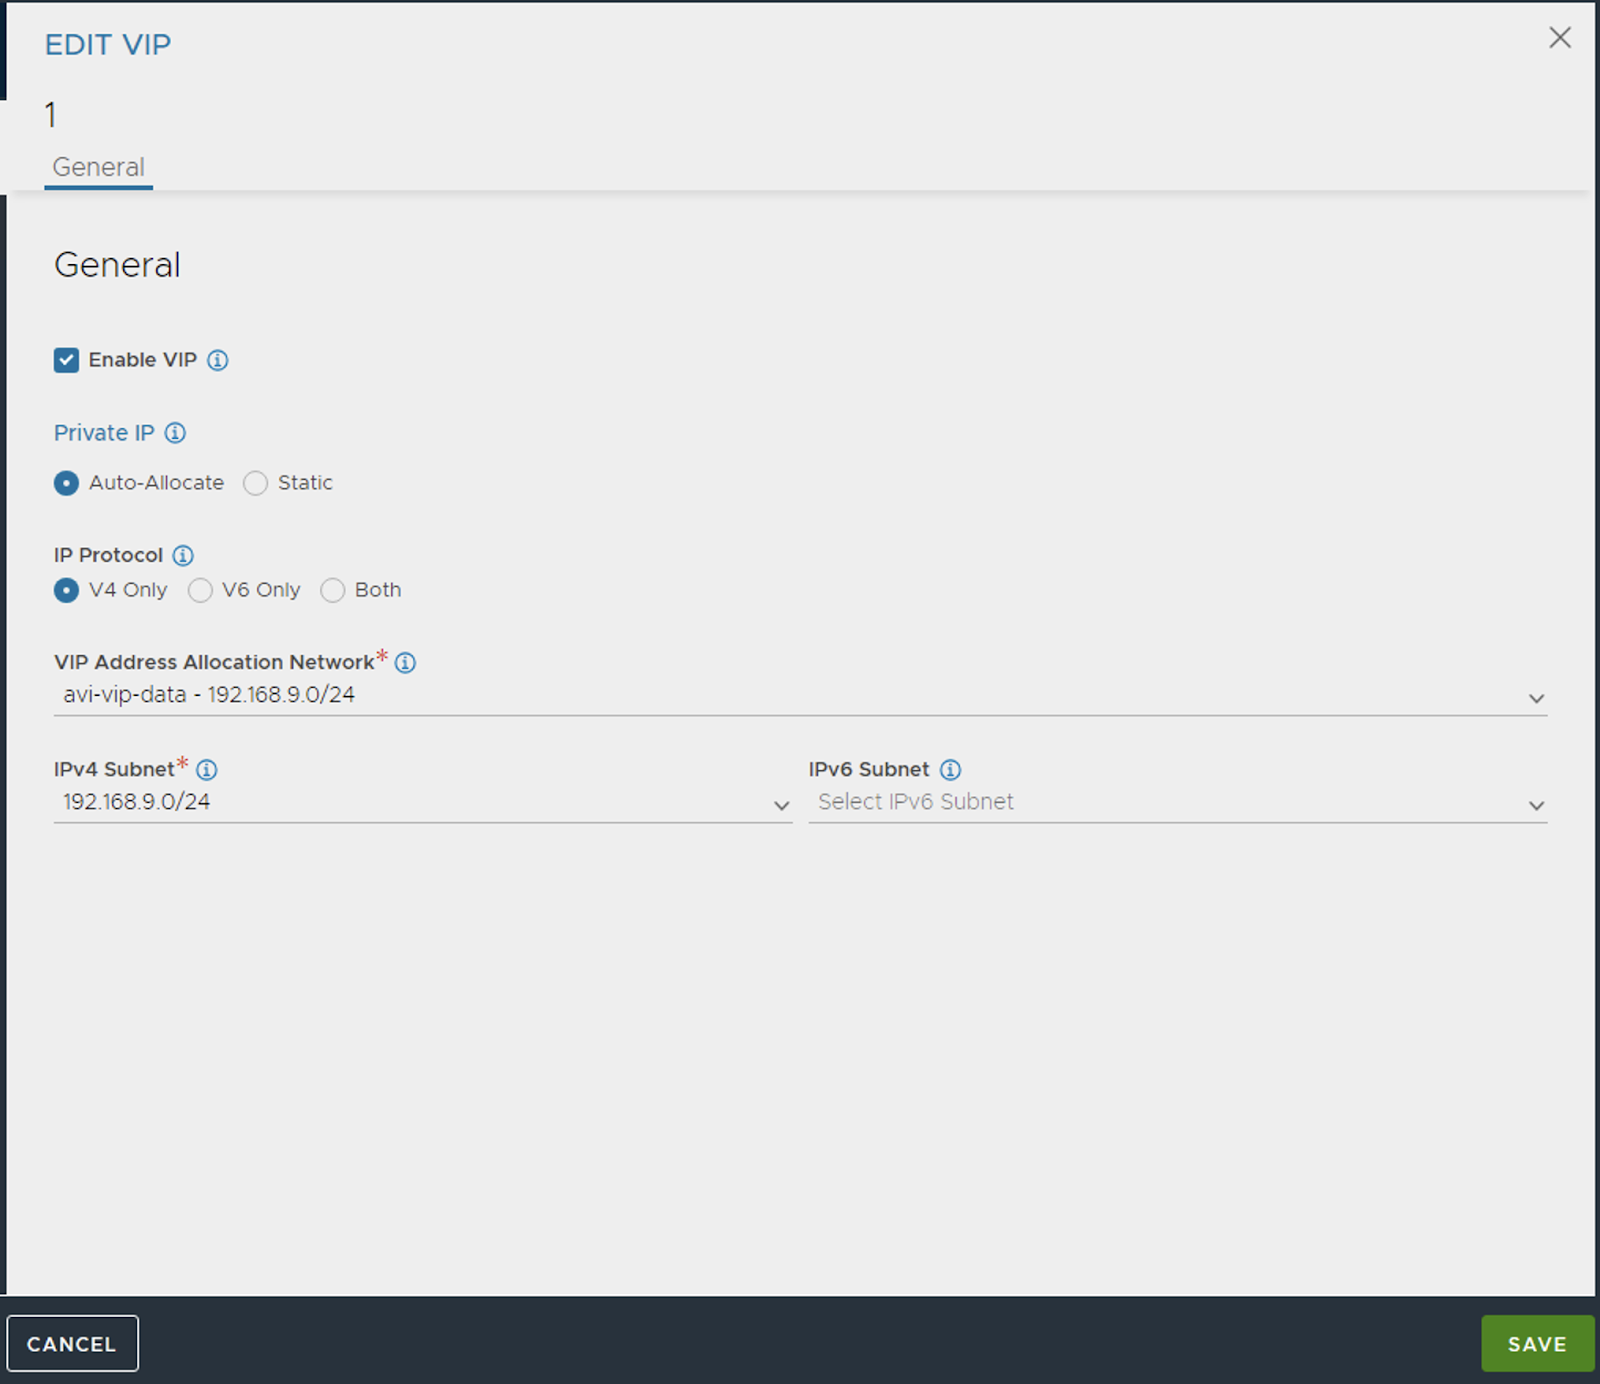
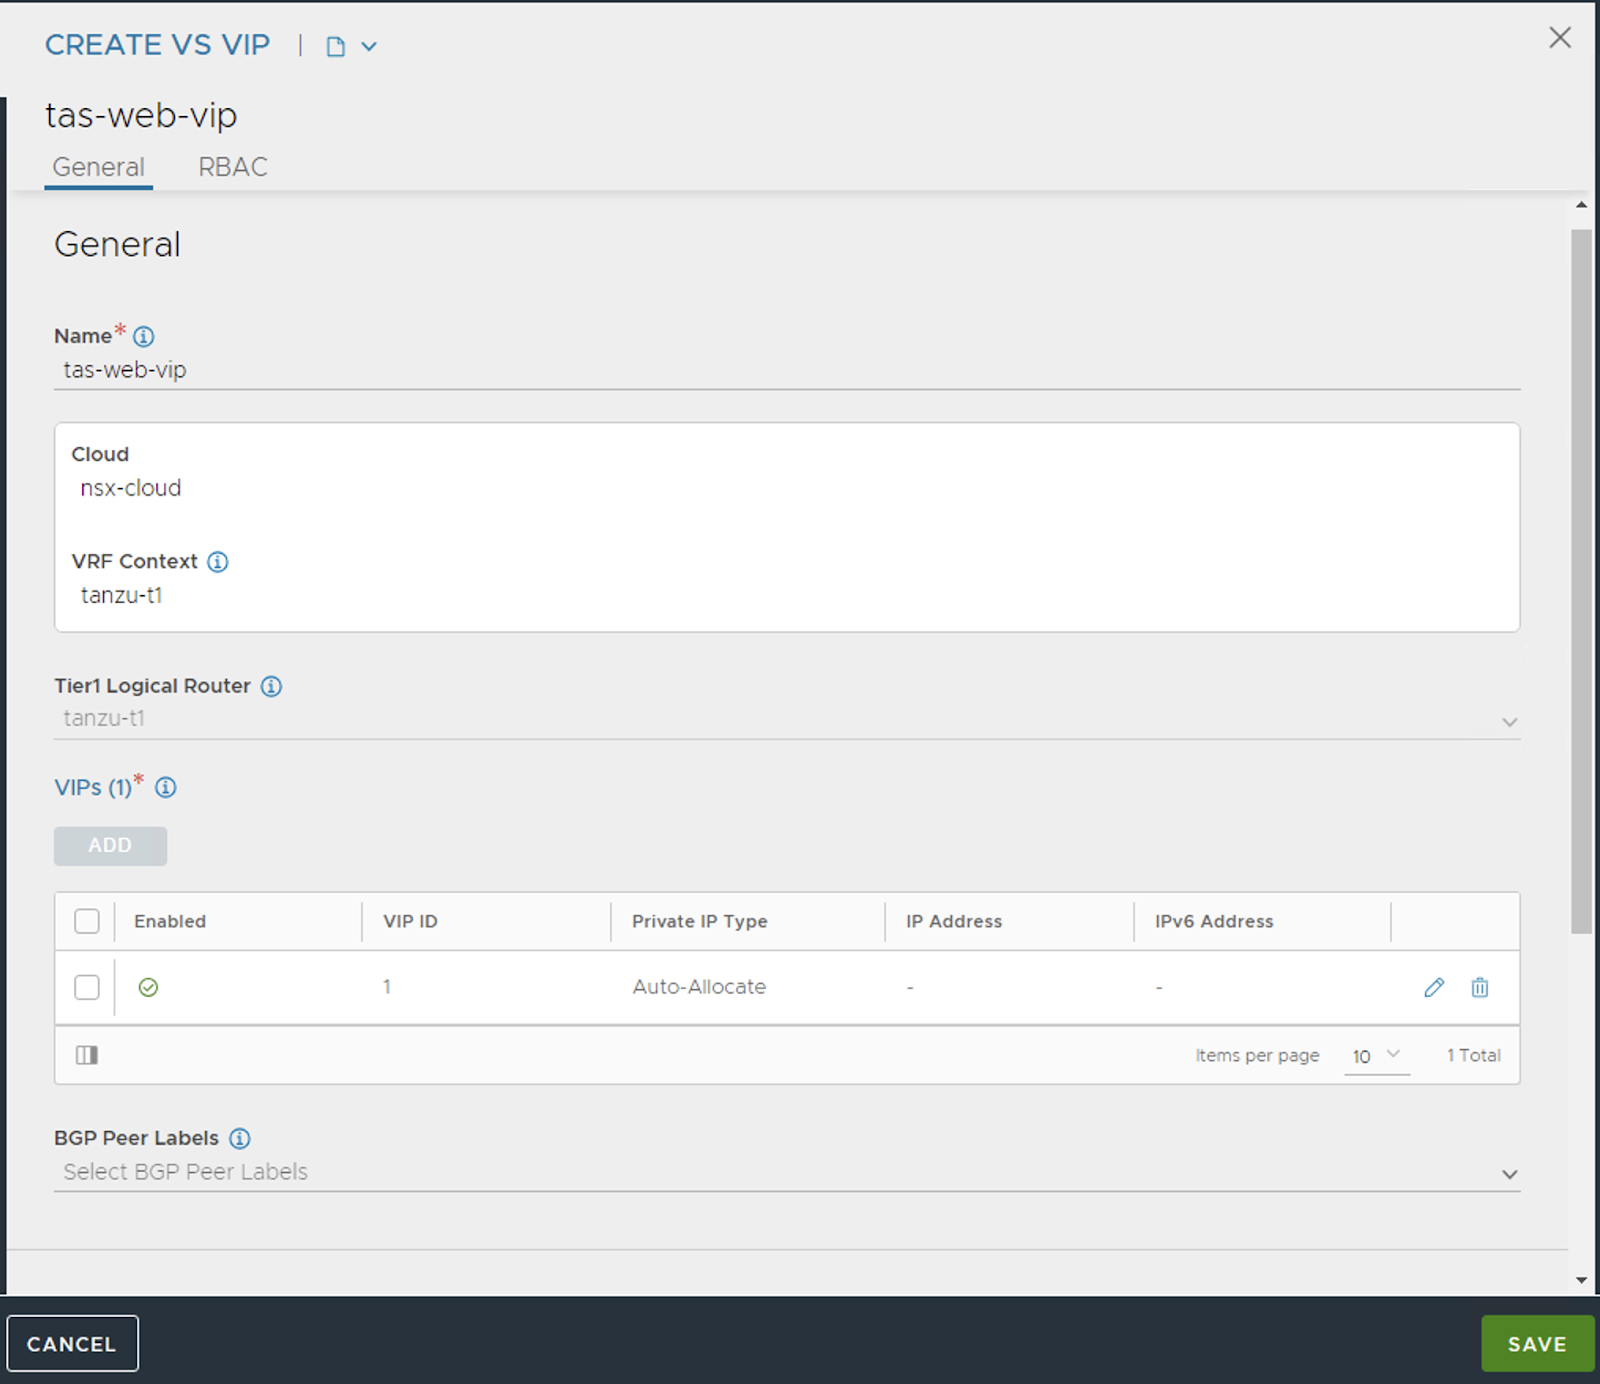
Select the Subnets and Allocation network (should be auto-populated) and chose “Auto-Allocate” and Save.
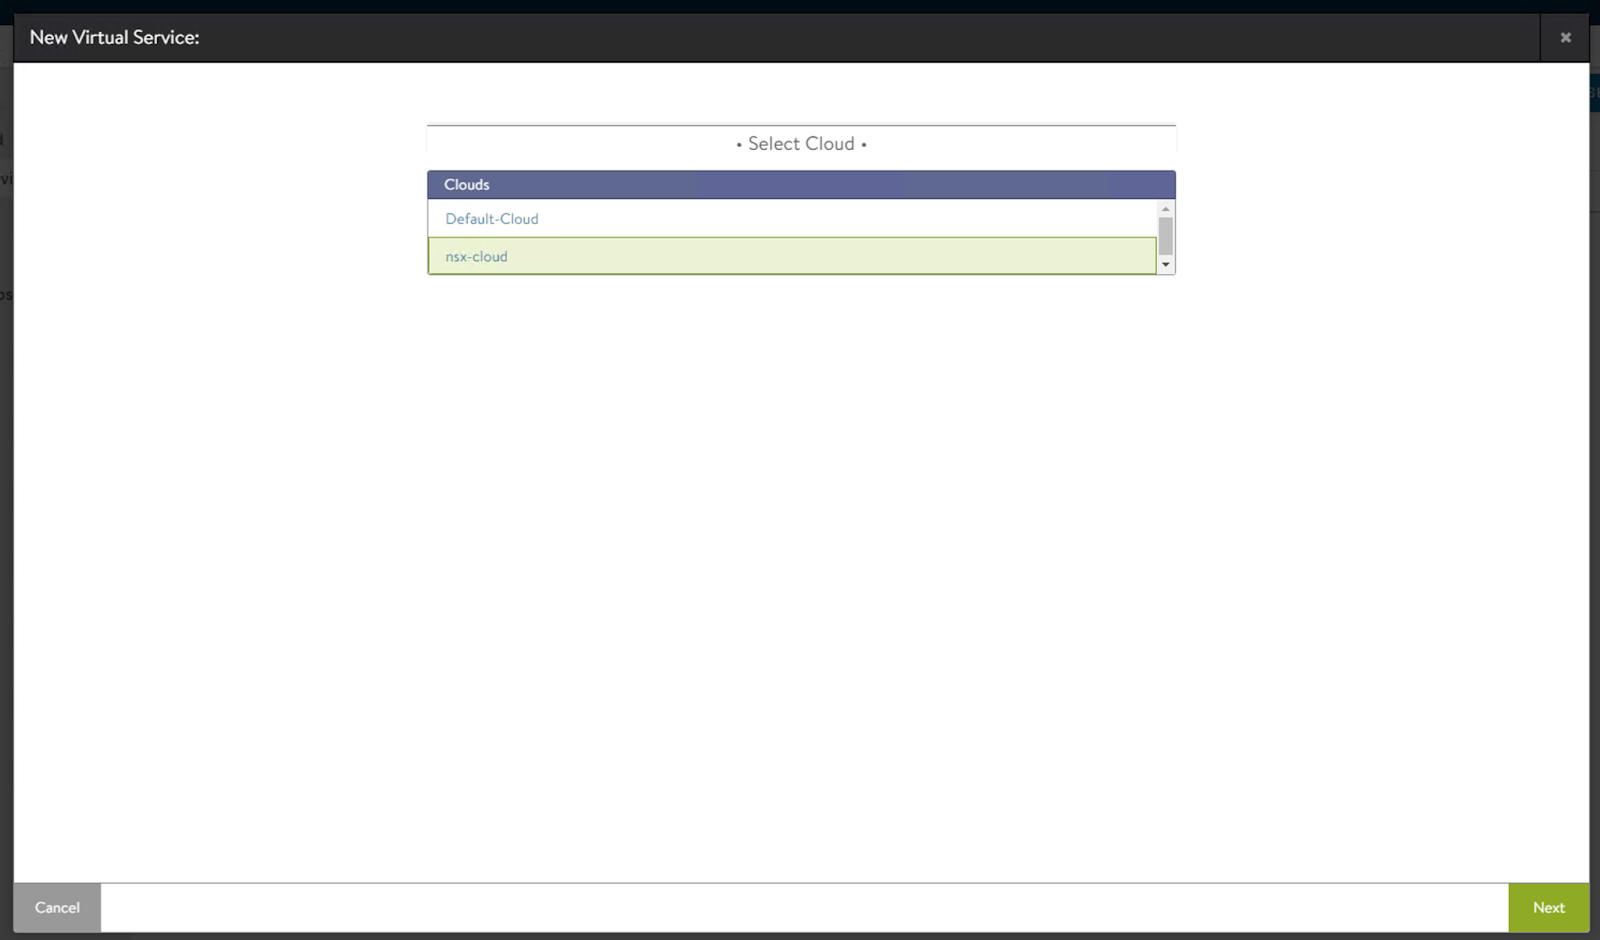
Virtual Service Creation
Navigate to “Applications – Virtual Services – Create Virtual Service – Basic Setup”
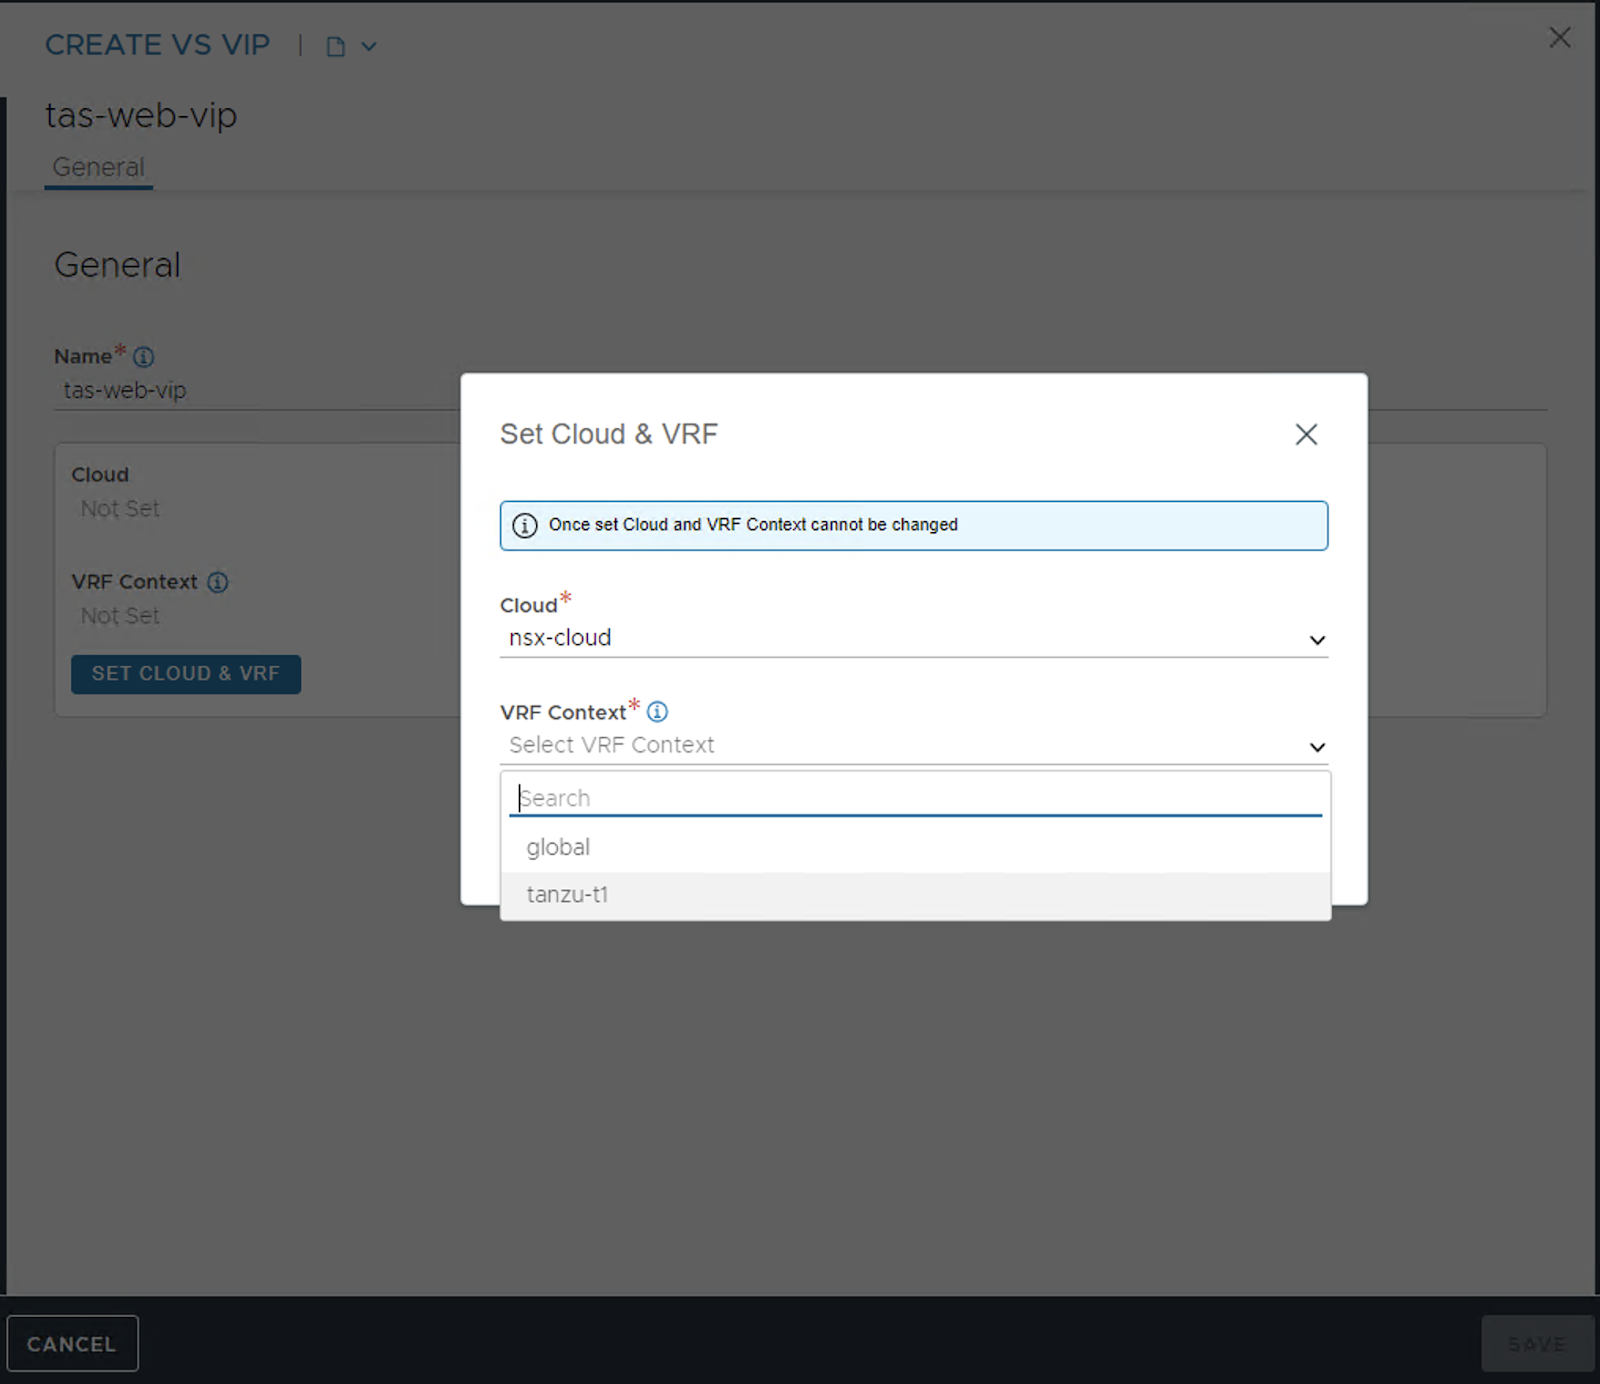
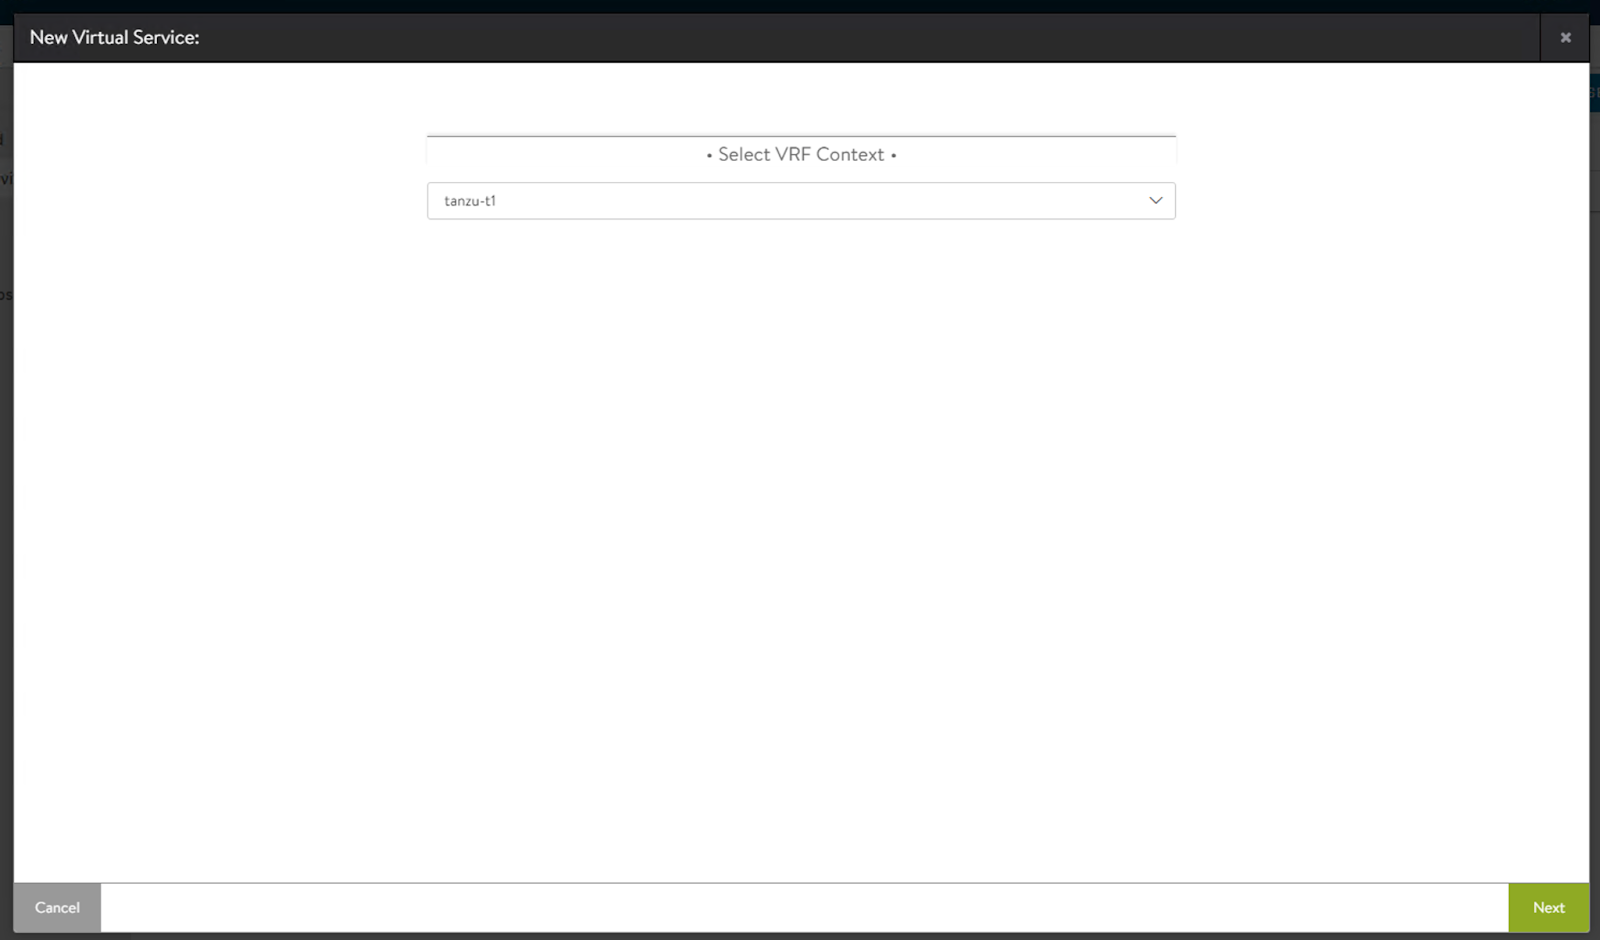
Choose the cloud you created and the t1 vrf context.
Give the VS a name, set the Application Type to HTTPS and choose the VS VIP, Security Group and Certificates as shown below.
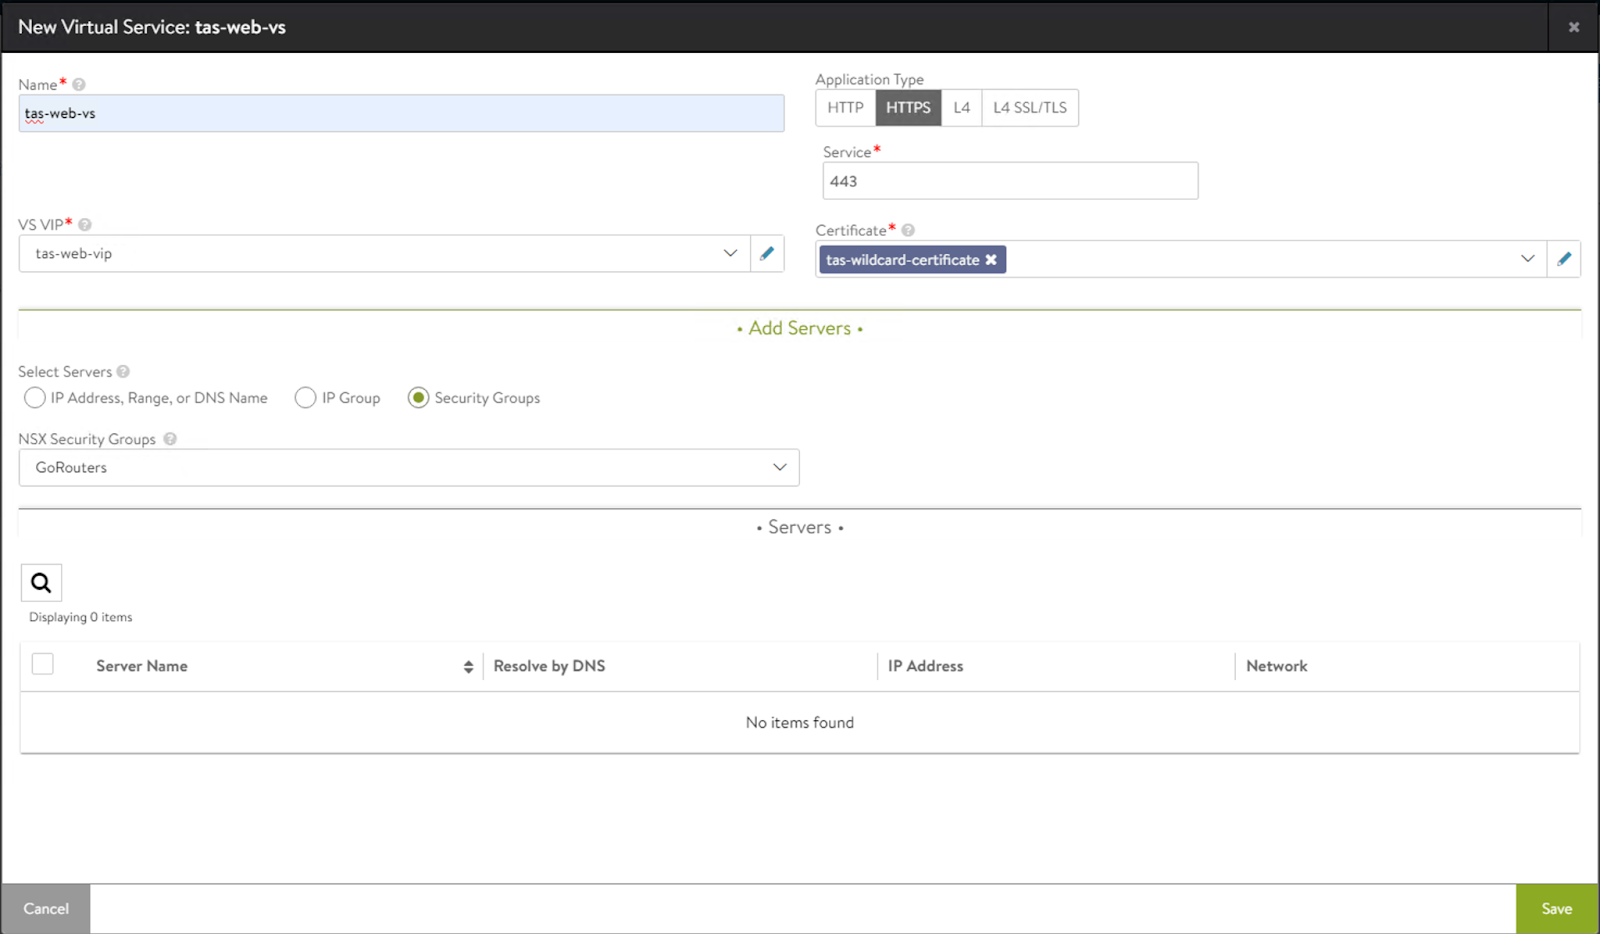
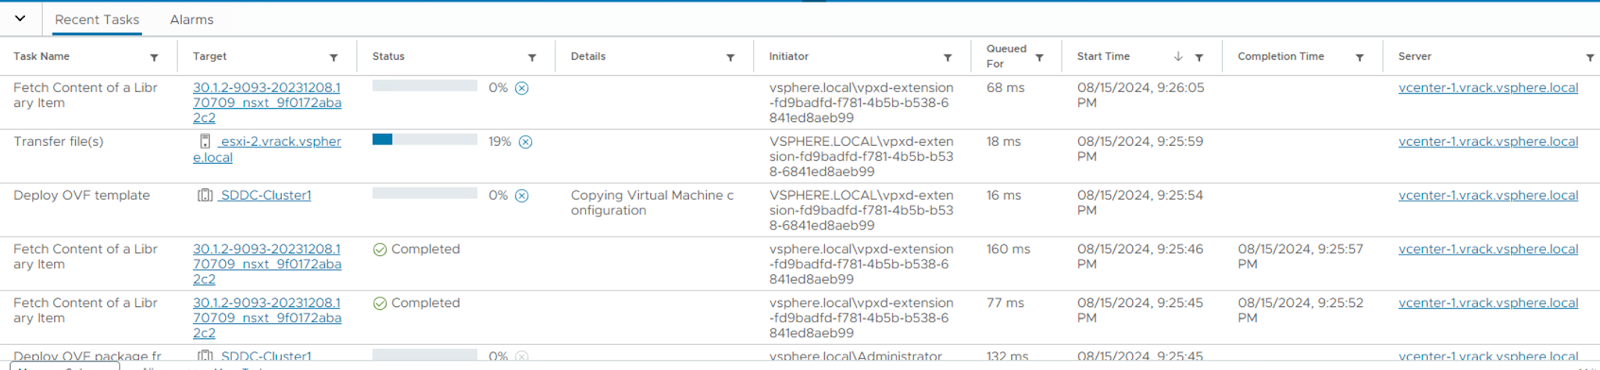
As soon as you click Save, you should see SE’s getting created on the vCenter.
You should also see a pool that has been created by the VS already under “Applications – Pools”.

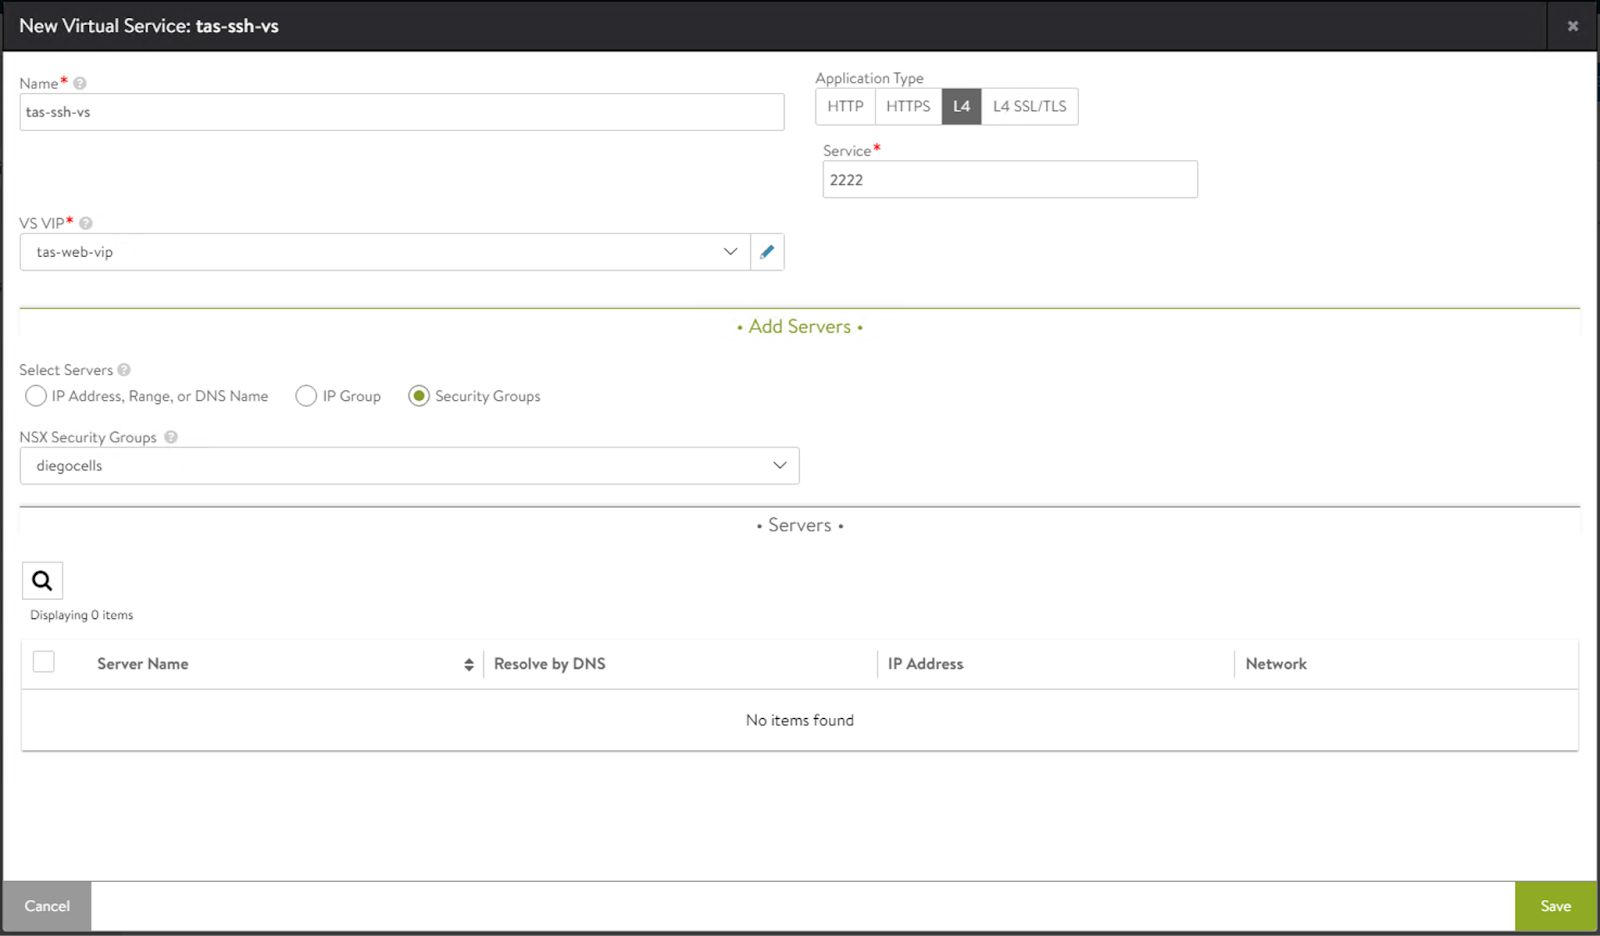
Create a similar VS for the Diego Brain with the same VIP IP and port 2222 as shown below.
Update Health Monitors
Edit the tas-web-vs-pool by clicking on the pencil icon and update the health monitor value as shown below.
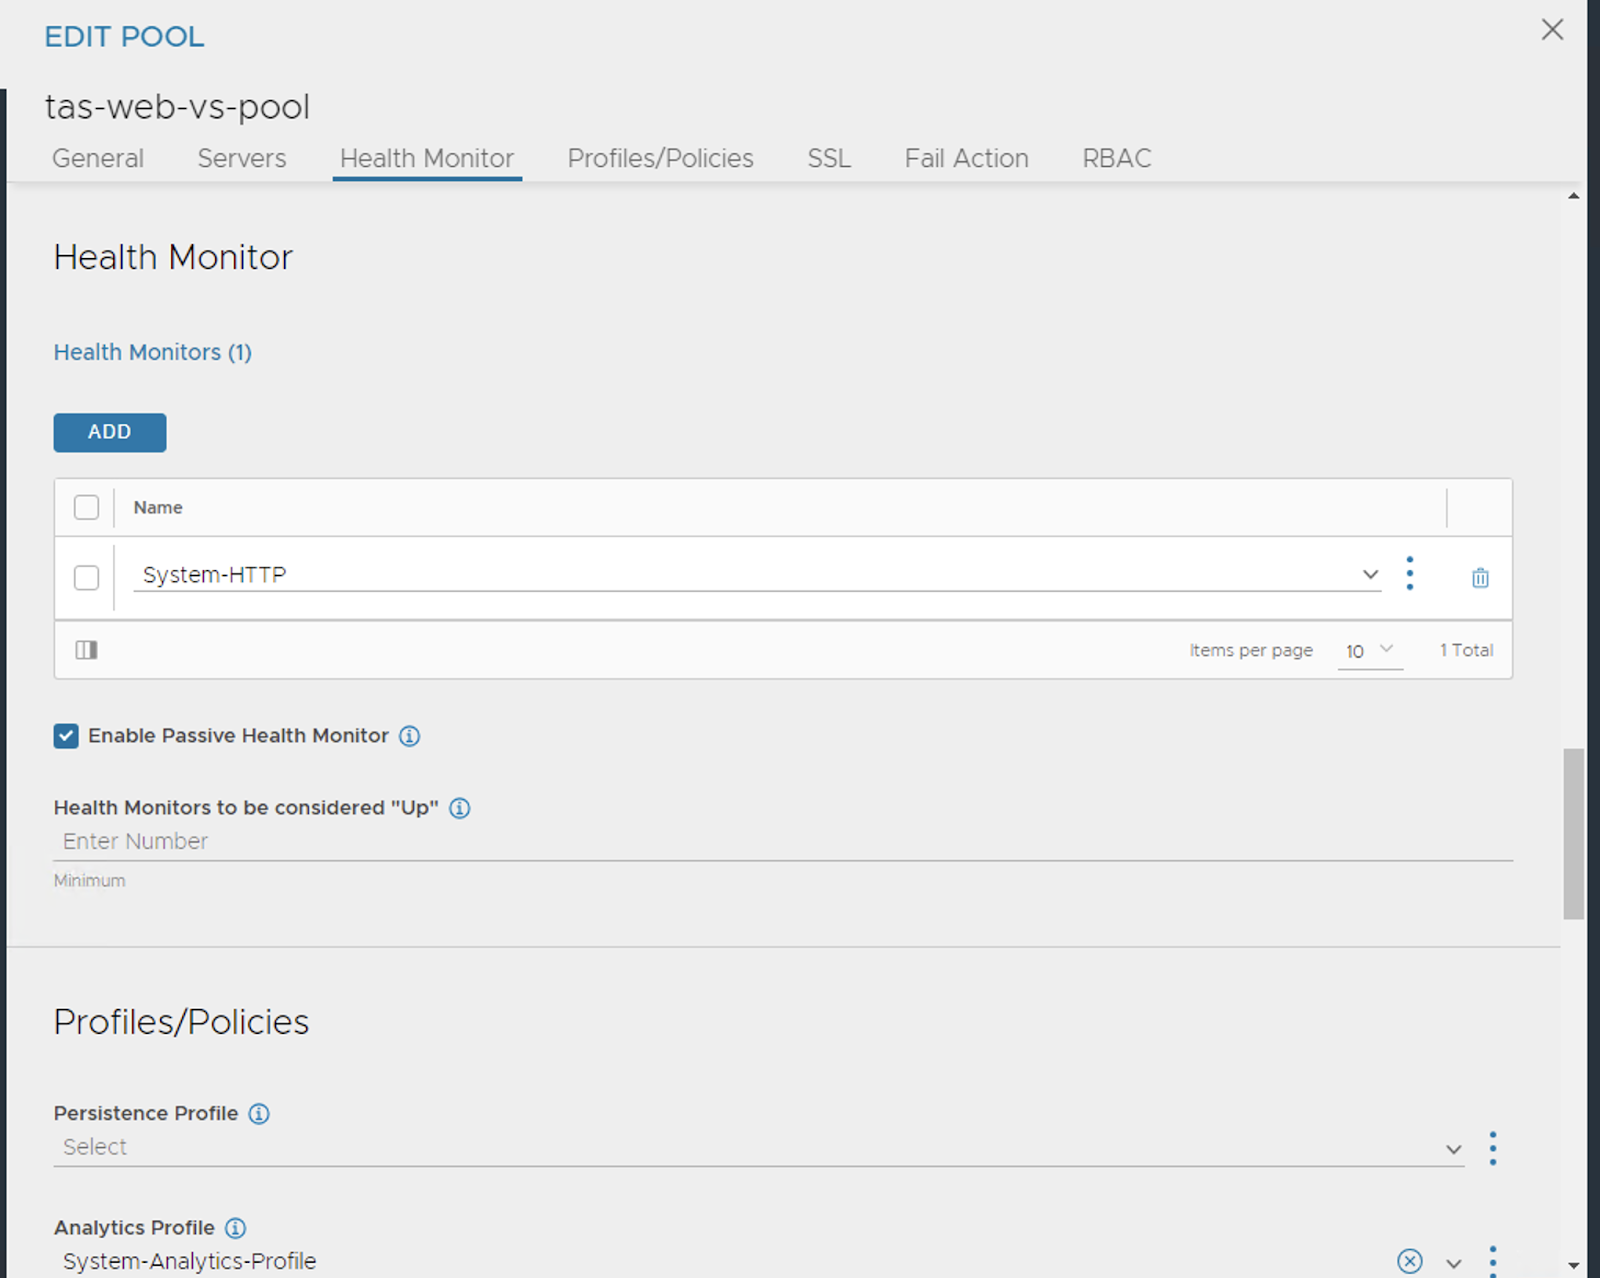
Uncheck “Enable Passive Health Monitor” and click Save.
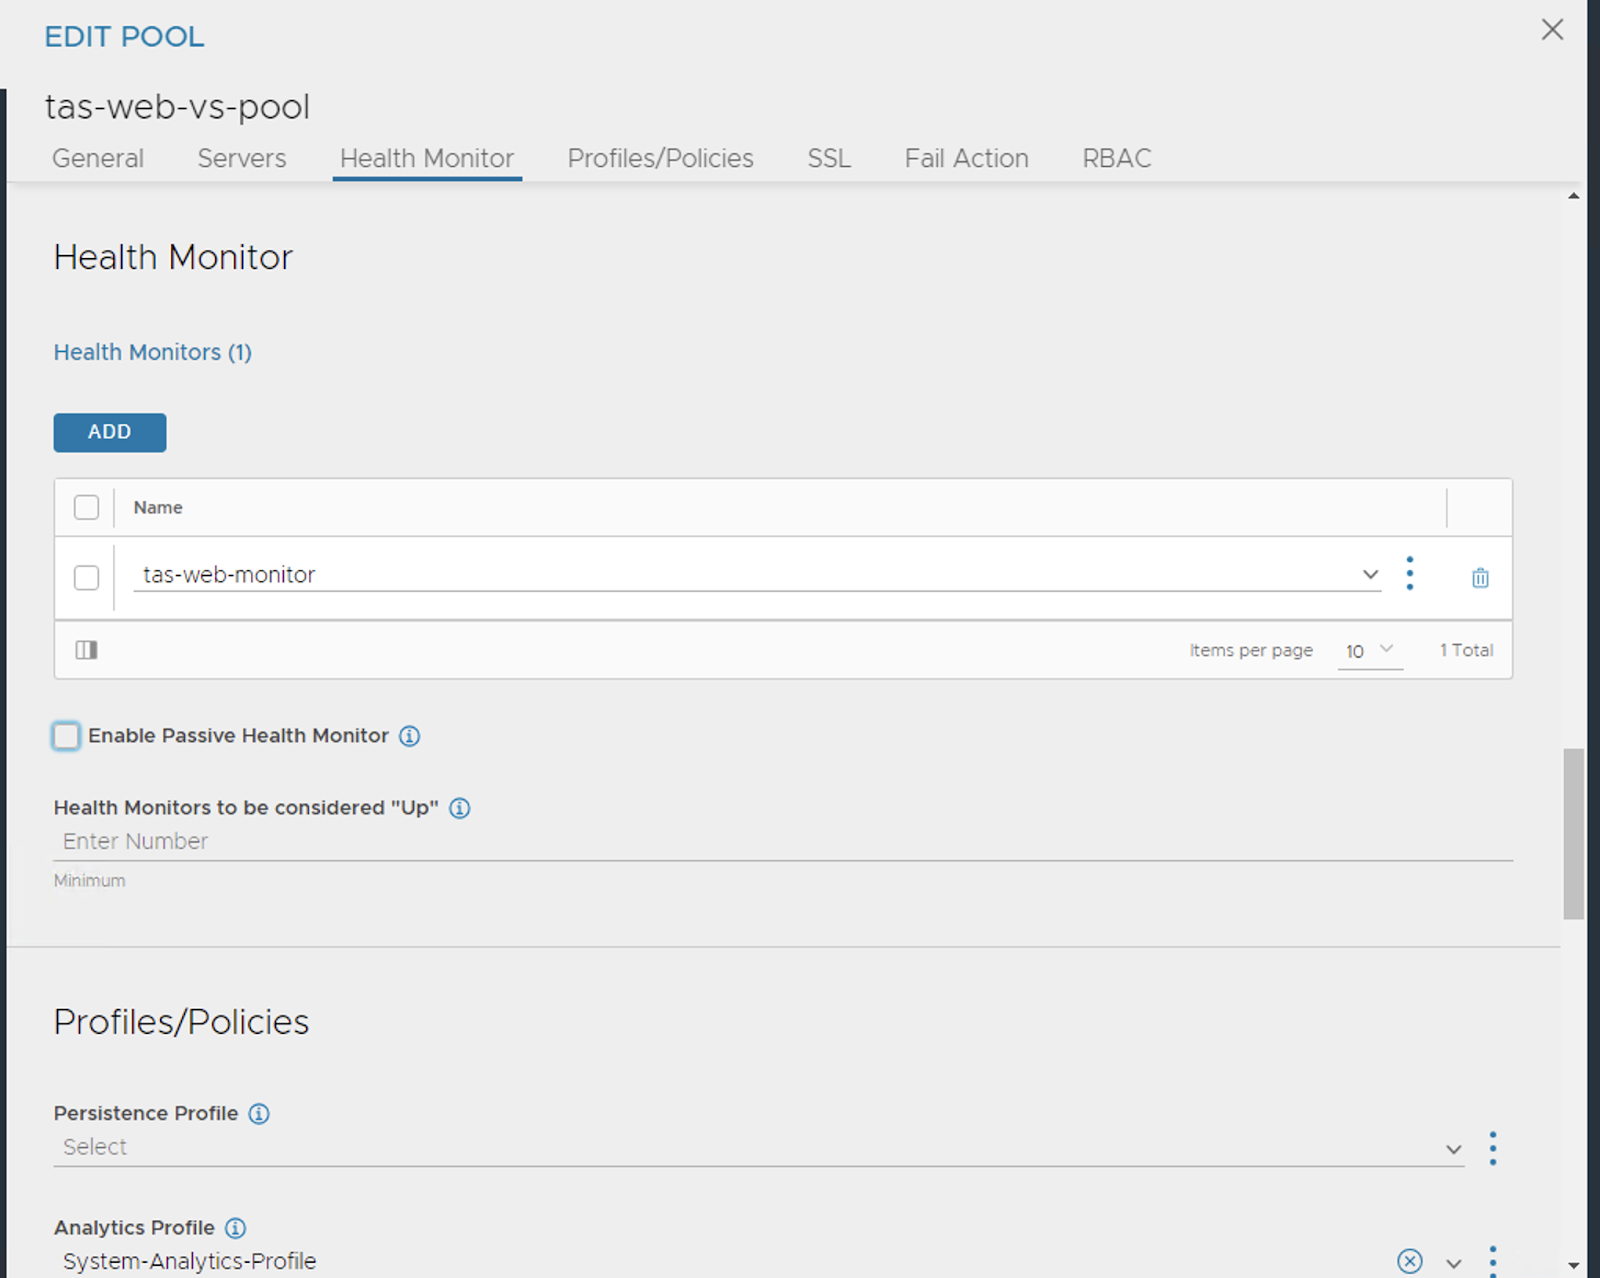
Perform the same operation for the ssh pool as well.


You Virtual Services page should now look like something below.

DNS Mapping
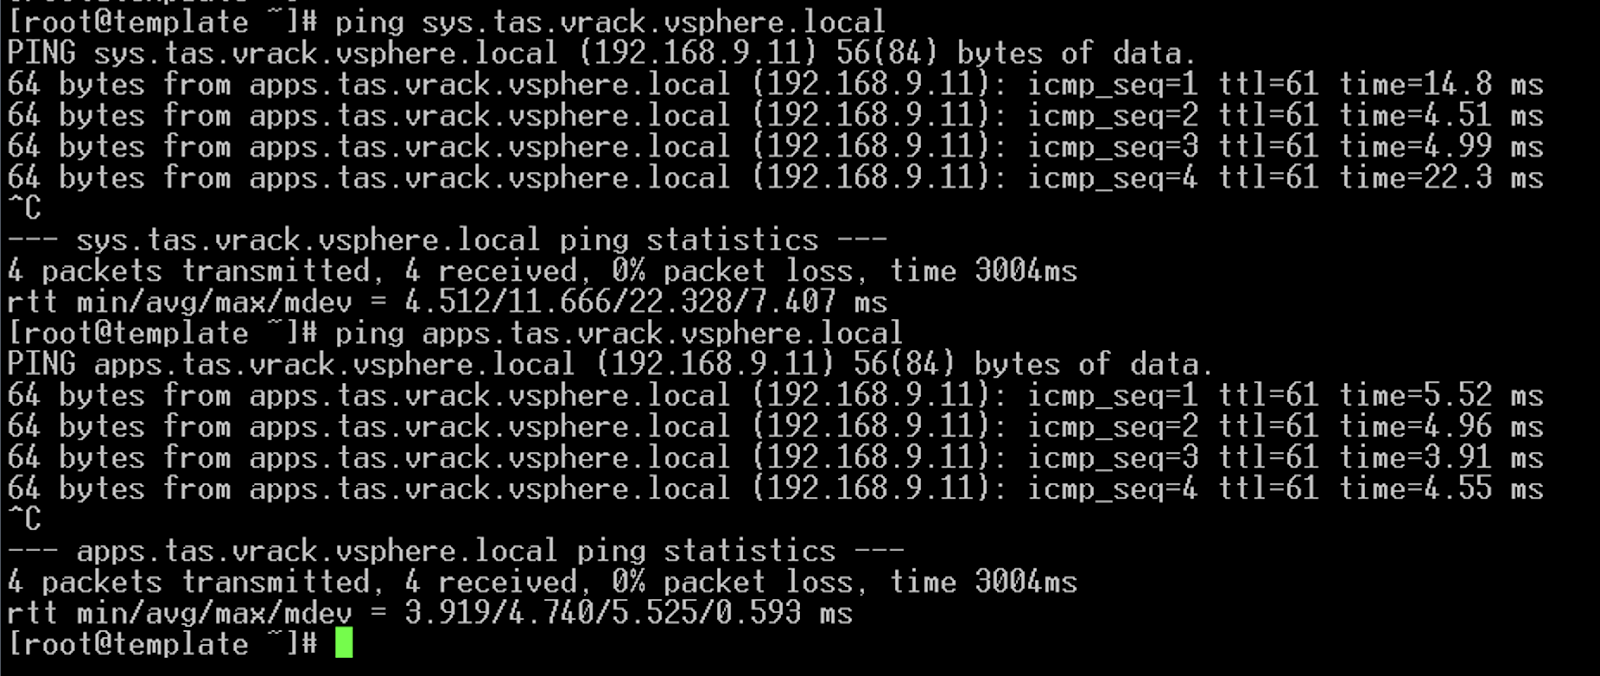
Create a DNS entry (Forward and Reverse) pointing to the VIP IP for the system and apps domain that you intend to use for your TAS foundation.


Ensure the IPs are reachable from the bastion host or a network where you will manage your TAS environment from.
TAS Pre-requisites
Create a wildcard certificate for your TAS Domain(s) with the following SANs: *.sys.<domain>, *.apps.<domain>, uaa.sys.<domain>, *.uaa.sys.<domain>, login.sys.<domain>, *.login.sys.<domain>
Get the certificate signed by a root CA and have the cert contents handy to be used while configuring your BOSH Director.
That’s it, you are now all set for your BOSH/TAS deployment.
0 Comments