
TAS/ALB Installation Series – Part 1
Tanzu Application Service or TAS (formerly: PCF/Pivotal Cloud Foundry) is now rebranded as Tanzu Platform for Cloud Foundry.
To keep it simple, TAS orchestrates your app deployment and does *A LOT* behind the screens. “cf push” is the command that bootstraps your app and runs the app processes within a container in a special VM (diego cells), that will be managed and deployed by a BOSH director.
More about TAS here. Public documentation of TAS covers two deployment models in terms of container networking – Silk and NSX-T(NCP). In terms of Load Balancing, the documentation *only* details how to integrate NSX-T LBs with TAS. However, with future versions of NSX-T, the native LB feature will be deprecated in favour of NSX ALB (formerly known as AVI LB).
From a documentation perspective, the only available resource is this. Hence, I intend to document a step by step procedure of how this integration is achieved.
Part-1 of this series covers the OVA deployment procedures of Tanzu Operations Manager and AVI controller.
Pre-requisites
- Download Tanzu Operations Manager and AVI Controller OVA files to be deployed
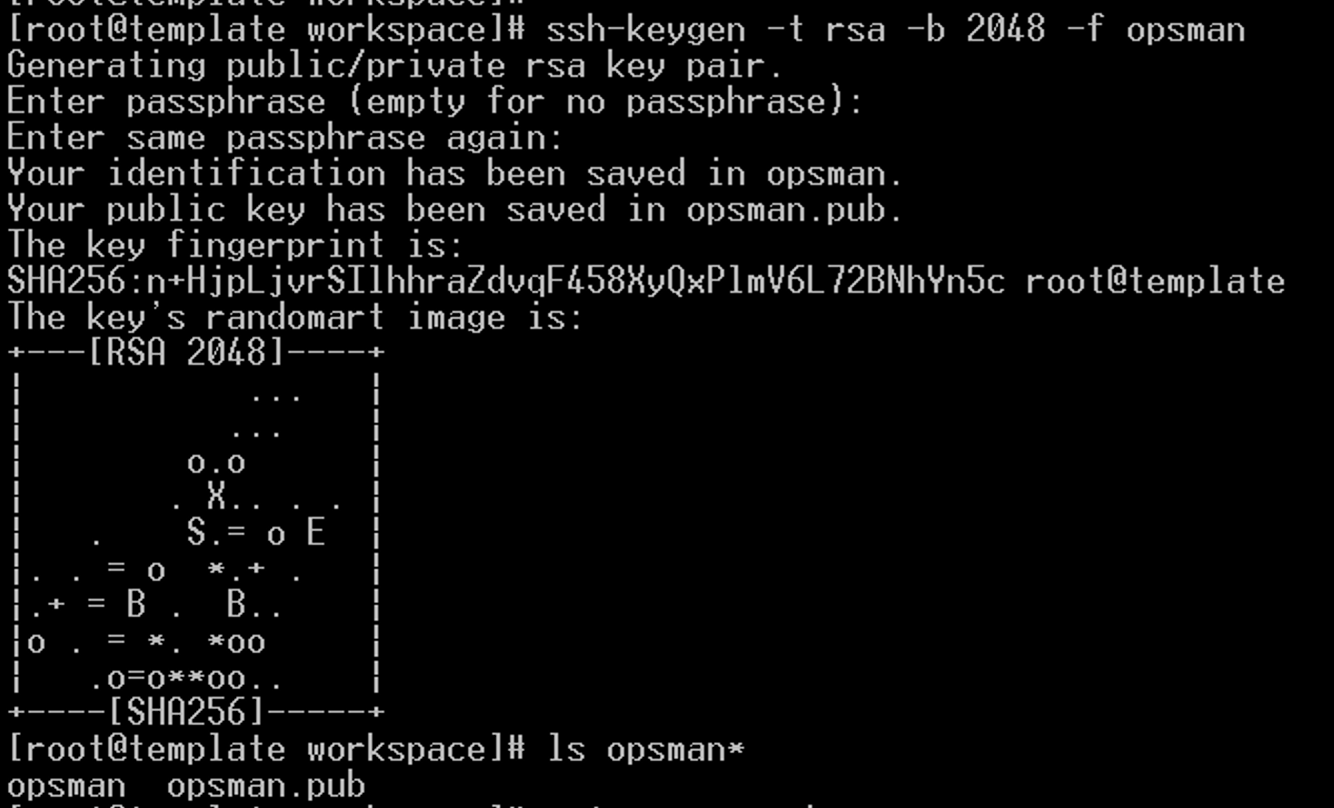
- Generate a private/public key pair to be used with the Operations Manager deployment
- “ssh-keygen -t rsa -b 2048 -f opsman”
- “ssh-keygen -t rsa -b 2048 -f opsman”
- A compatible vCenter/vSphere environment with a network where these VMs needs to be deployed
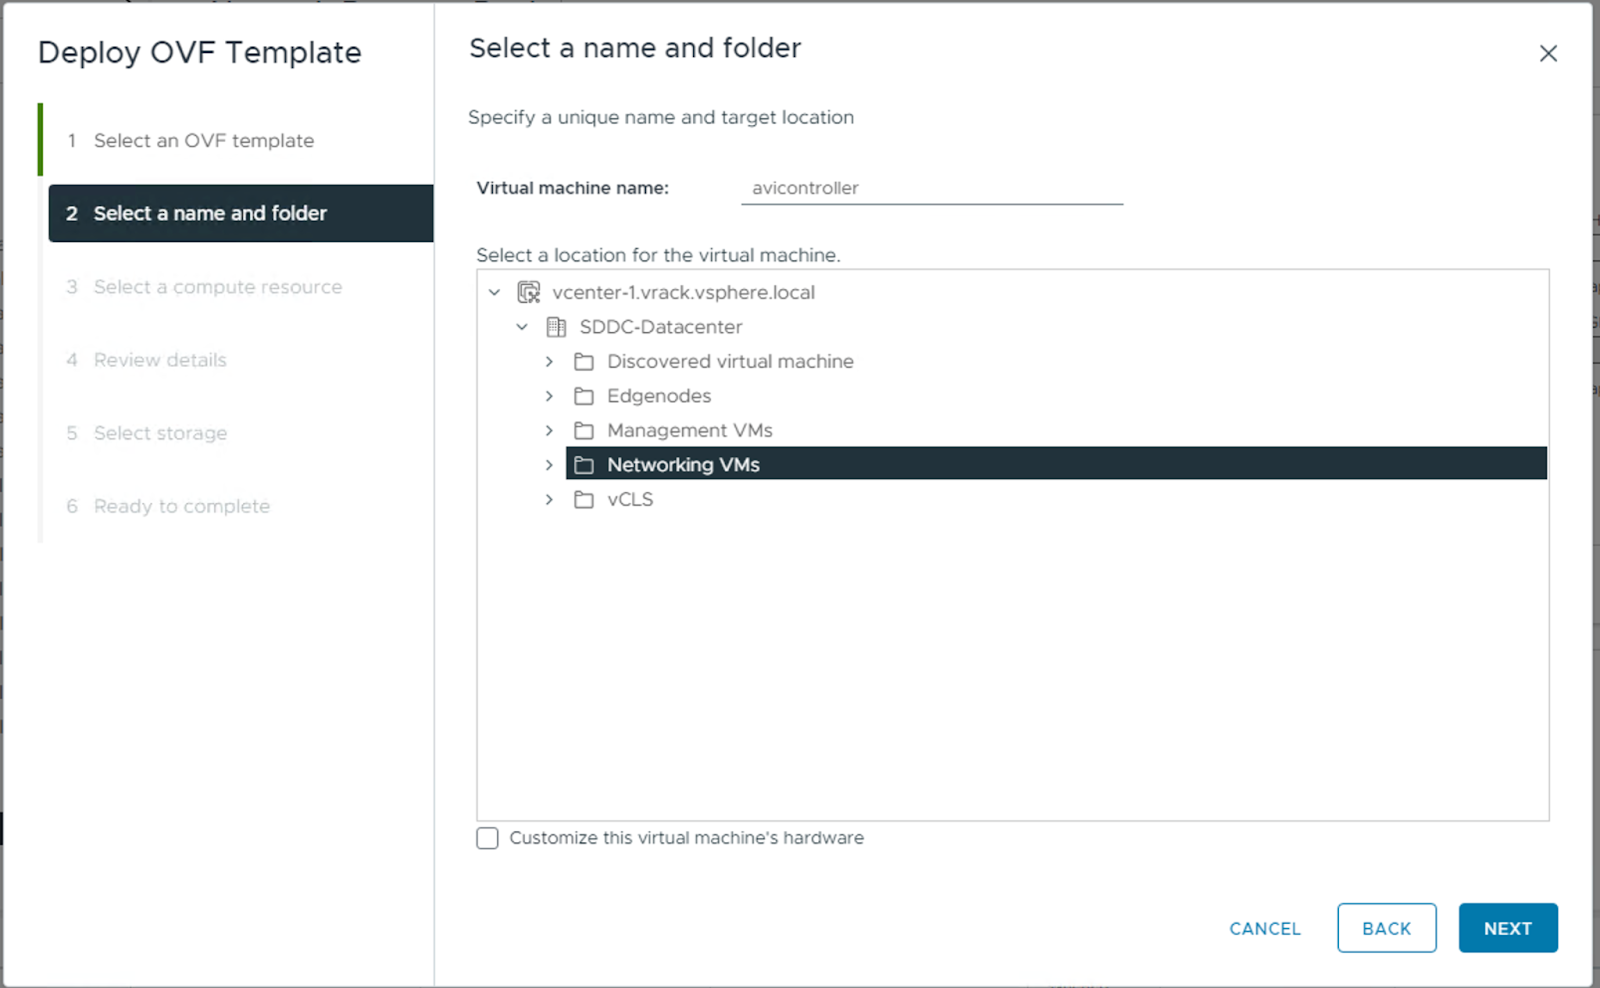
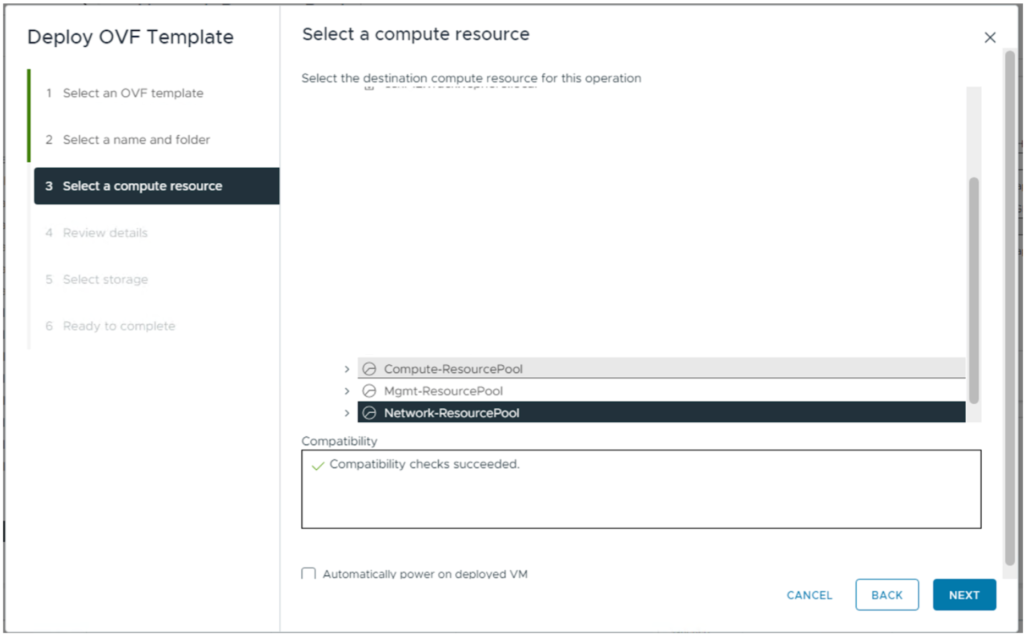
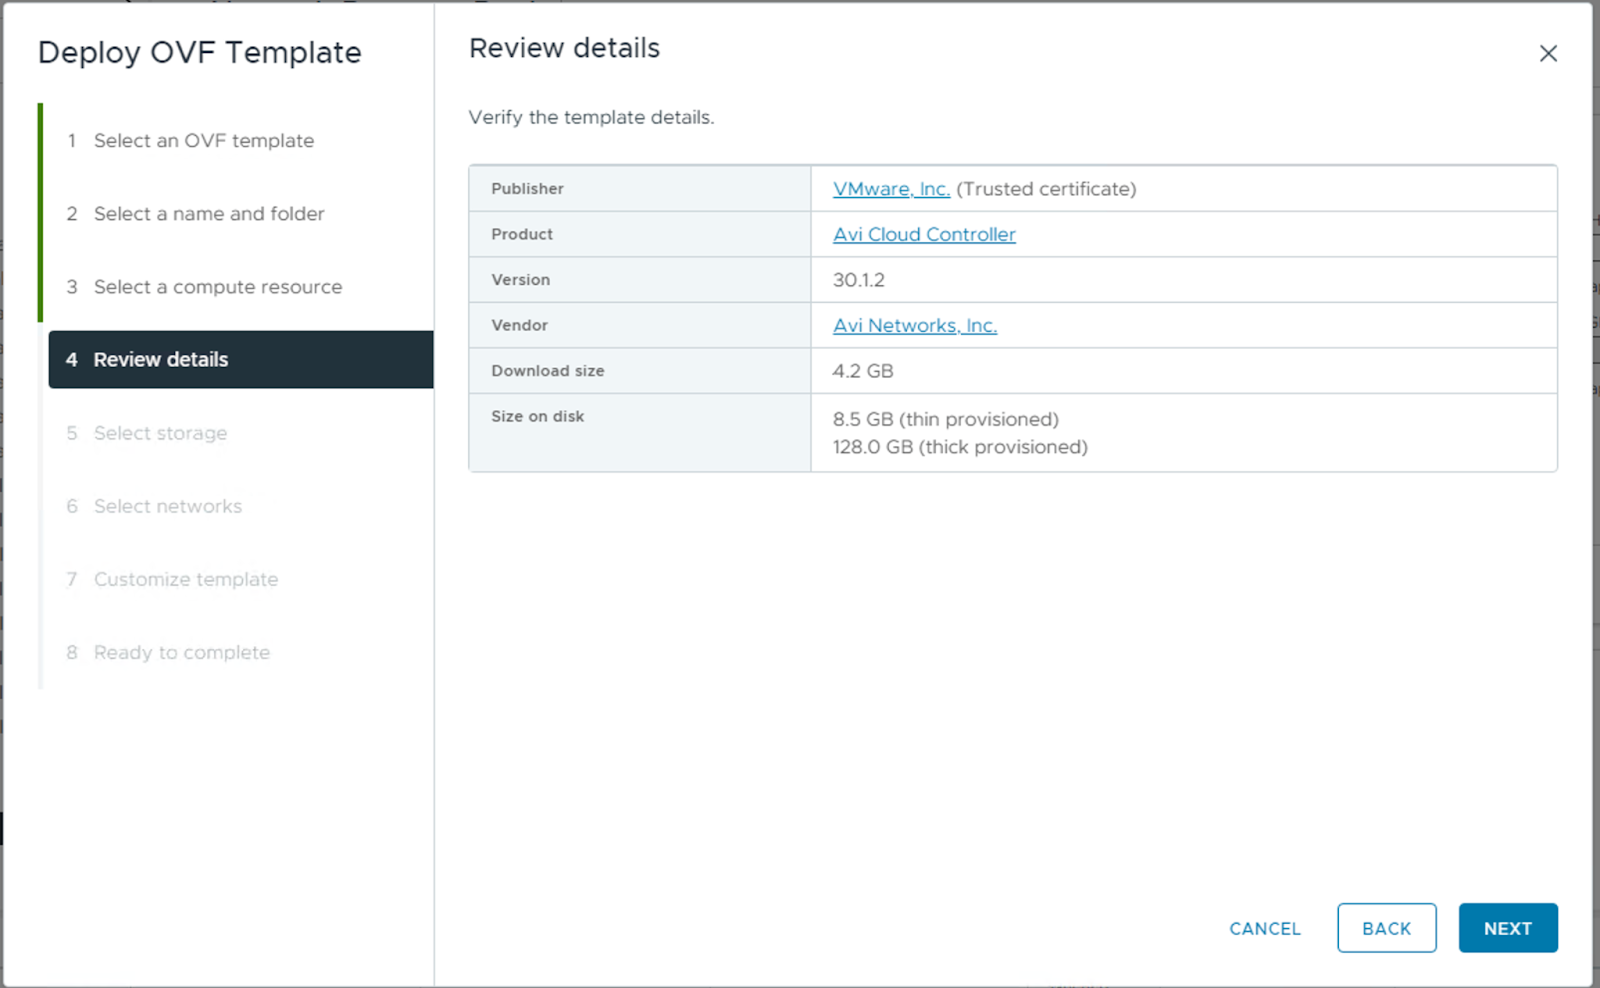
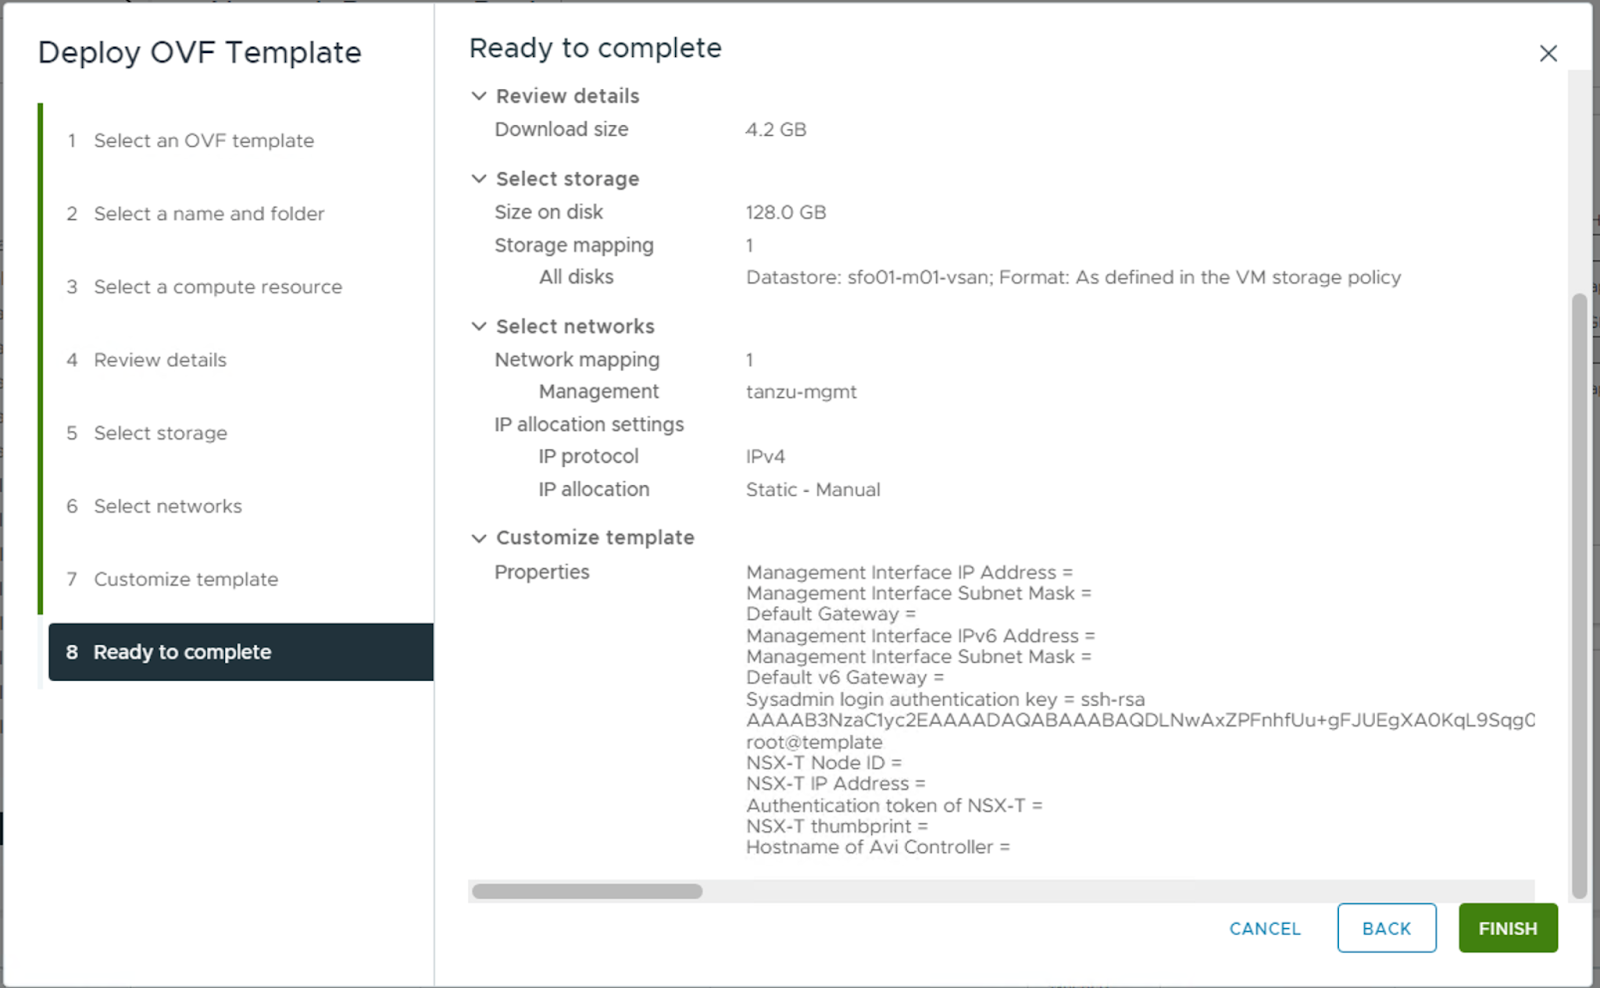
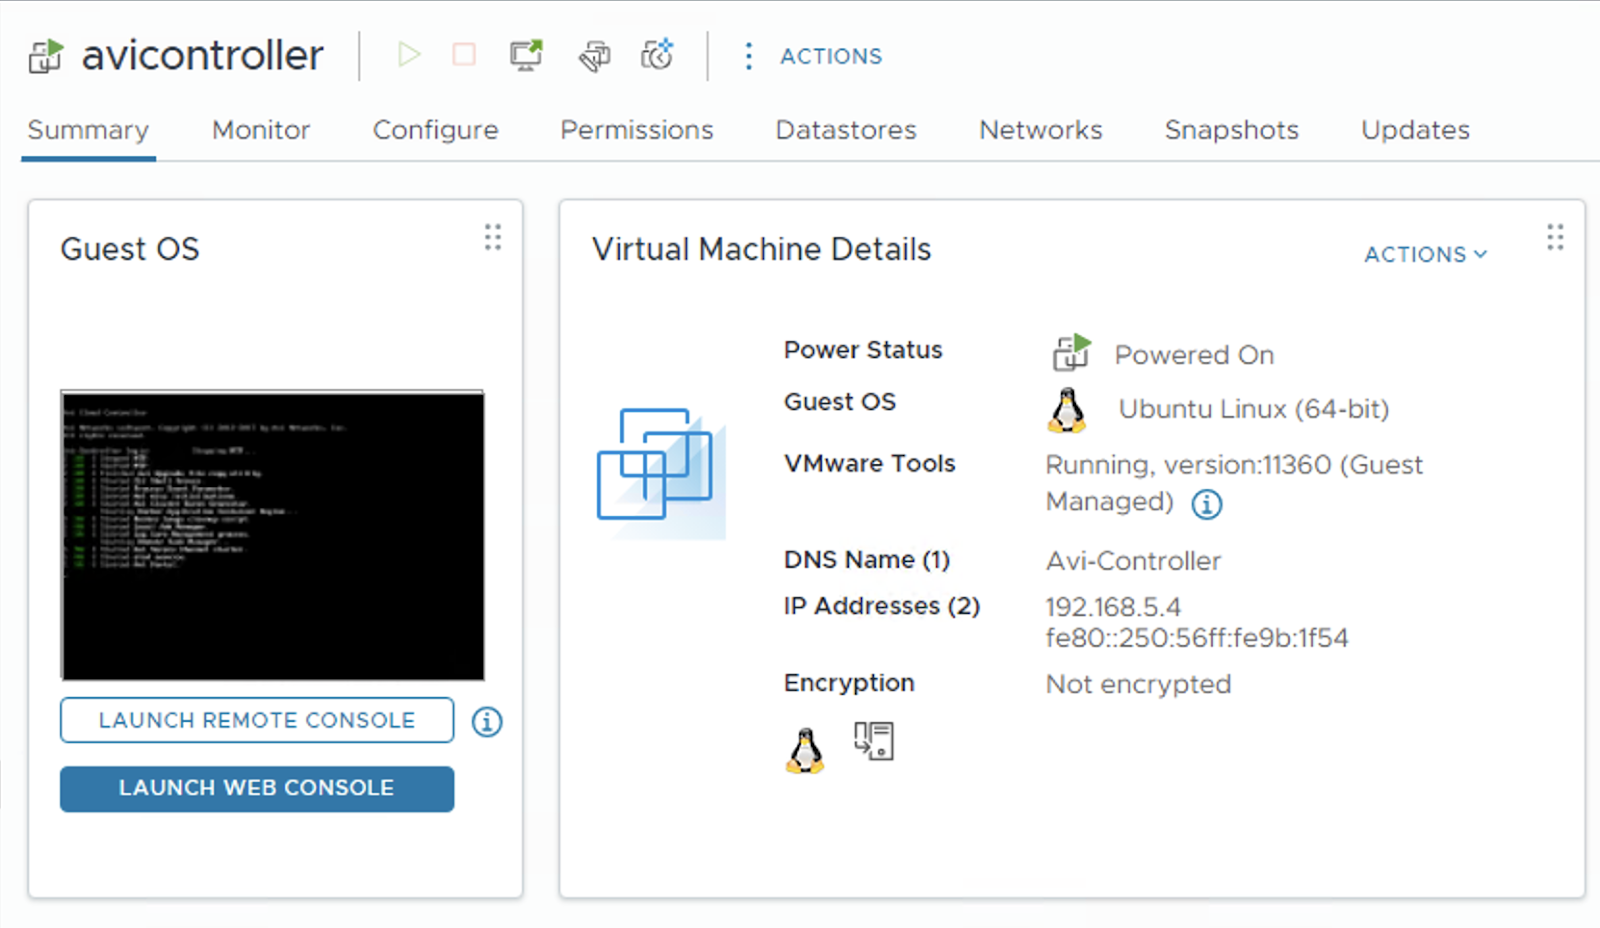
Deploy AVI Controller
Follow the standard OVA deployment procedure to a vSphere environment and configure the compute/storage options according to your environment.
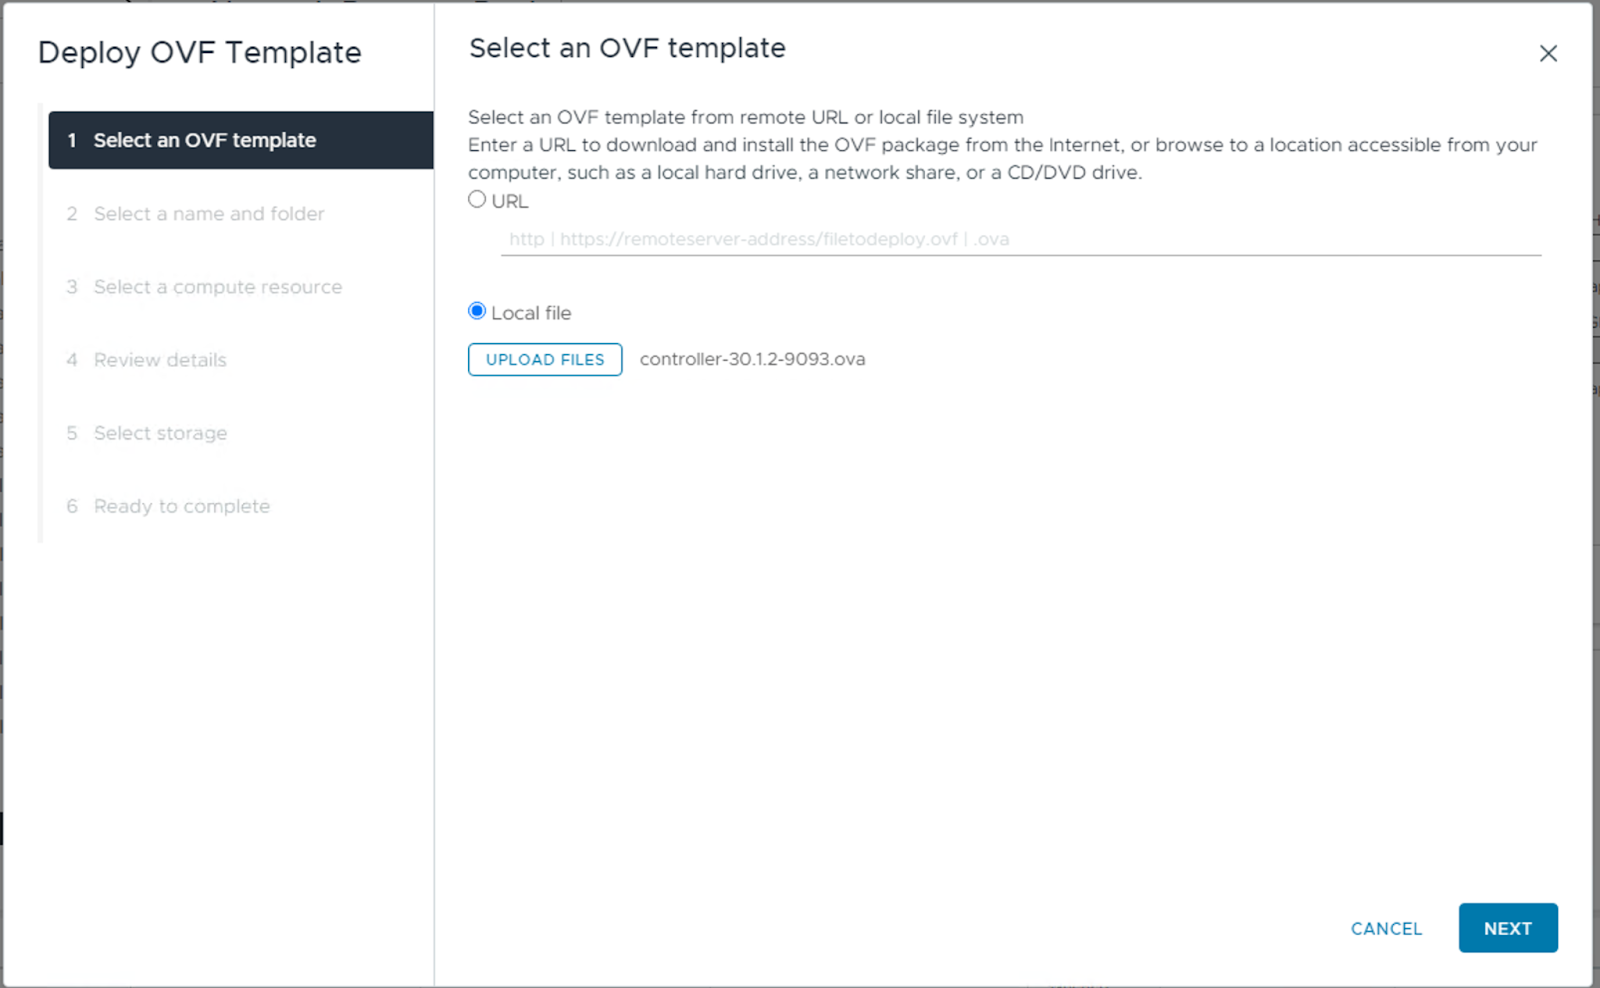

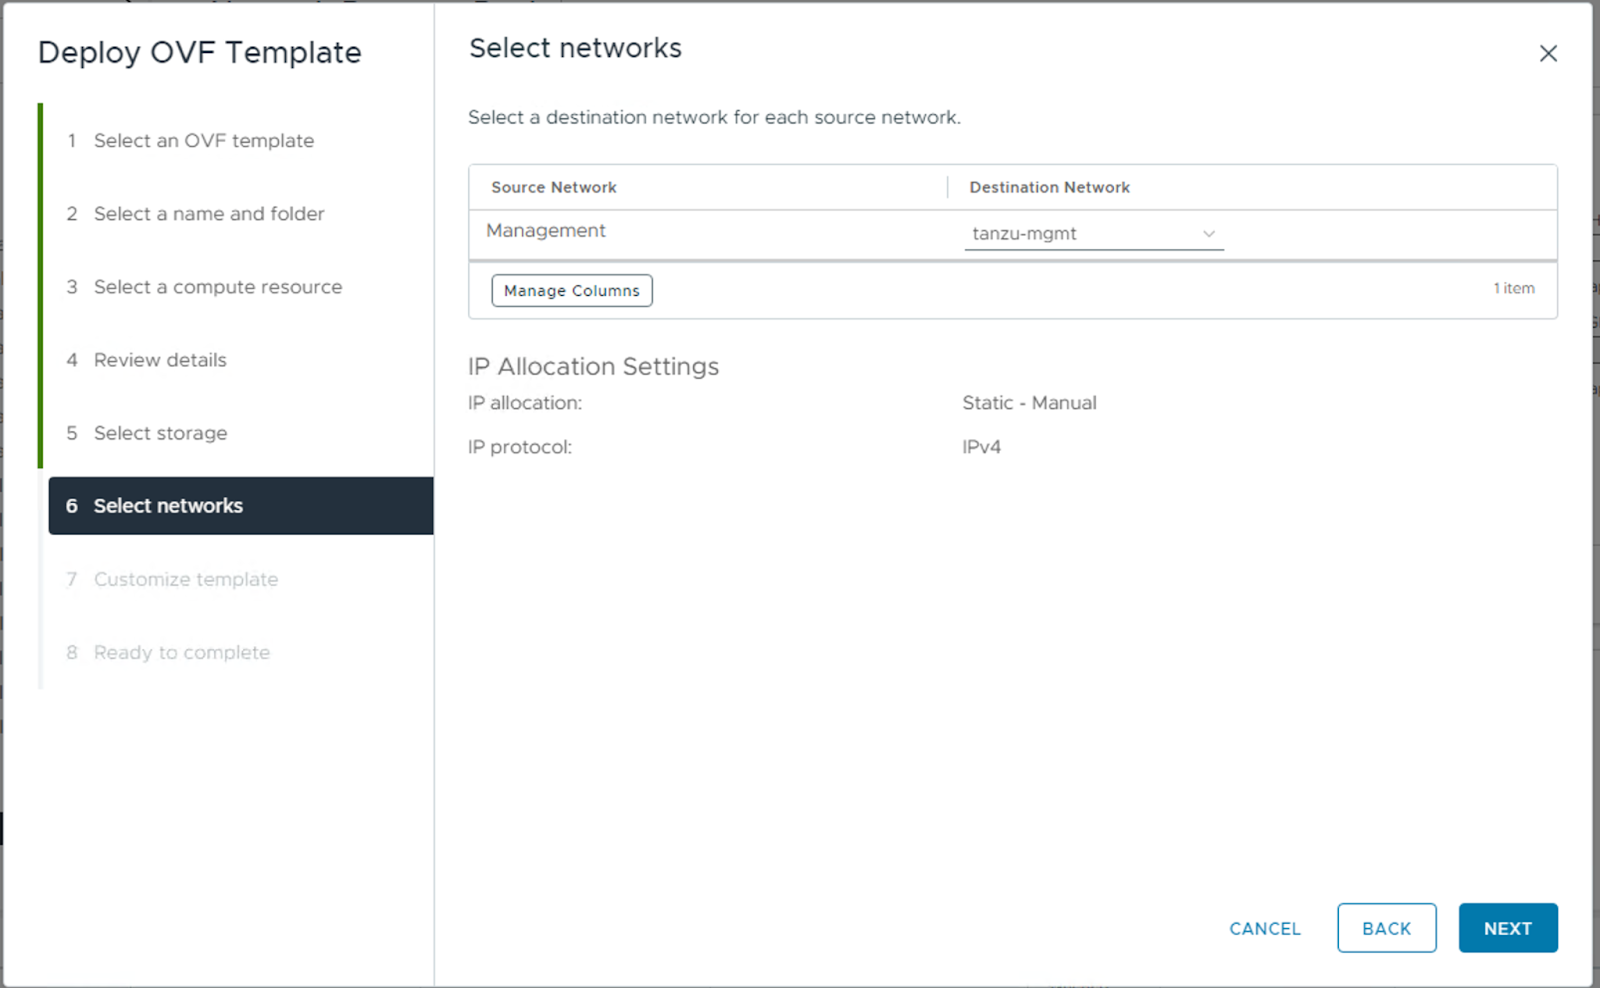
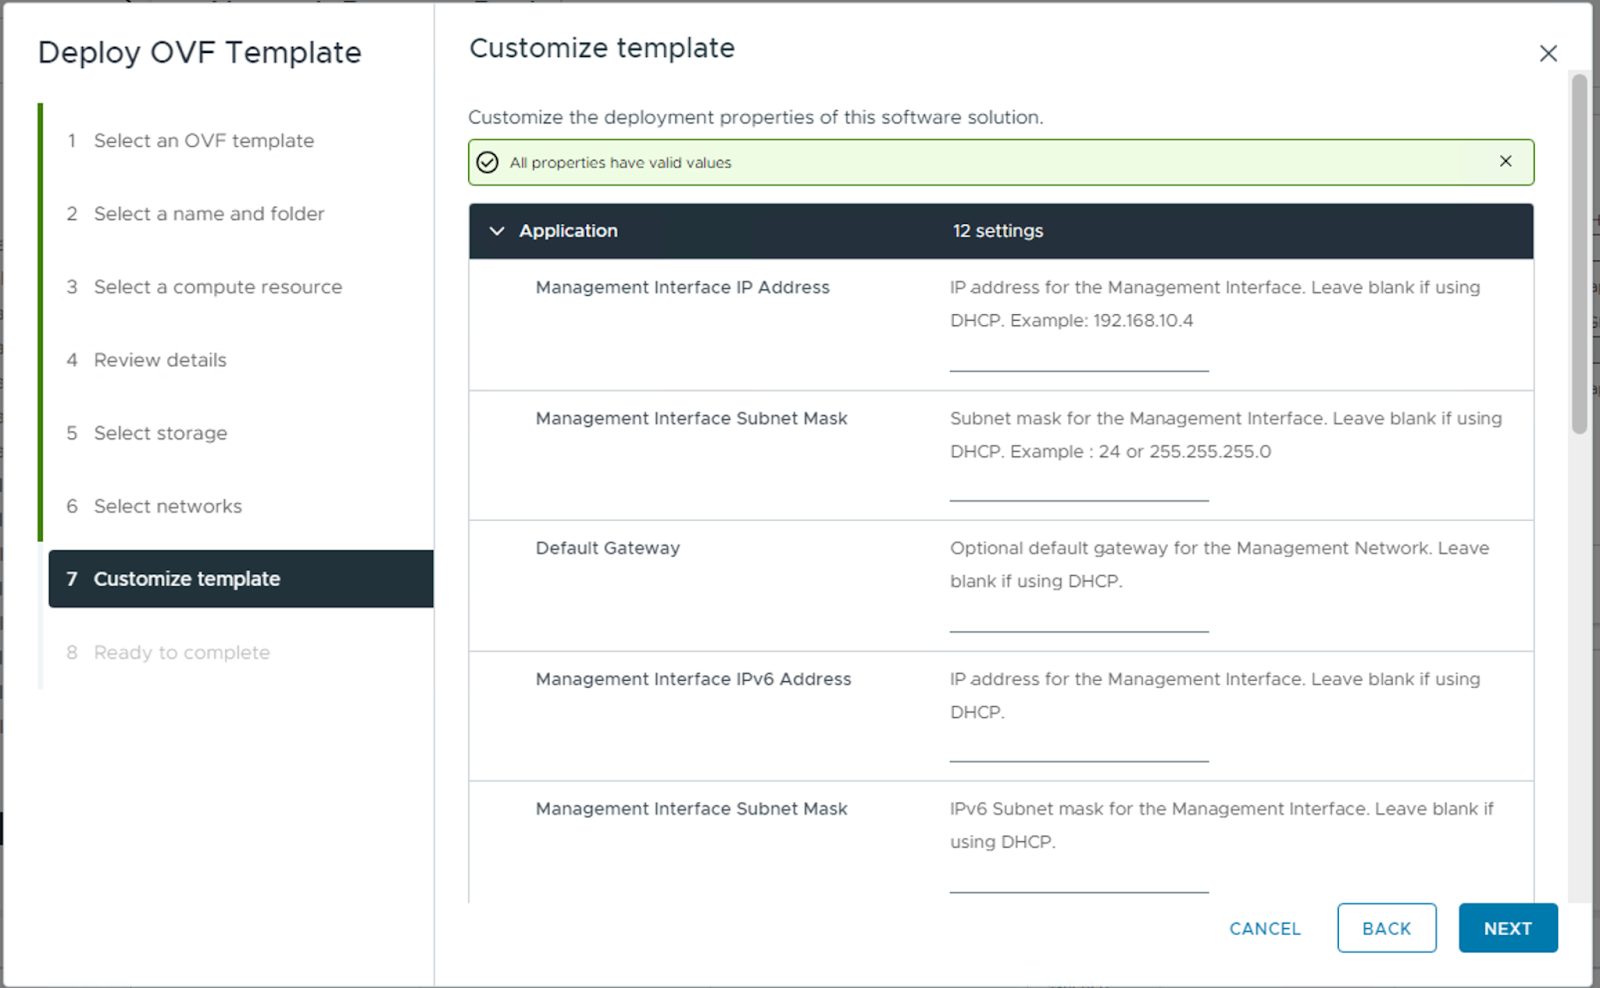
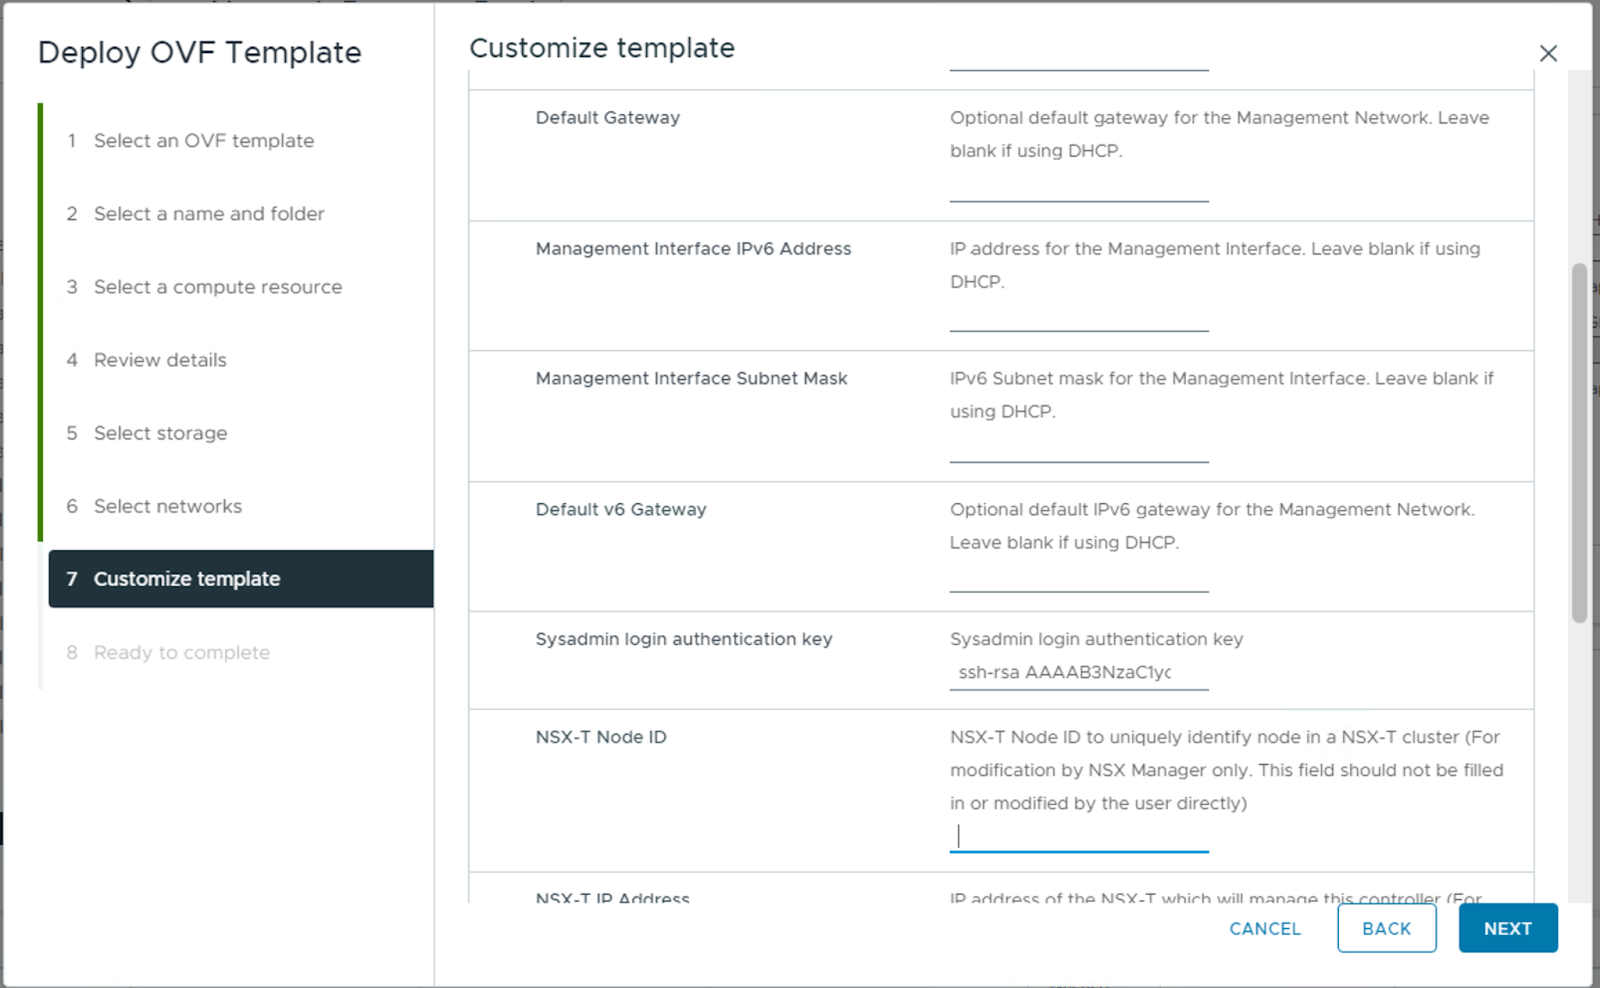
If you are using a non-DHCP network for the deployment, make sure to key in the IP address, Subnet Mask and Gateway details for the management interface.
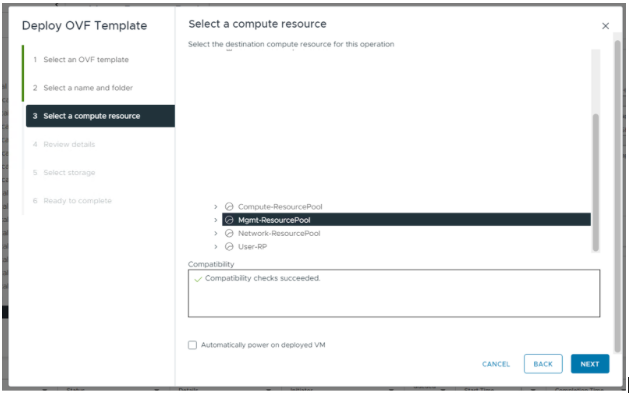
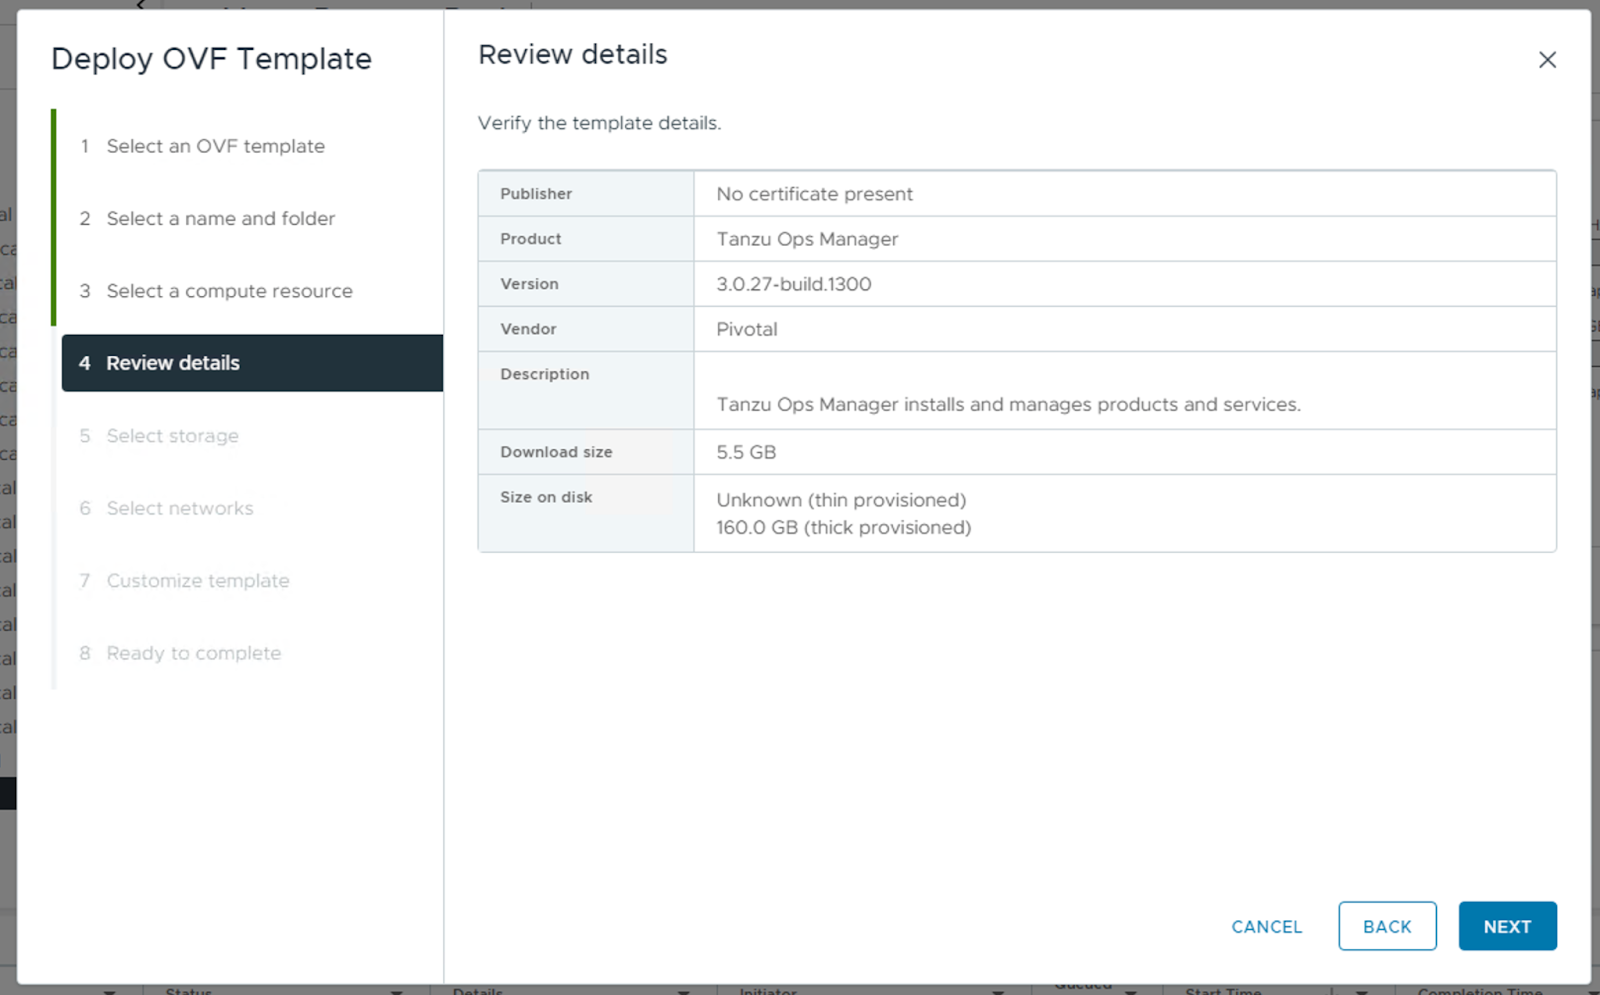
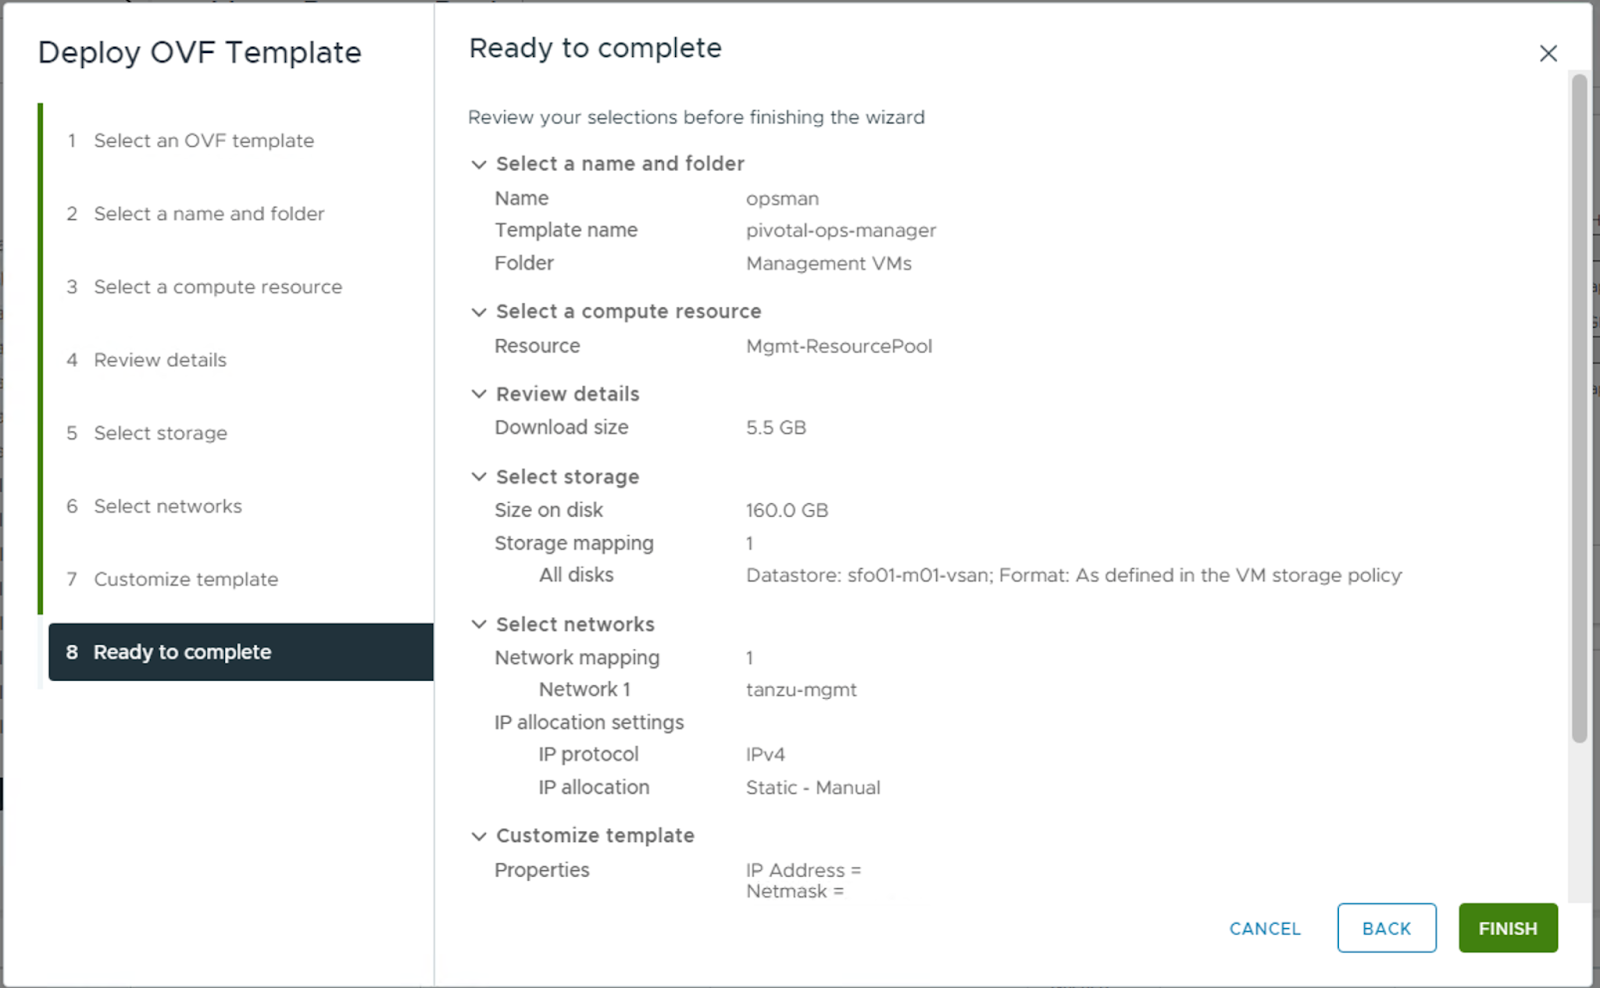
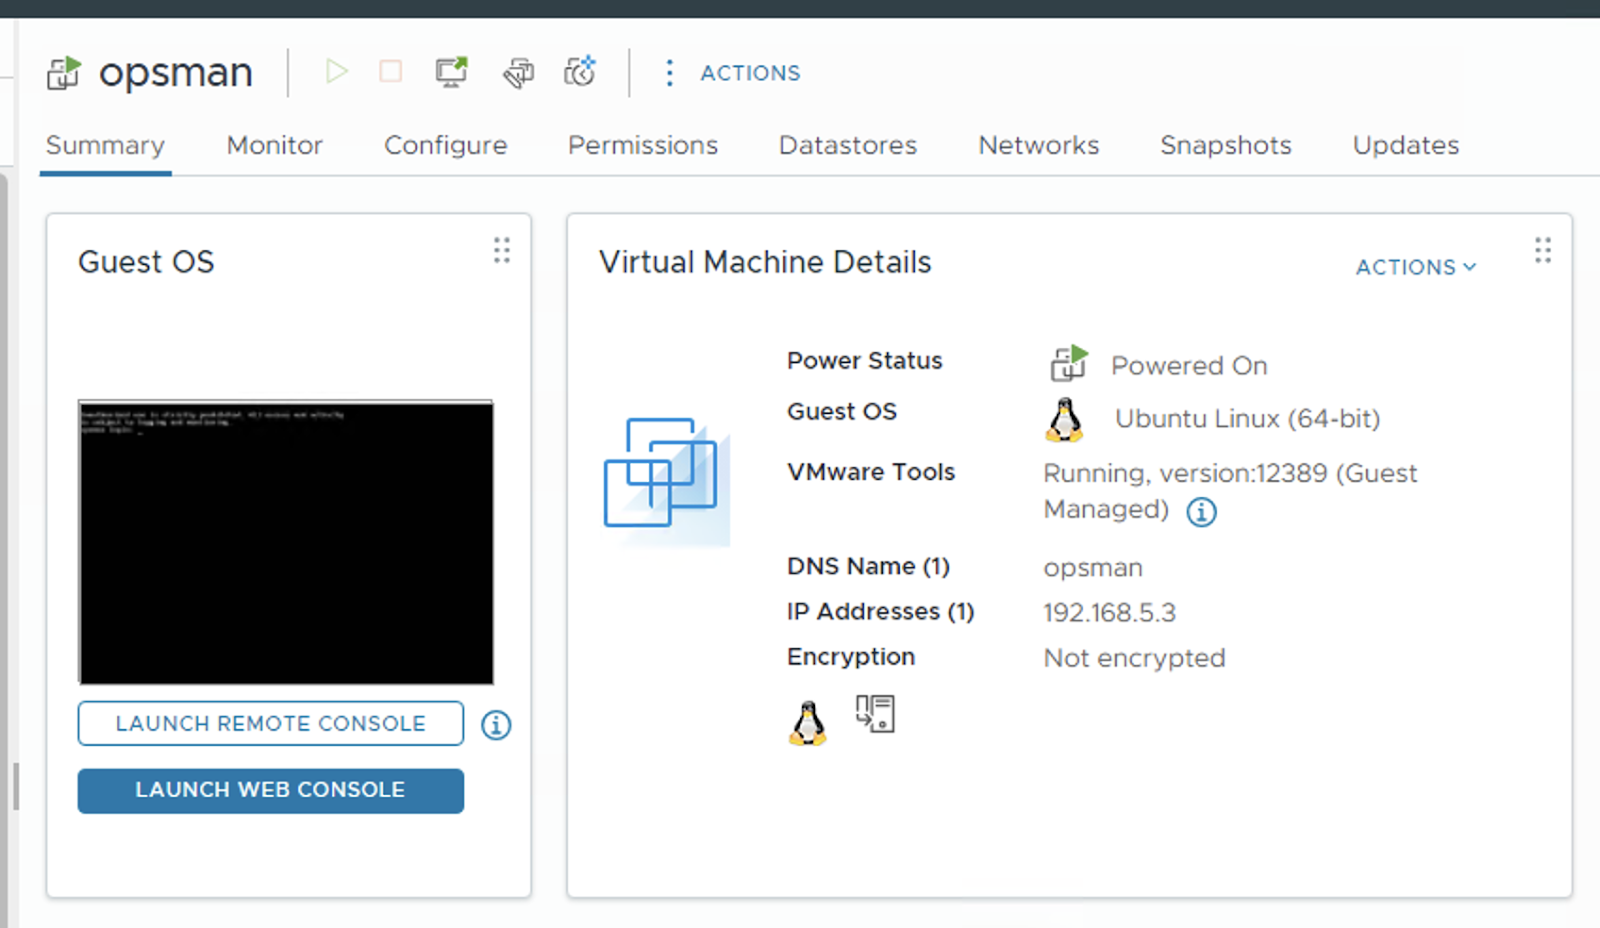
Deploy Tanzu Operations Manager
Follow the standard OVA deployment procedure to a vSphere environment and configure the compute/storage options according to your environment.

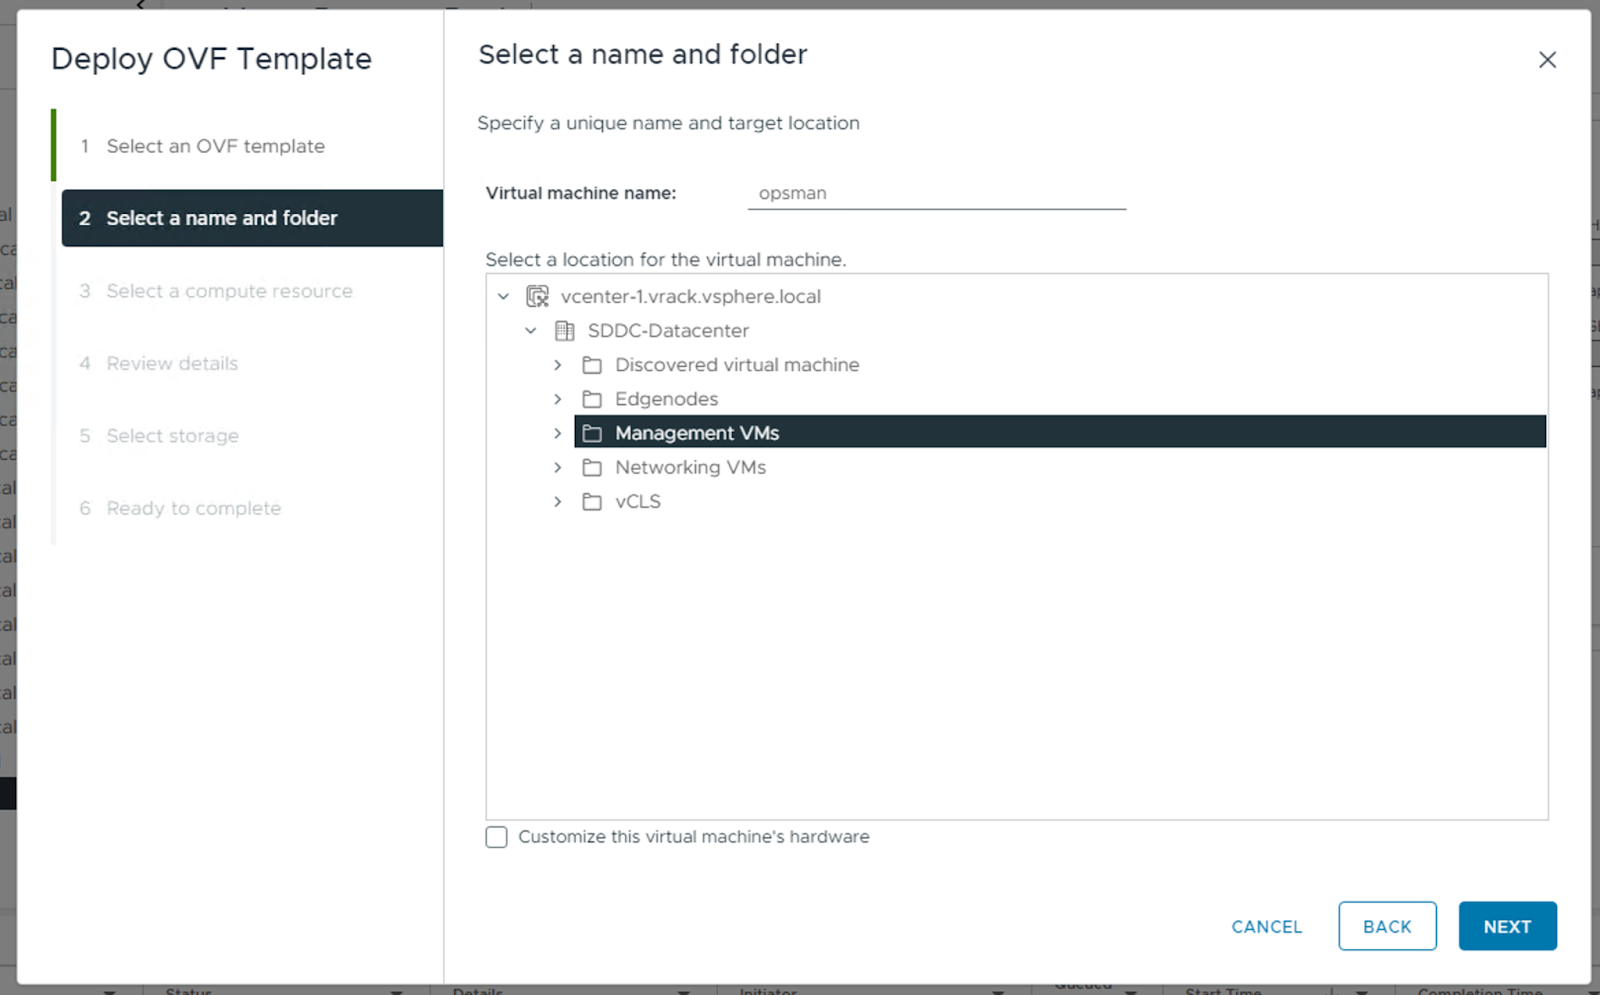

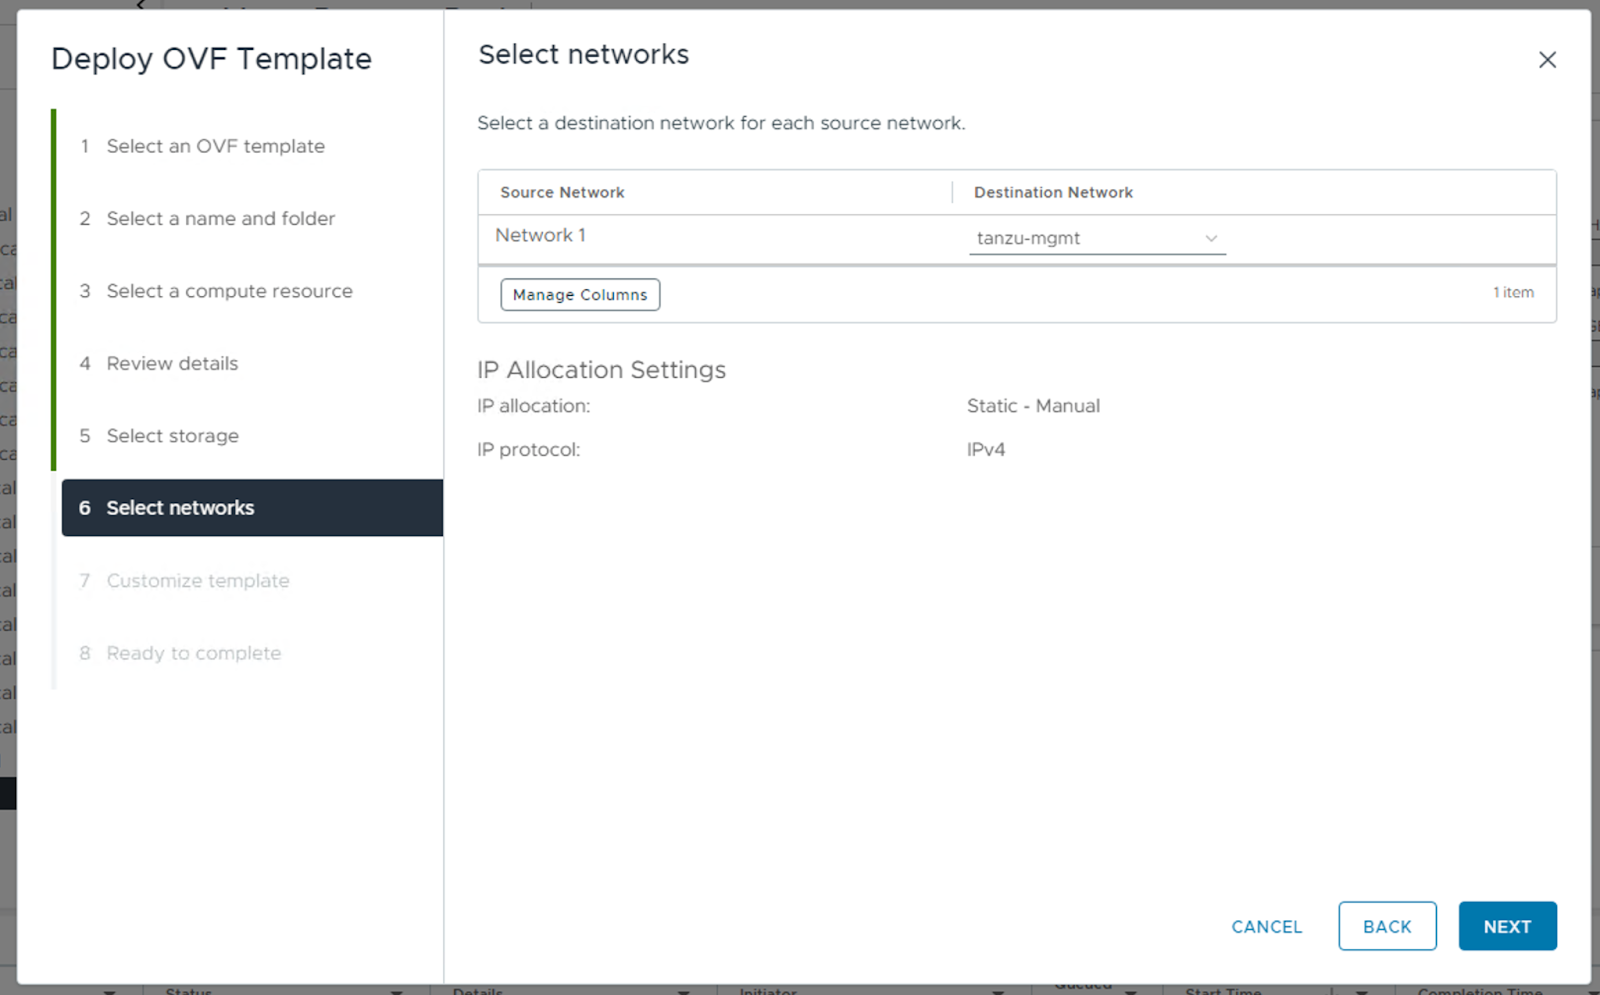
If you are using a non-DHCP network for the deployment, make sure to key in the IP address, Subnet Mask and Gateway details for the management interface. Specify the DNS server to be used by the Operations Manager VM as well.
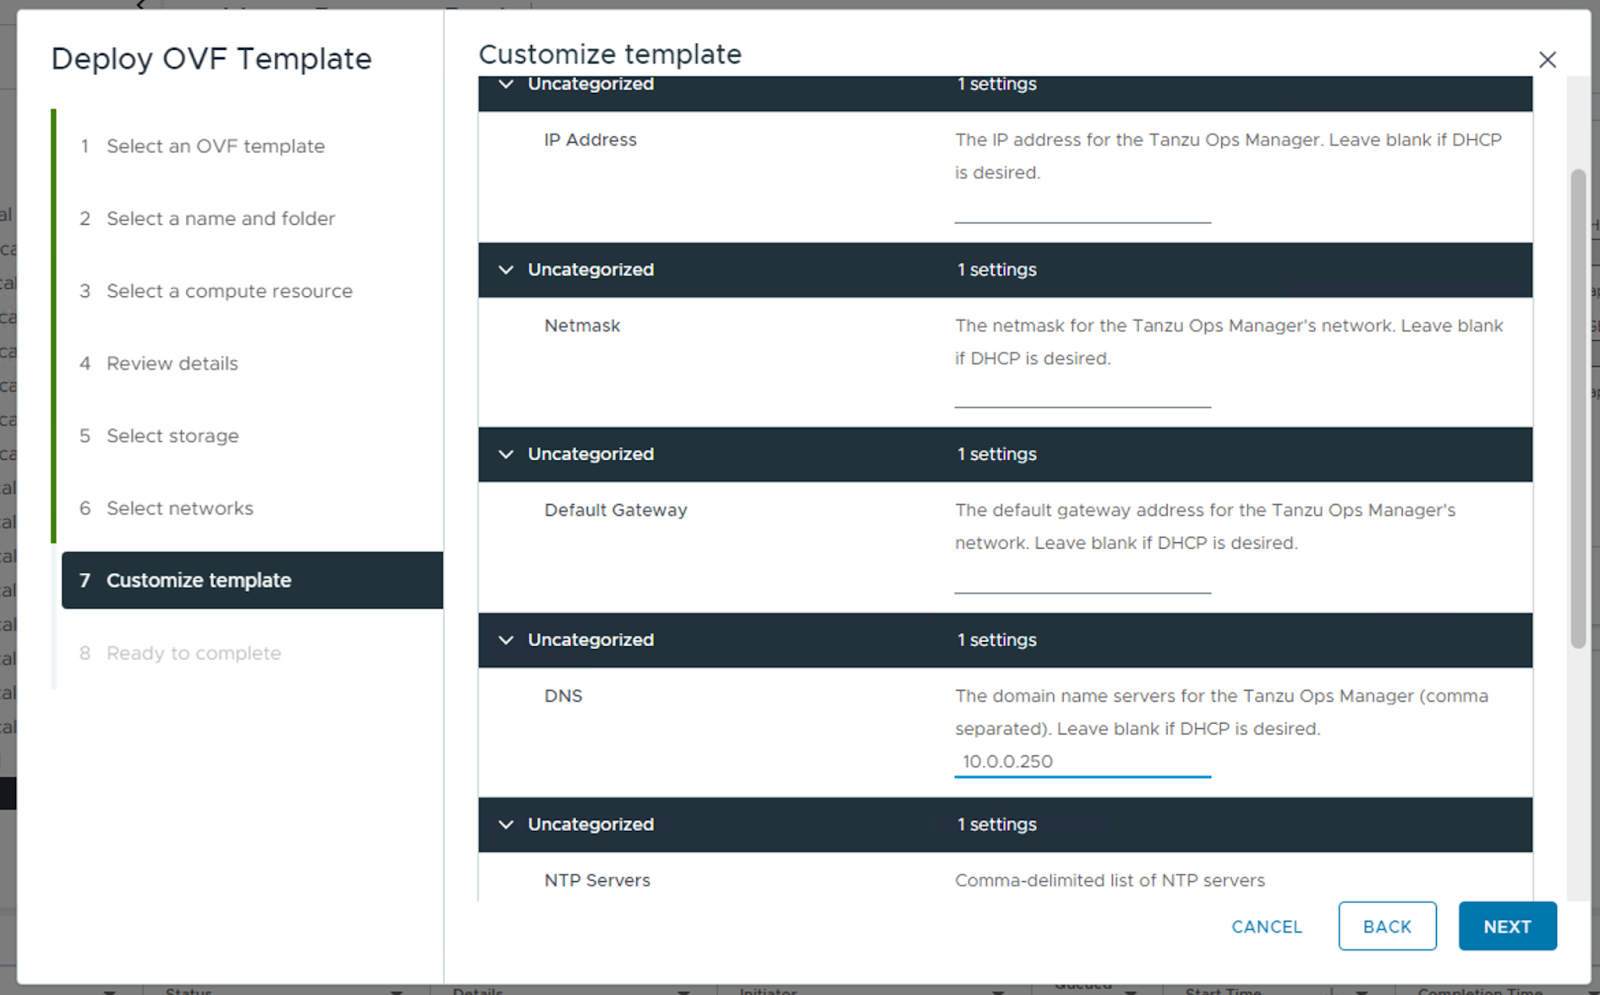
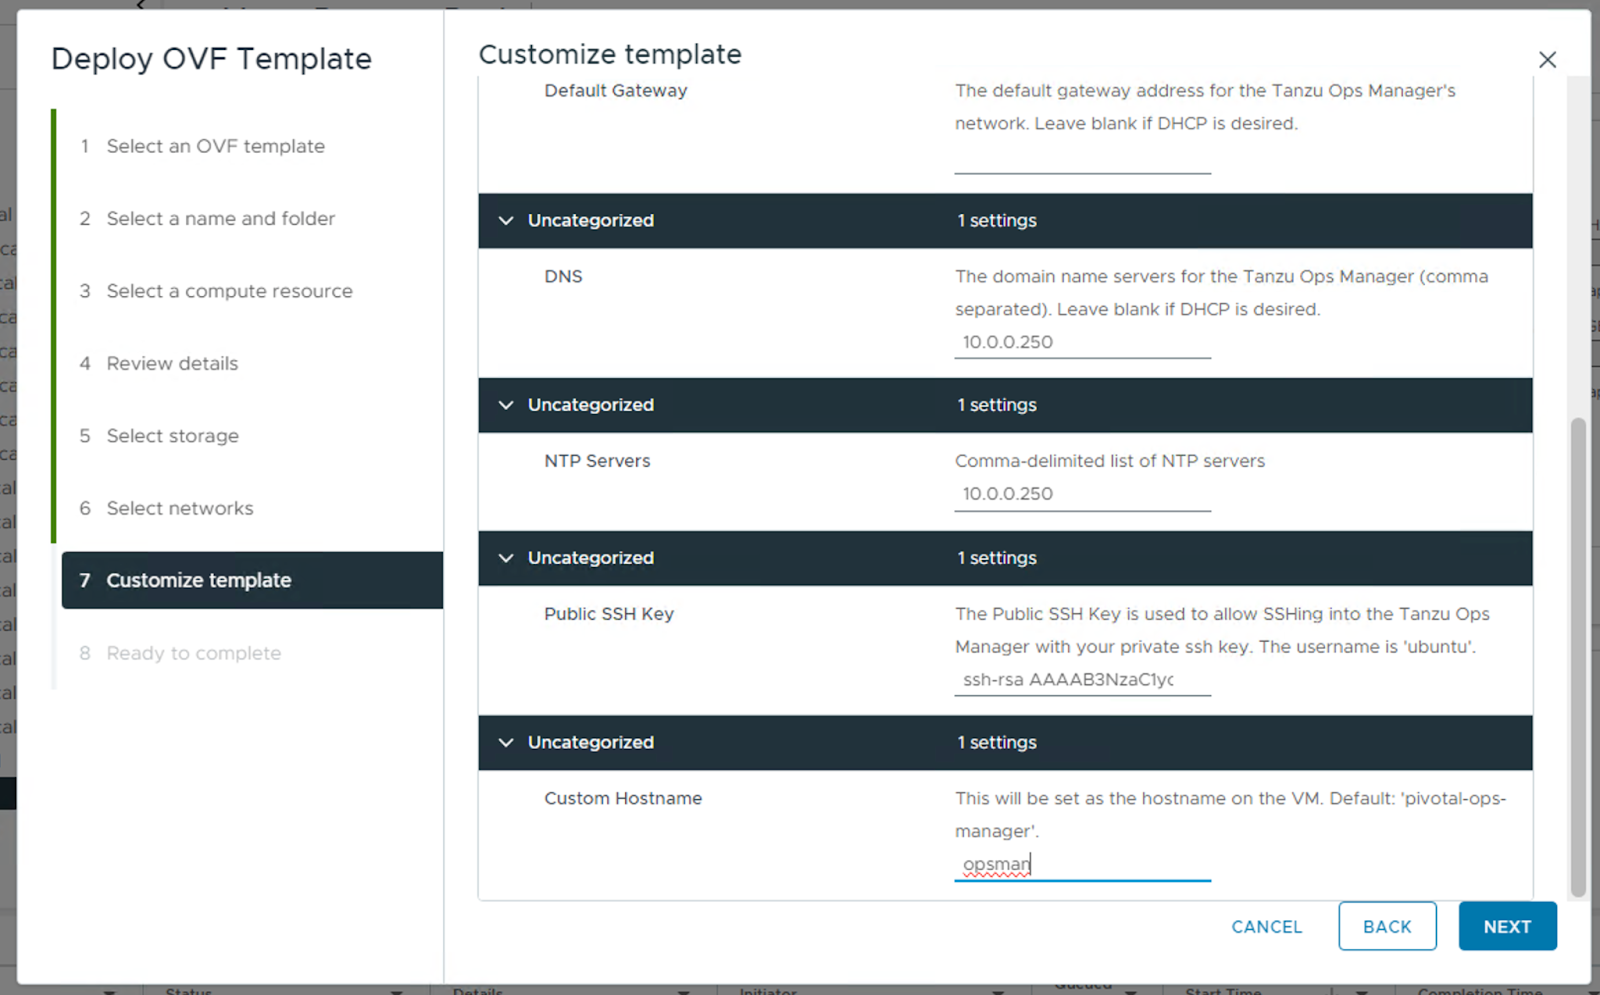
Copy and paste the content from the public key file that you generated as a pre-requisite (opsman.pub) against the “Public SSH Key” property.
That’s it for this article. More about TAS, AVI and NSX-T in later parts!
0 Comments