

vRA – Magic Deployment Wizard!
Automation is a broader spectrum and one who fails to land his or her foot there, will regret now or later on the time he/she could have saved automating things! VMware as a company, enables their customers enjoy these time perks by delivering their cloud suite of products. One of them being vRealize Automation. vRA has evolved a long way from vCloud Automation Center, from being heavily windows dependent to being modernised using Kubernetes. I did talk about the product and installation very briefly in my previous post. If you are new to this side of VMware products, you are on the right path. Keep learning and come back!
If you are interested in learning more about vRA 8.x and its architecture there are tons and tons of content in VMware’s product page. A simple google search would take you to the right set of resources. Over here, I intend to cover a very basic VM deployment procedure performed through the out-of-the-box Quick Deployment wizard.
Go ahead and login to your vRA 8.x! FQDN or IP address, as you prefer!
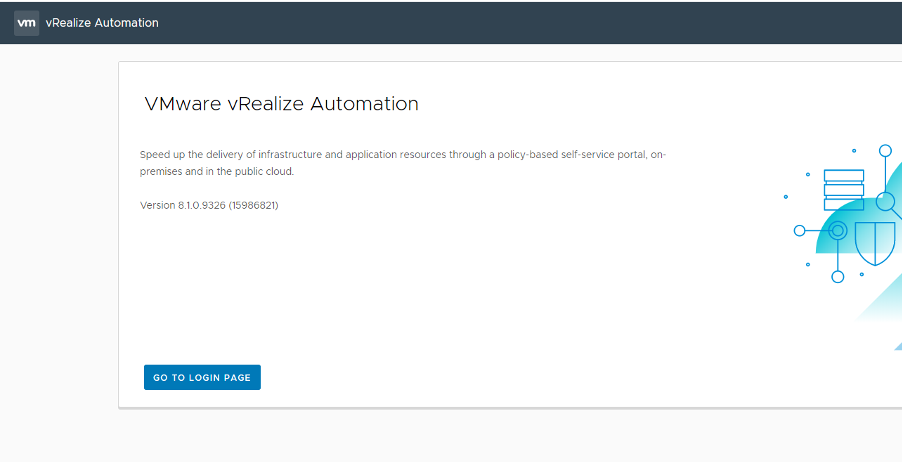
Clicking on “Go to Login Page” should take you to the home page where you will see various options along with the Quickstart wizard.
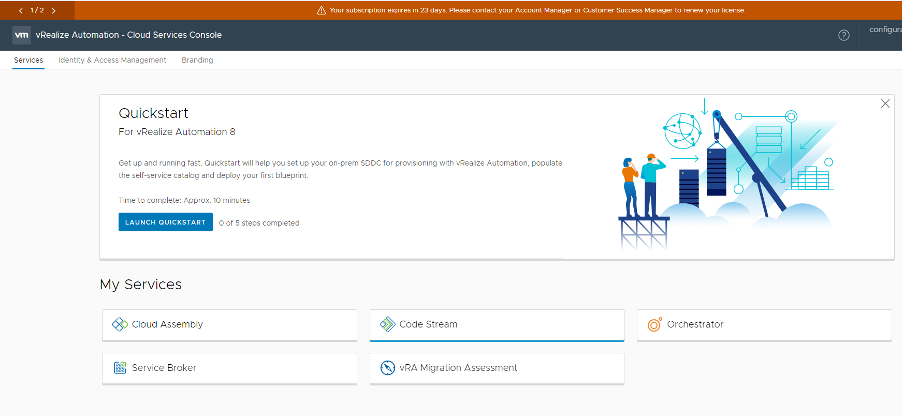
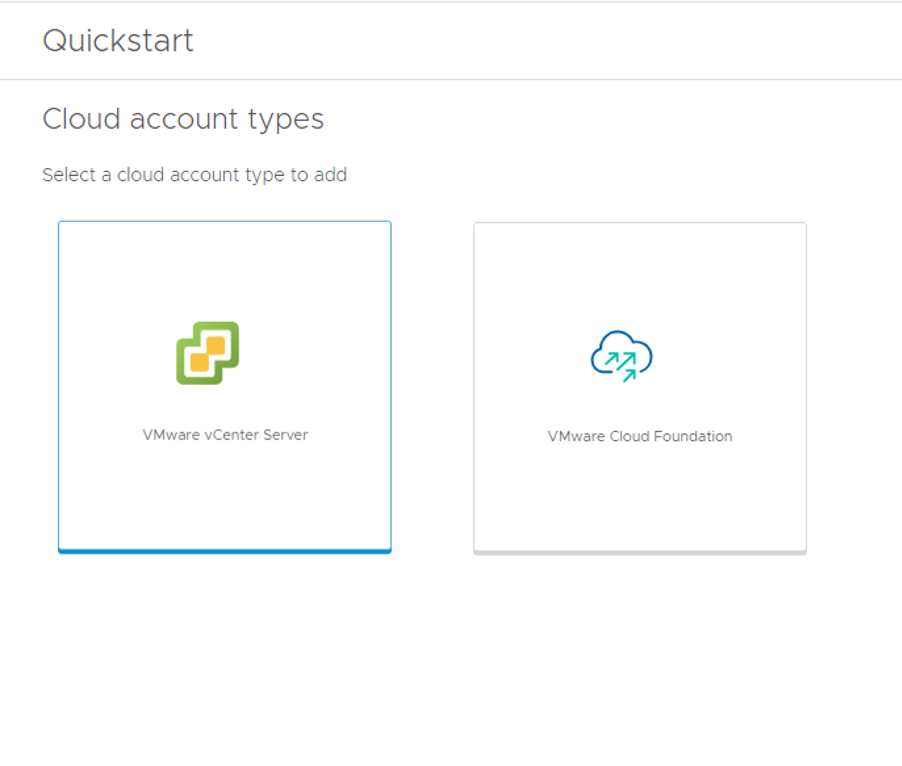
Click on Launch Quickstart and you should see the account types that you can setup and choose your preferred type from there. I chose vCenter.
Go ahead and fill in the required information – IP Address/Username/password to connect to your vCenter and validate. This doesn’t necessarily have to be the default SSO administrator account. However, a service account with relevant admin permissions should do.
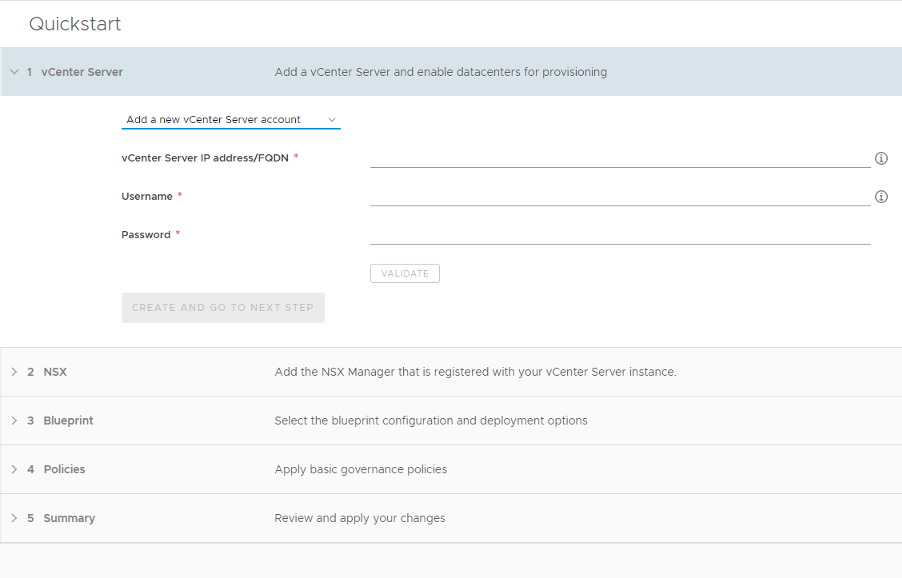
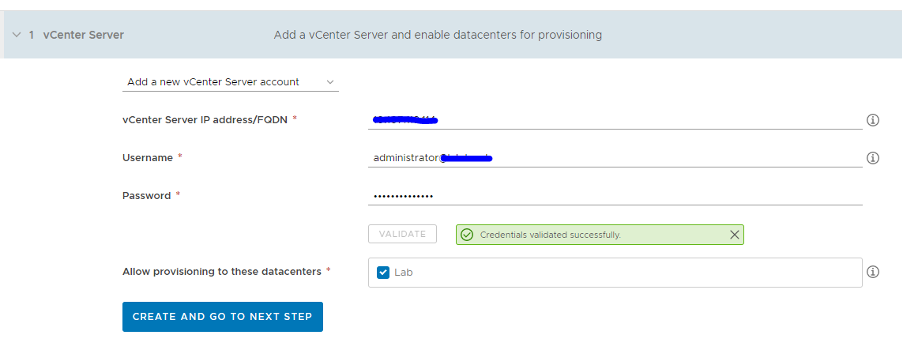
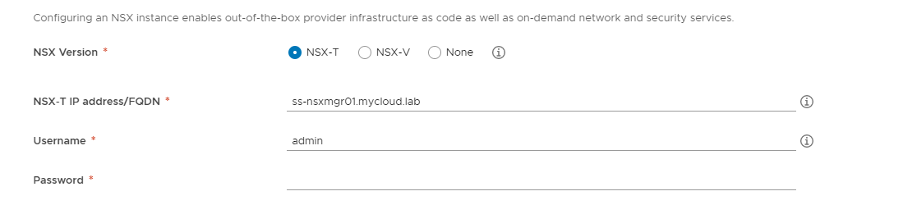
Proceed when you see a nice little green box that confirms your successful connection and choose the virtual data center’s where you would like to provision your VMs. The next step would ask you to add your NSX environment. This is a mandatory step if you are using the quick start launcher. However, if you don’t wish to add your NSX environment or don’t have one (feel sorry for you :P), skip this procedure and go into the “Cloud Assembly” option from the home page and create a blueprint just like you did with the previous versions! But there’s more to it as well. I will see if i can cover that in a separate thread! Coming back, adding my NSX-T environment as shown below.
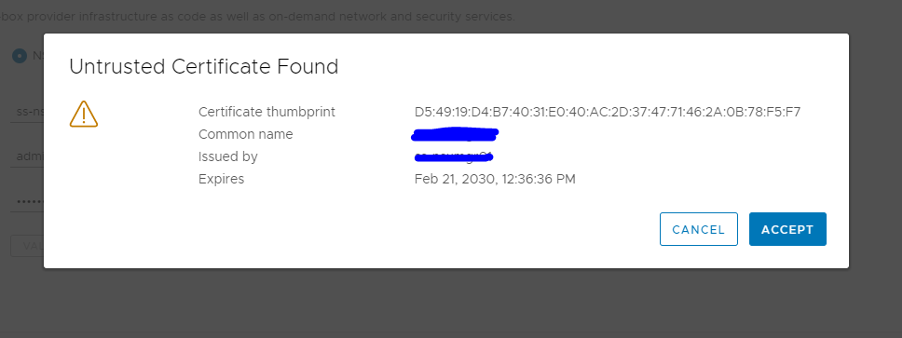
Upon providing valid credentials, if you use the self-signed certificate for NSX Manager, you should see a warning popping up like the one shown below.
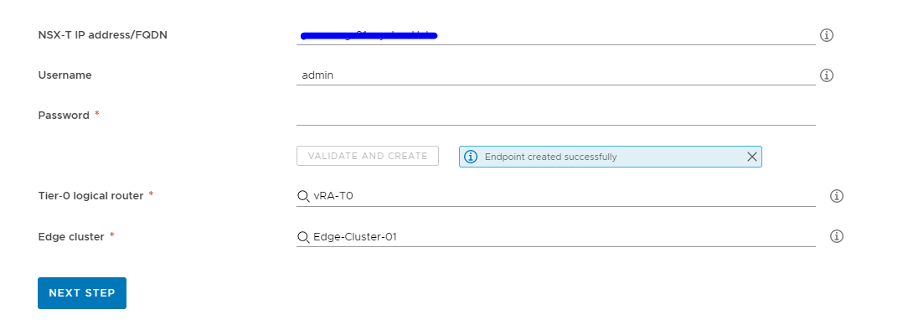
Upon validation, you will be asked to choose a T0 router and an Edge cluster from the NSX environment you just added. To know what these nomenclatures mean, you will have to read through the NSX docs 🙂
The next step is to create a blueprint. Assuming you already have a template in the vCenter account you just added, fill in rest of the details to proceed further.
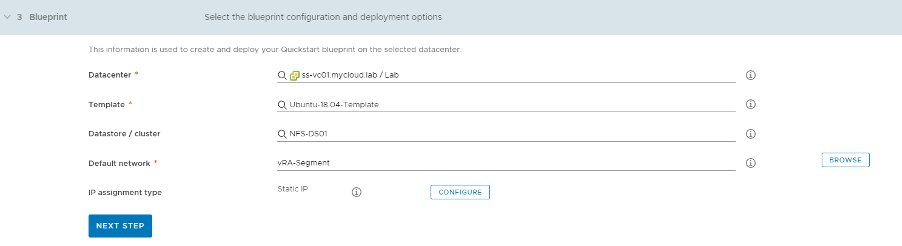
“vRA-Segment” I have used in the above screenshot refers to a logical switch I created on the T0 router. You can choose a DVPortgroup from the cloud assembly! Don’t forget to assign a static IP if DHCP is not in use.
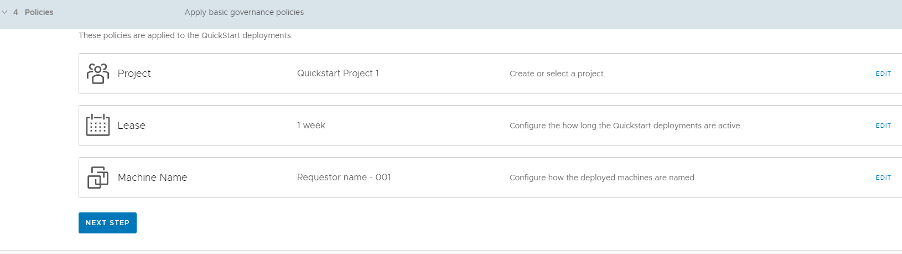
Next step would be to create a project, a lease for the blueprint and the machine prefix by clicking on the “Edit” option at the end of each tab.
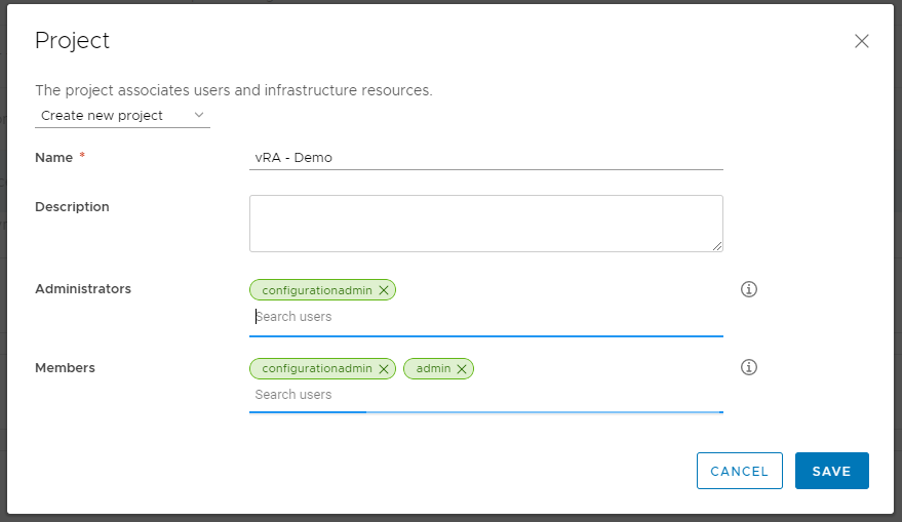
I chose to create a project for this demo and here’s what it looks like. This is the place where you add users to the project. Or in other words, decide who has access to what.
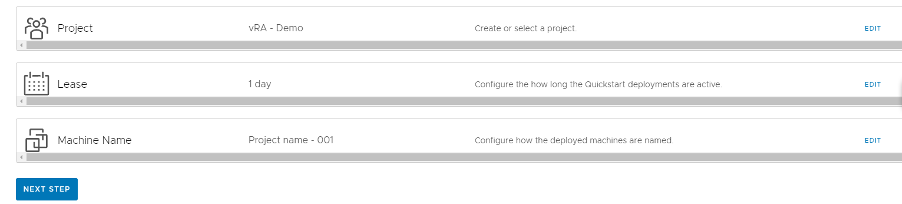
I, then changed the lease to 1 day from a week and the machine prefix to start with the Project Name. Here’s how the wizard looks now.
As a last step, go ahead and review all those details you just entered and click finish.
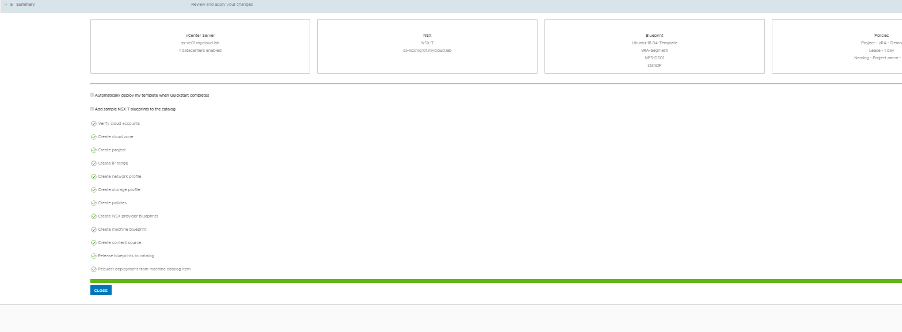
You should see your deployment in “Create – In Progress” state by now.

By this time, your vCenter should have begun the clone process. Depending on the template size, the completion time may vary. In my case it was a 50GB disk and it took me roughly about 3-4 minutes for the VM to be up and running.

Once the clone is completed and the VM is up you should see your deployment to be in a completed state.

You can then verify the status and properties of your deployment by clicking on to it. As you can see the name of my VM matches the prefix I specified earlier. (Project Name – XXX)
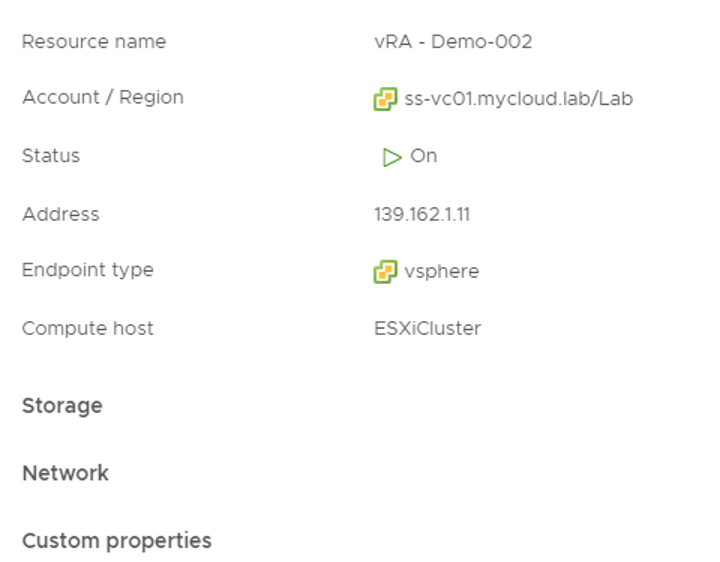
And with this you have successfully completed deploying your first VM through vRA 8.x!
I know this isn’t rocket science and for some one who’s been using the product for sometime now, this should be a cake walk. I will spice things up in the coming blogs. Or, At least I hope to do so!
Let me know what you guys think 🙂 Happy learning!