
TAS/ALB Installation Series – Part 6
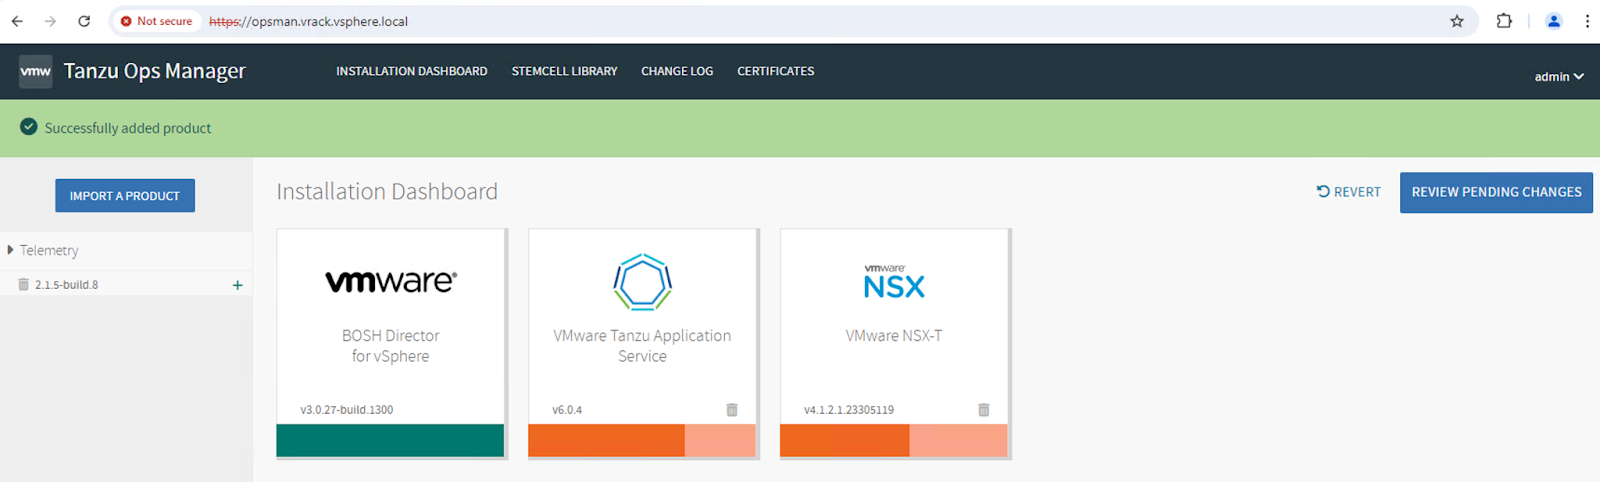
If you have followed my previous posts in the series, you should see a screen like the one in the screenshot below when you login to Operations Manager. We will start with configuring the TAS tile followed by the NCP tile.
TAS Installation
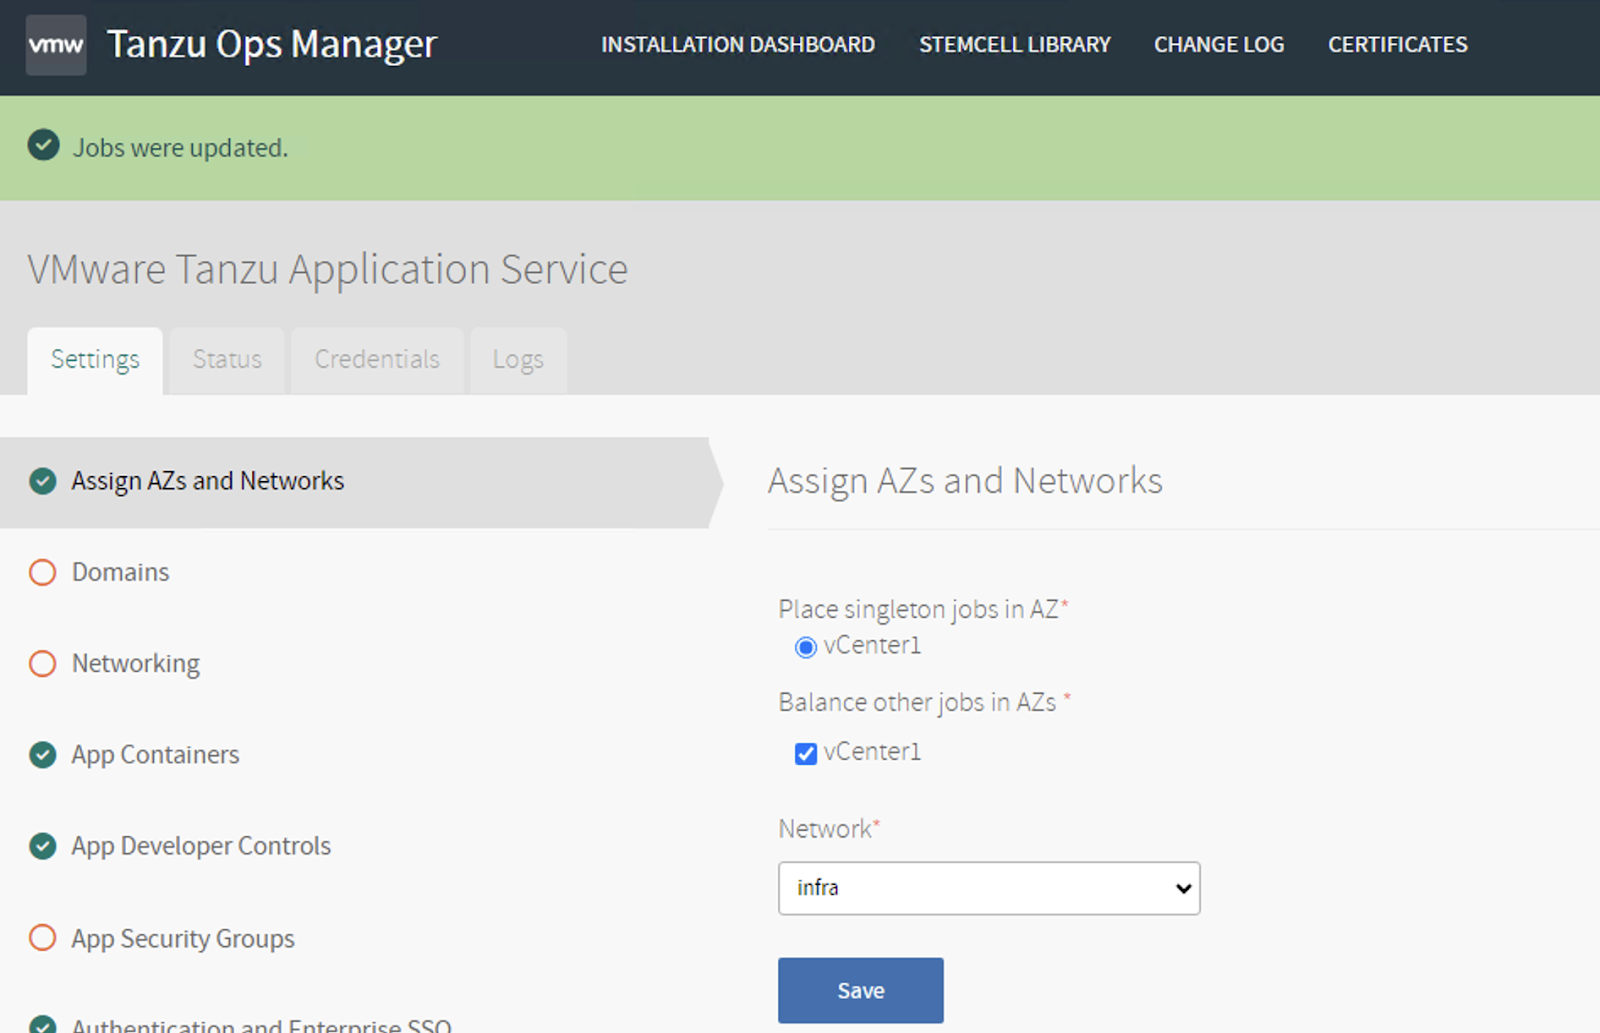
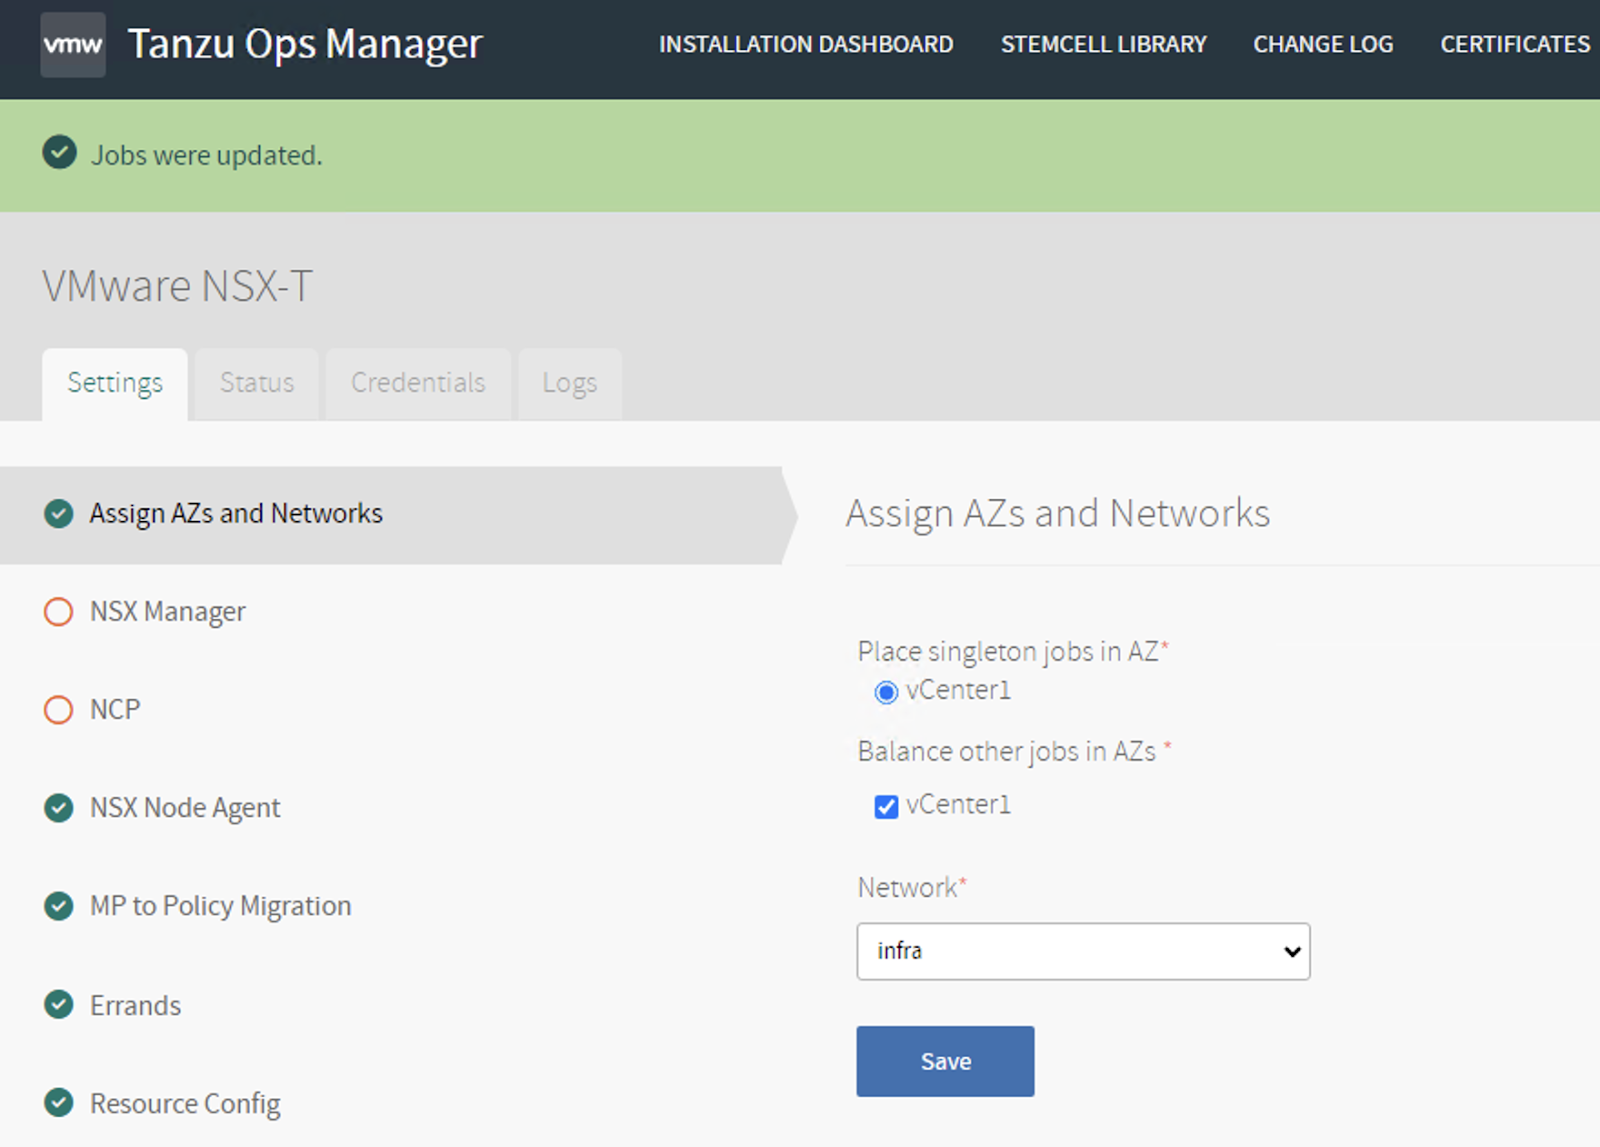
Click on the TAS tile and Assign AZ and network to be used by the component VM.
Specify the domain for your system (internal to TAS) and apps

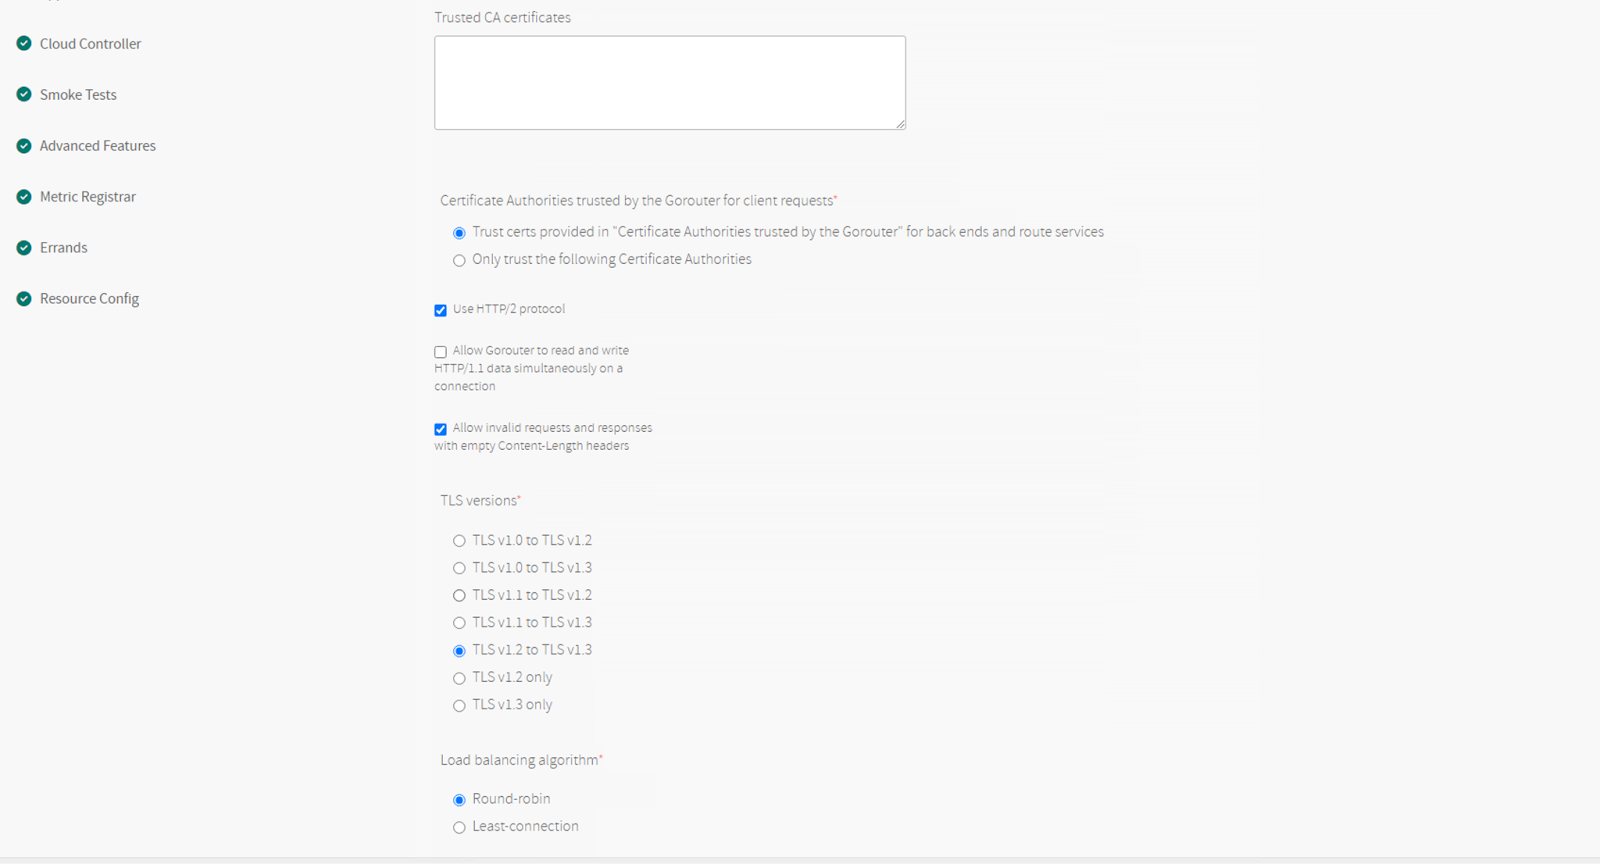
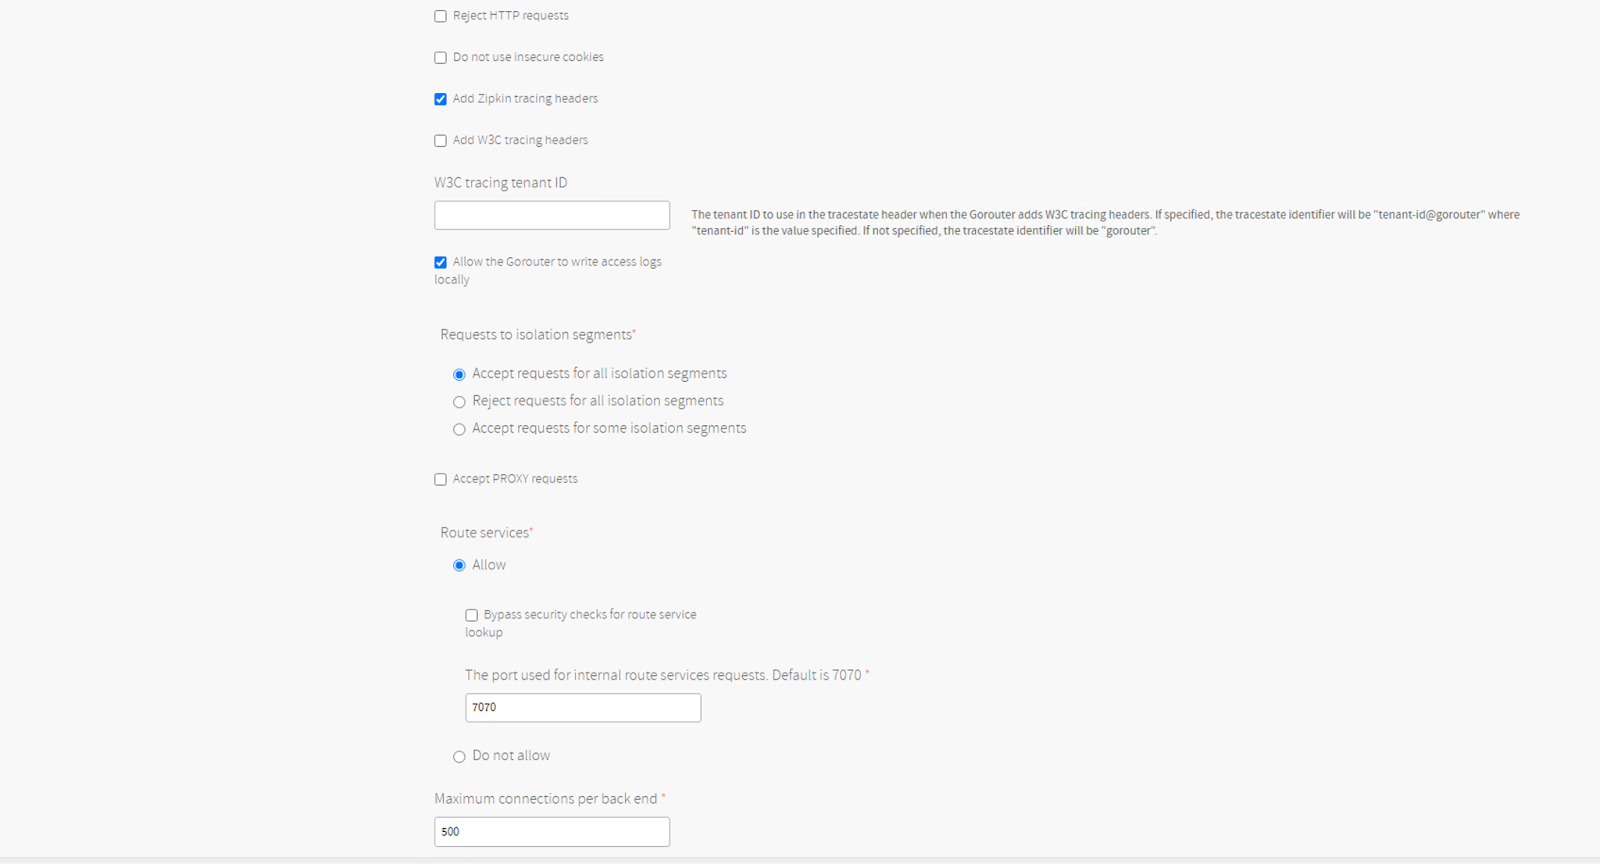
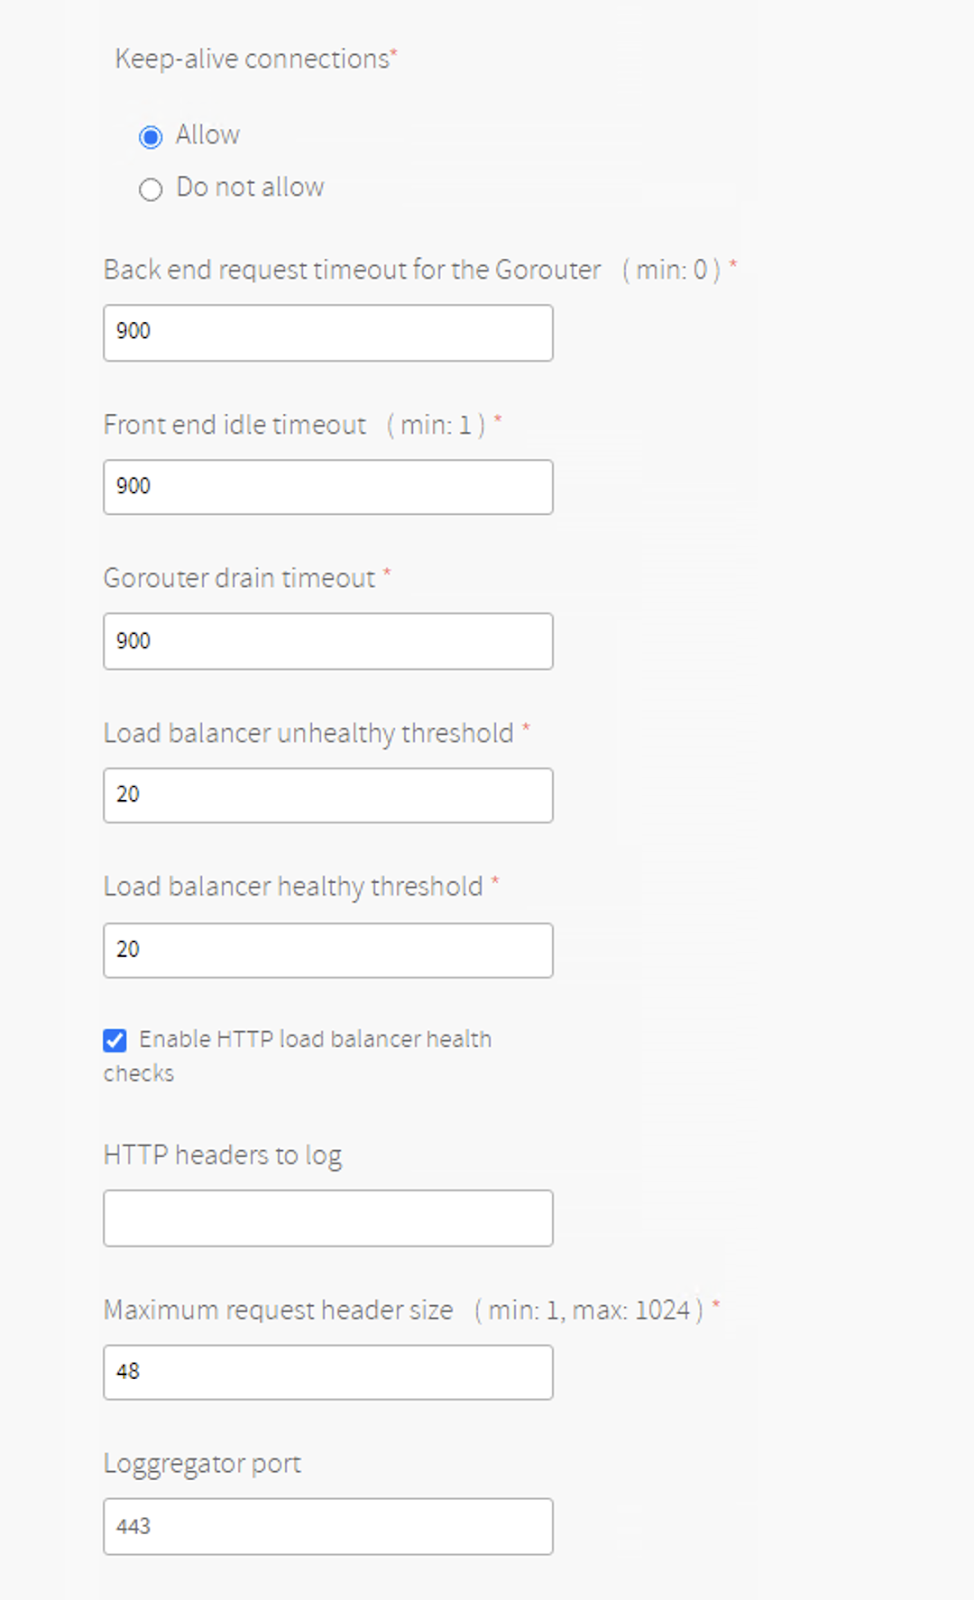
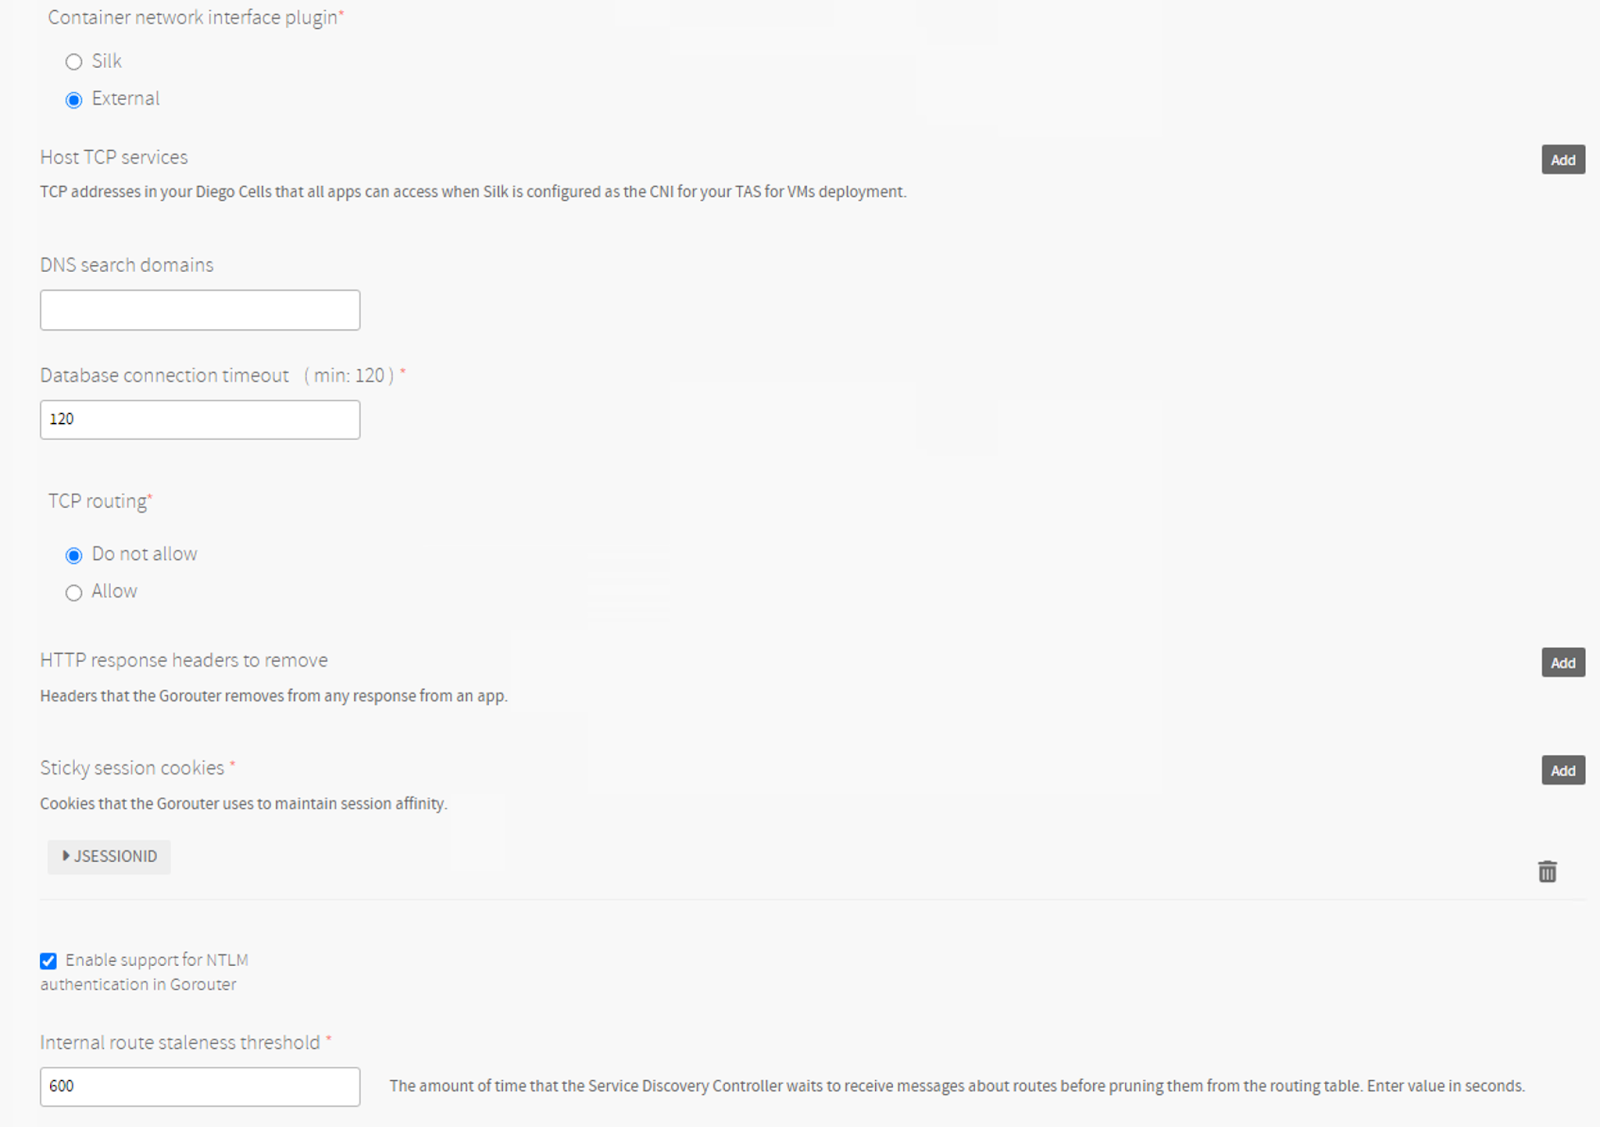
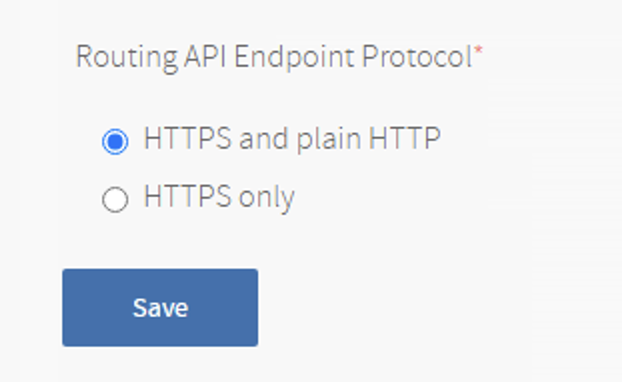
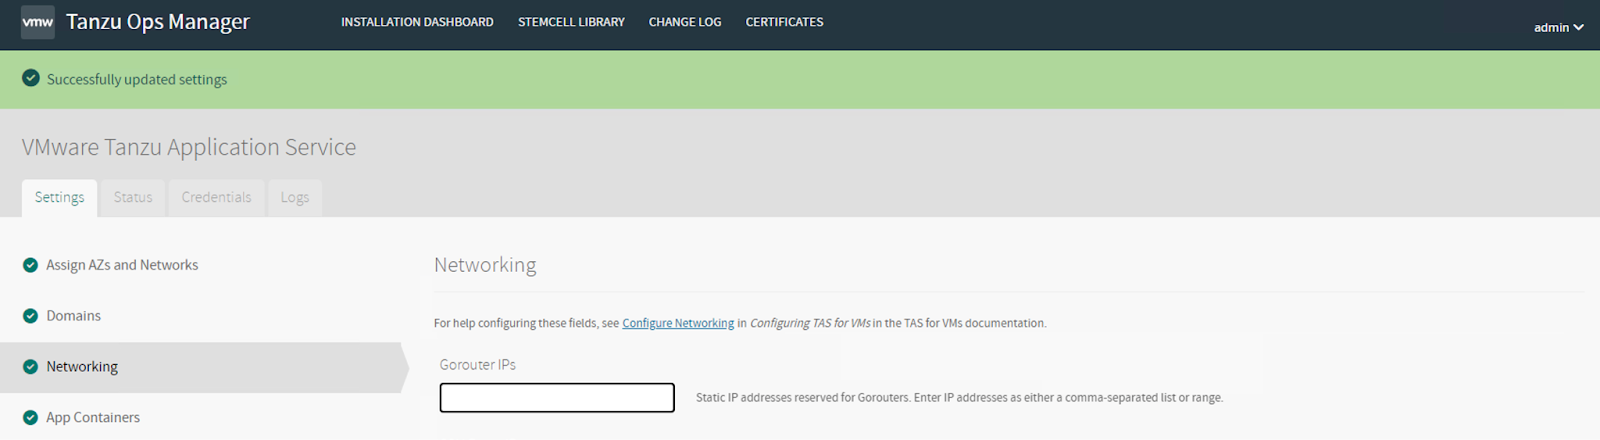
Configure Networking as shown in the screenshots below
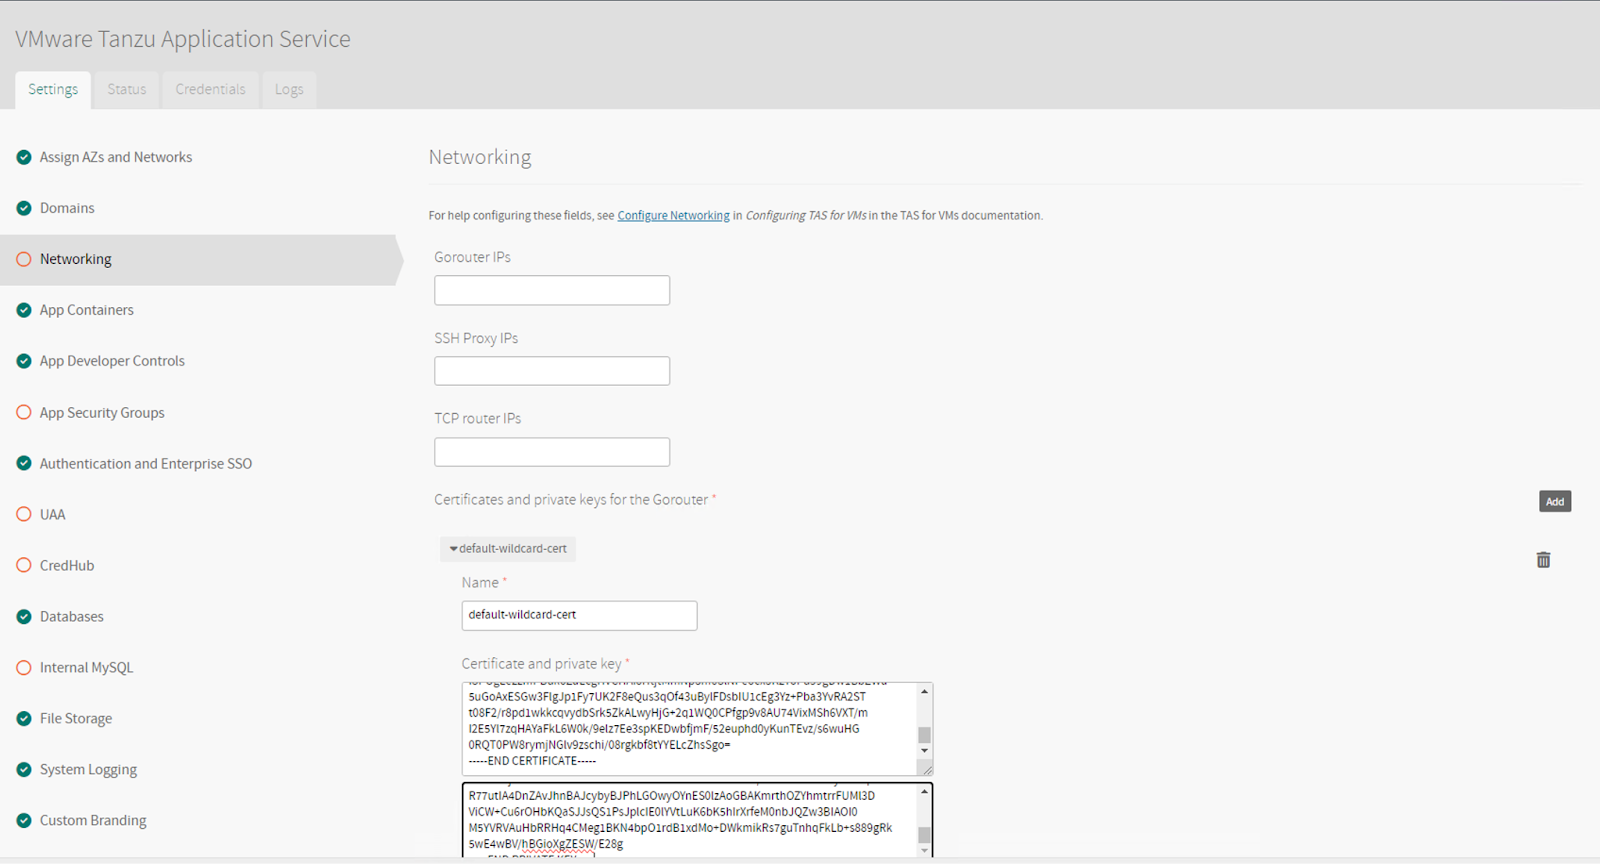
The cert and private key contents are from the wildcard certificate that I generated for the domain.

In the following screen, choose the container network interface plugin as external.
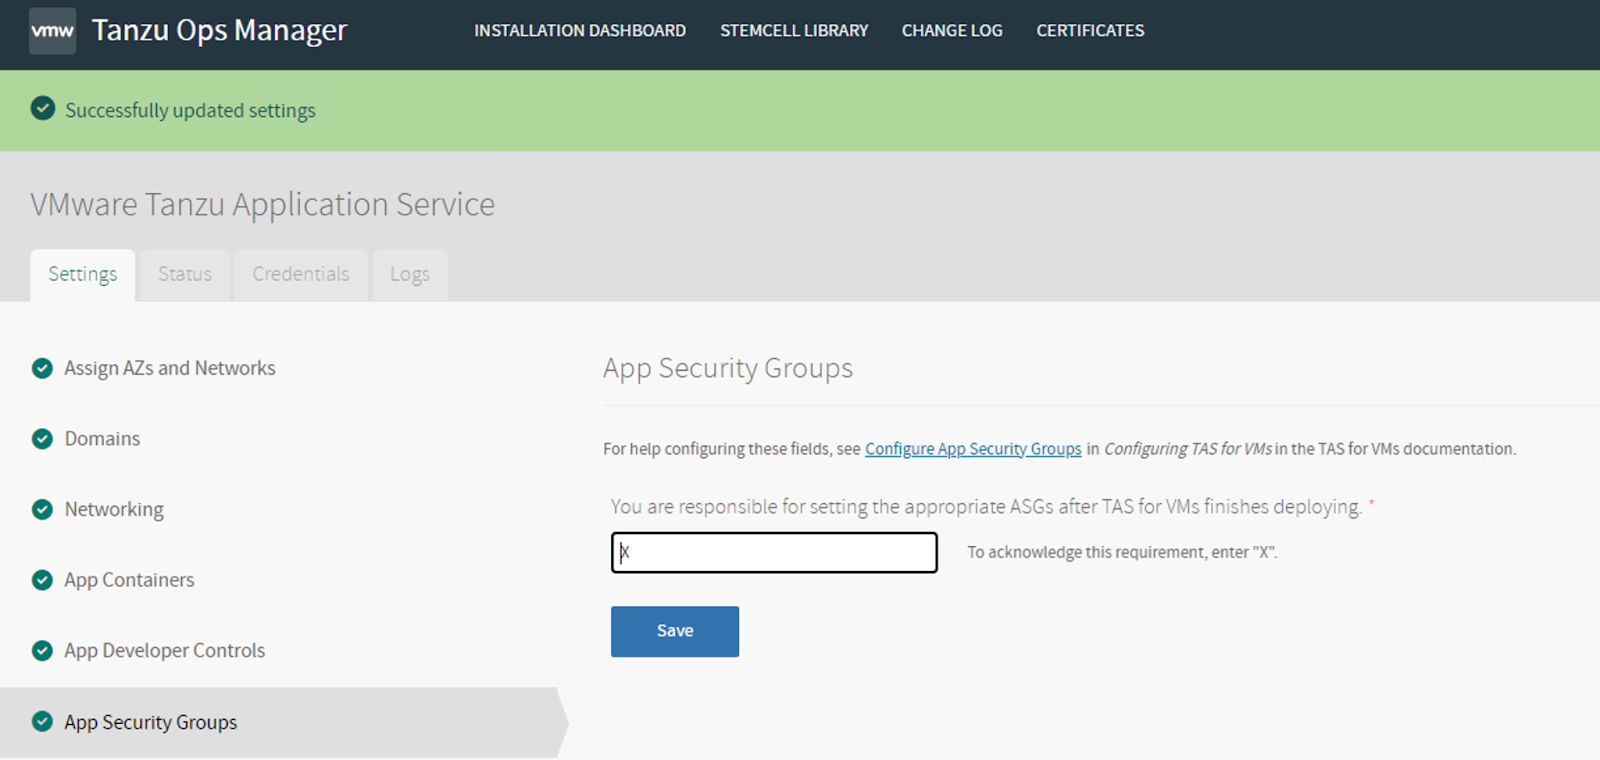
Acknowledge the content on App Security Groups pane
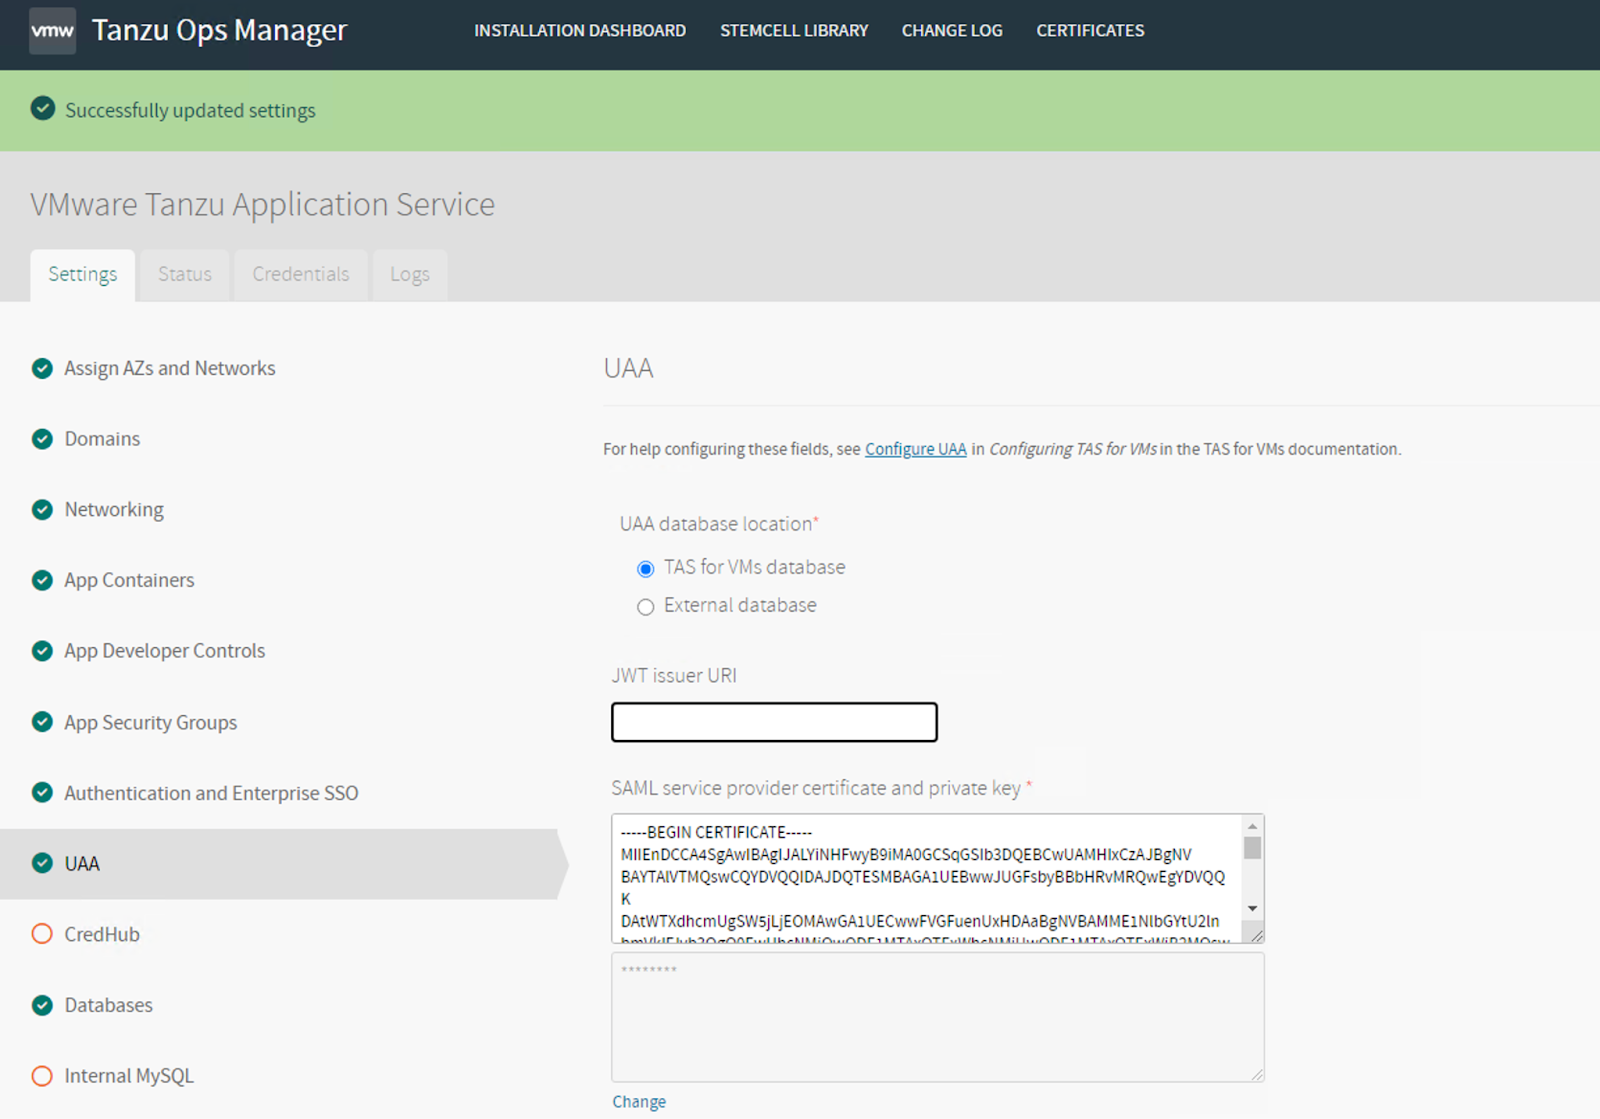
Under UAA pane, paste the same contents of the wildcard certificate that you pasted for the GoRouter certs.
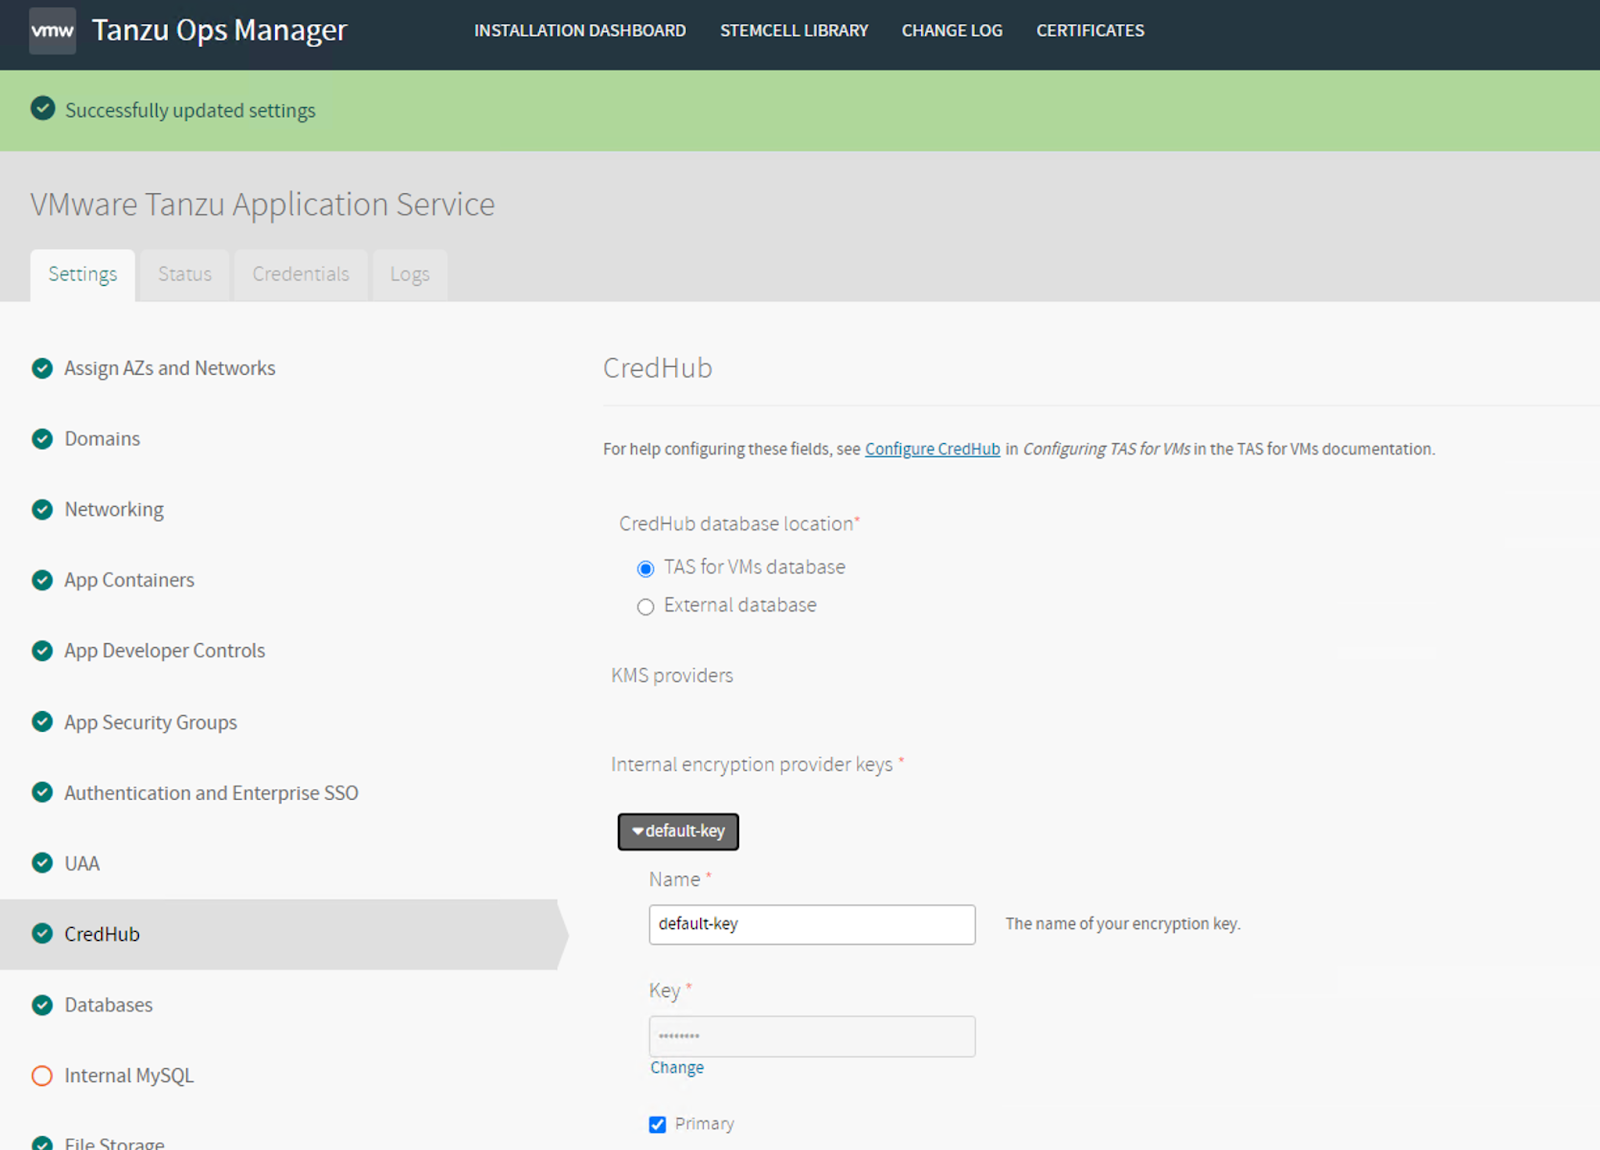
Under CredHub pane, enter any password of your choice as the encryption key provider and mark it as primary.
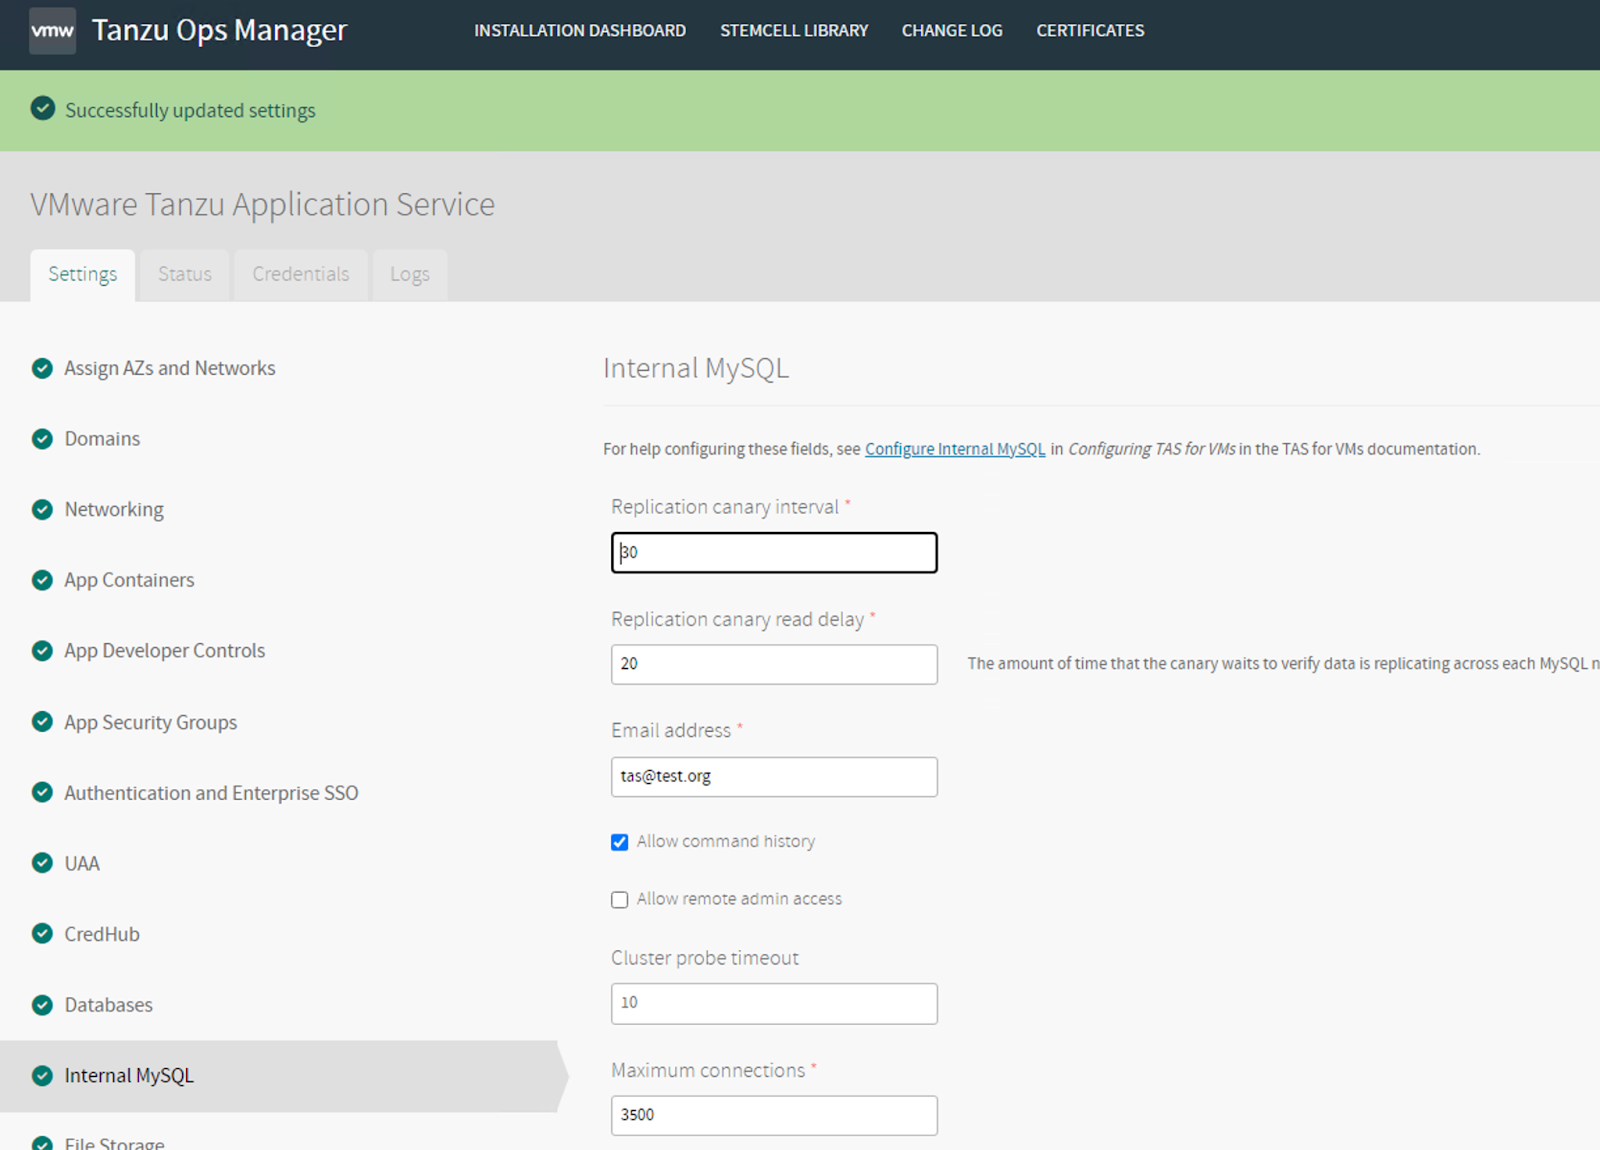
Configure the email address in the MySQL pane
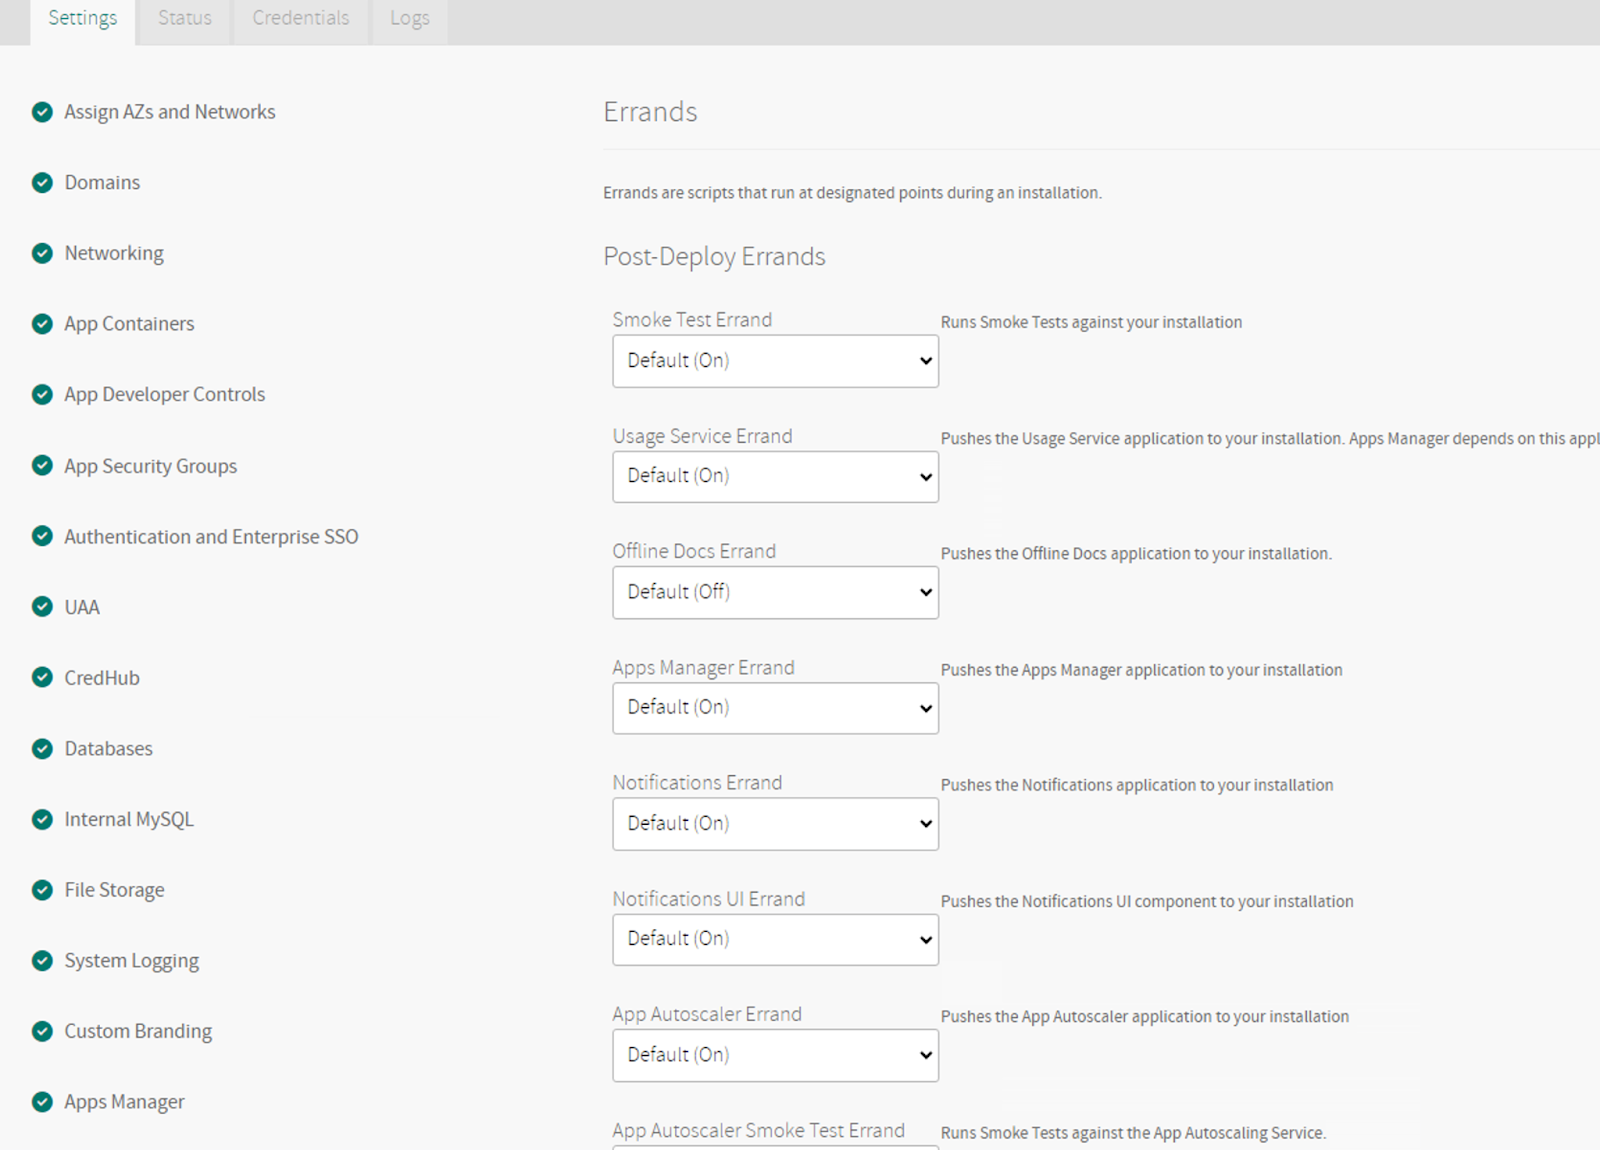
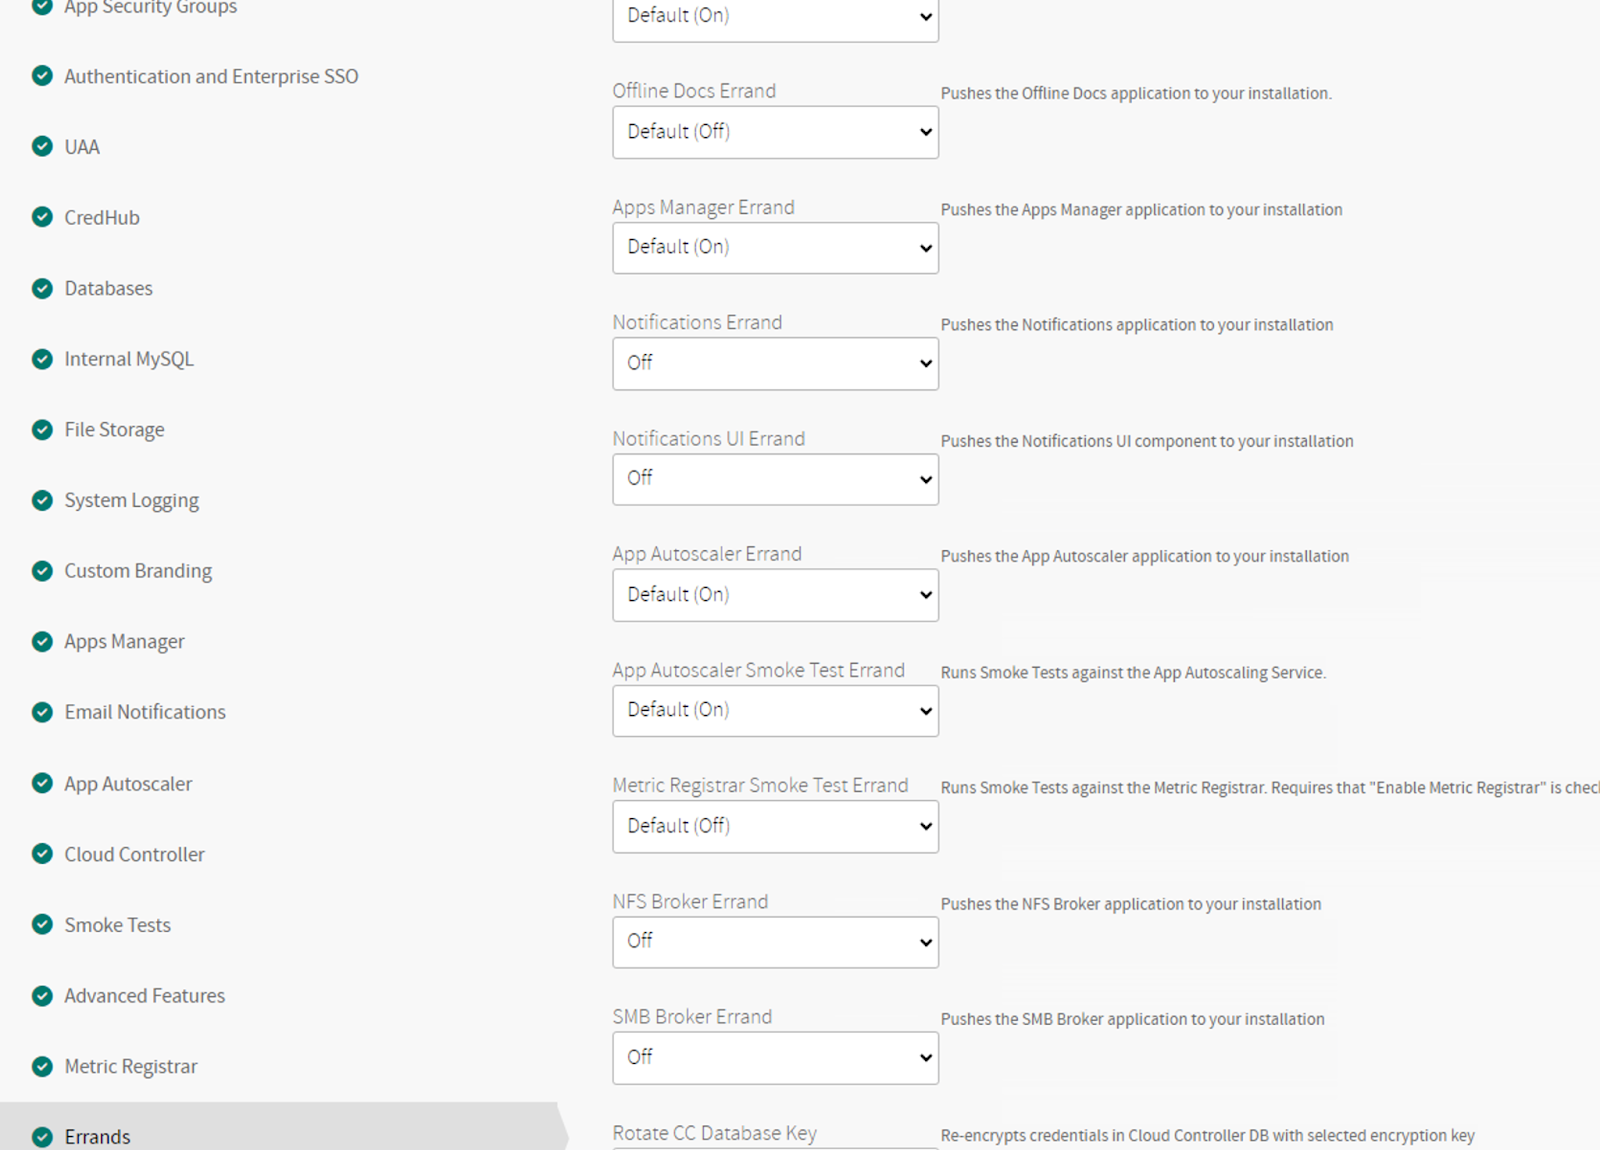
Turn off a few errands to save time during Apply Changes
Click on Save and return to the Installation Dashboard
NCP Installation
Assign AZs and Network
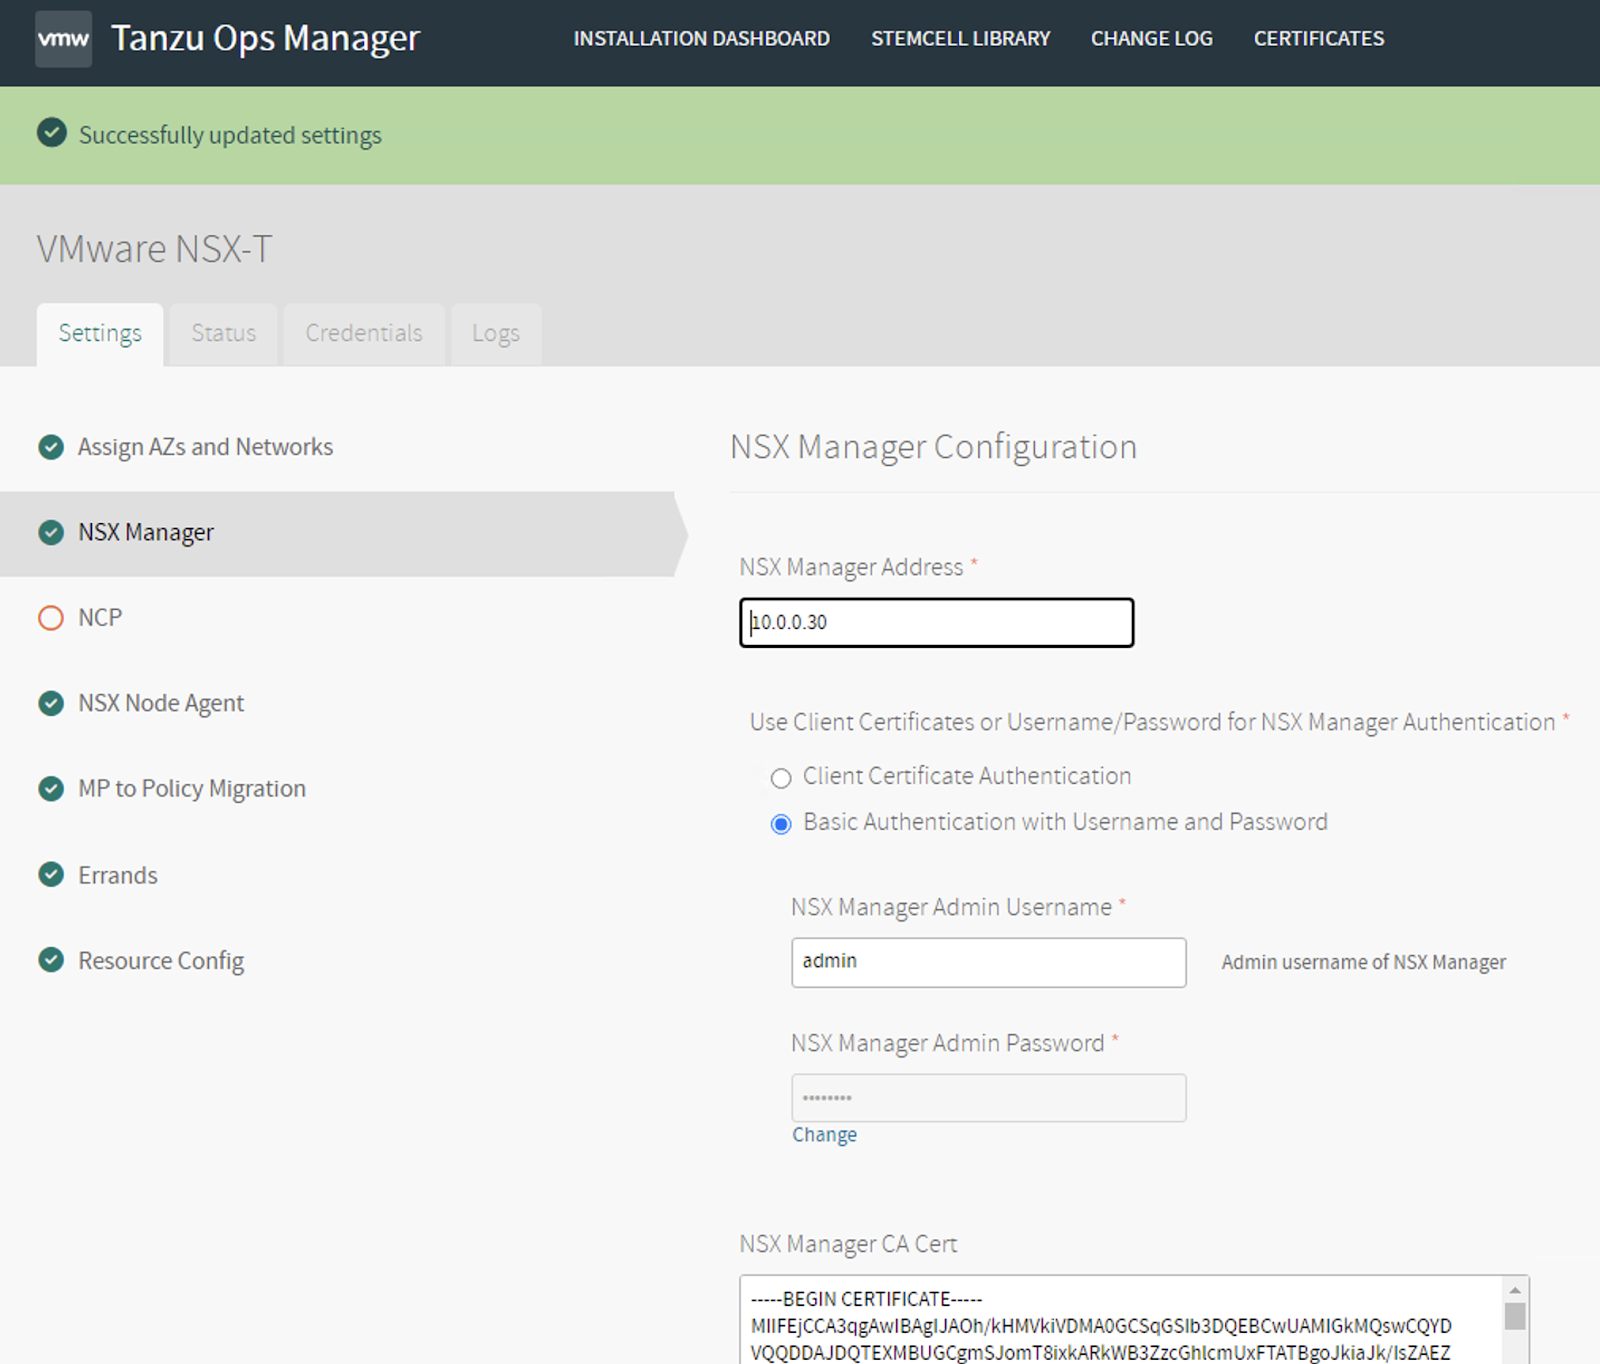
Configure NSX Manager and its credentials
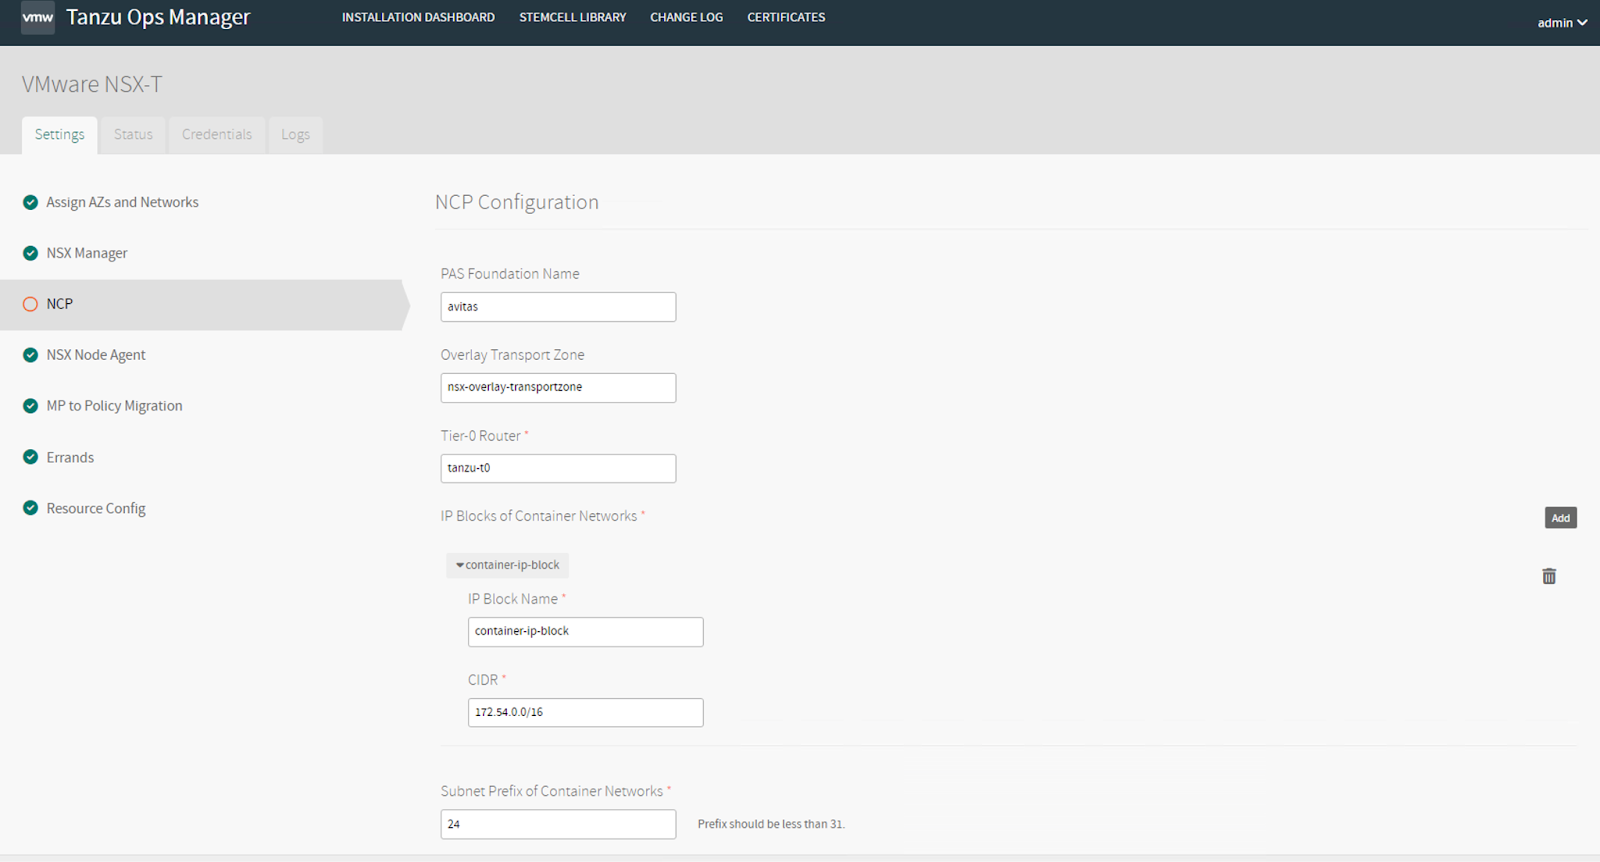
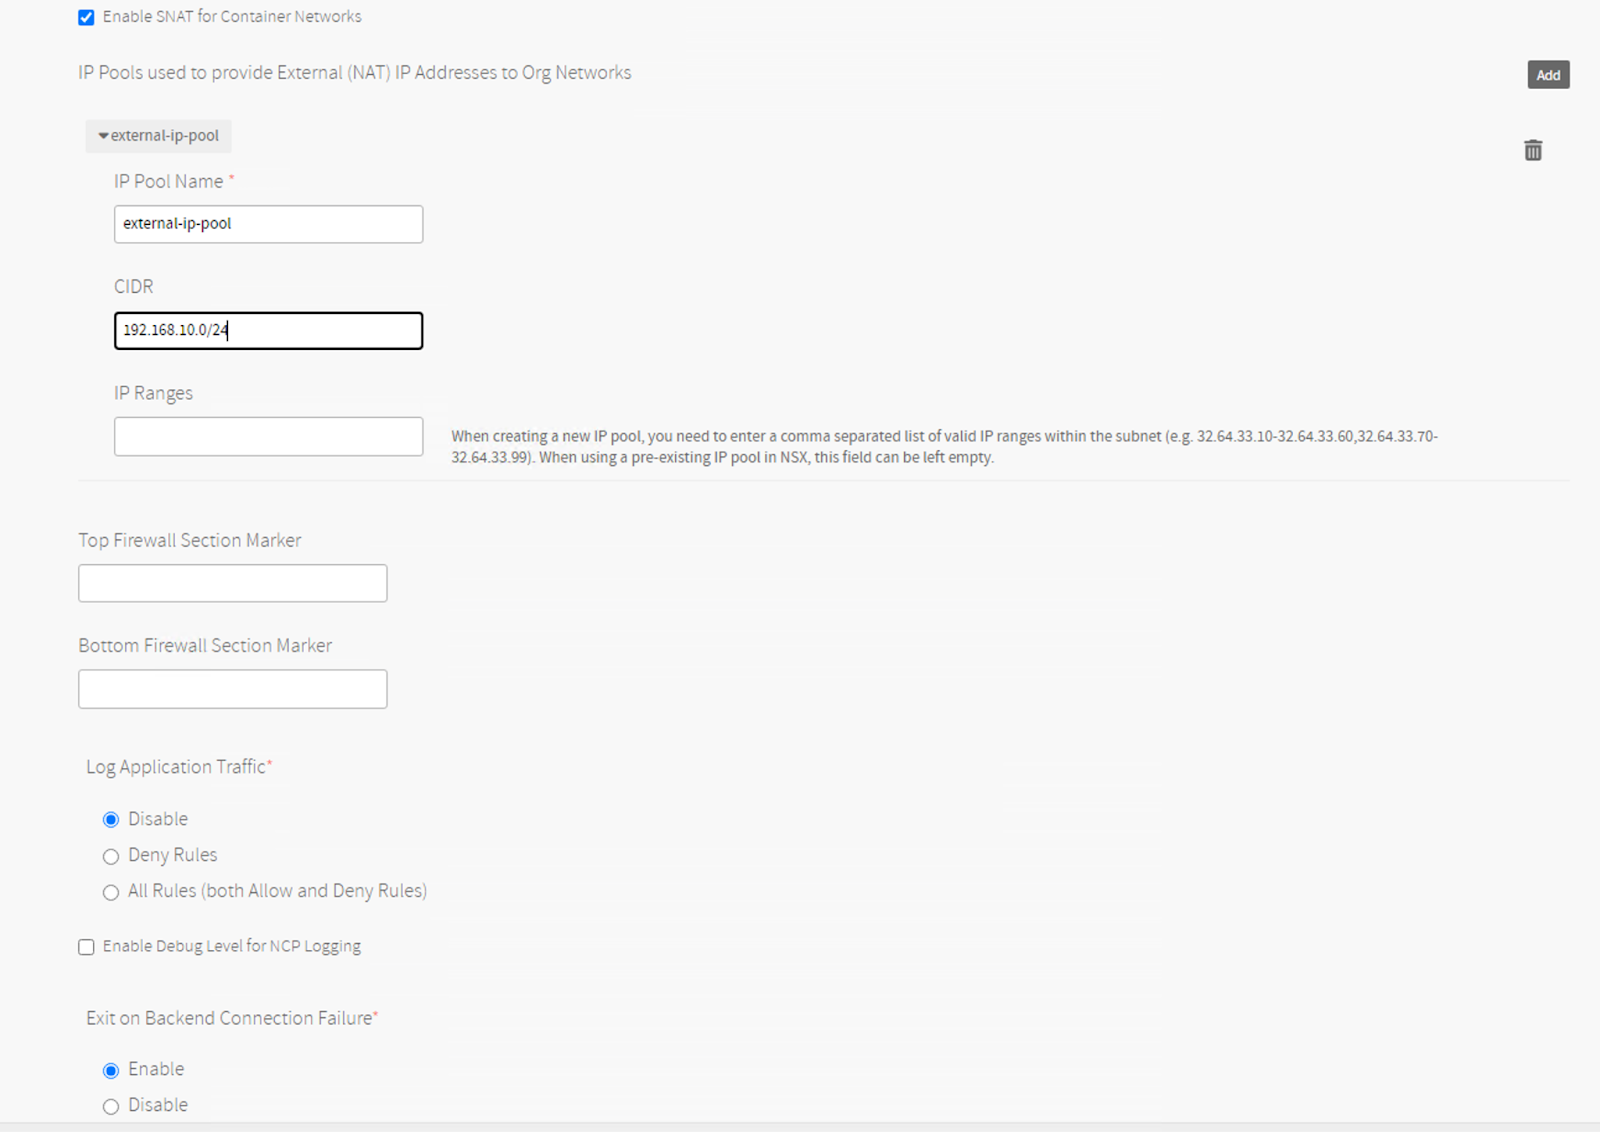
Under NCP configuration, specify the names of your T0 router, Transport Zone, Container IP Block, External IP Pool and a name for the foundation. If you have already pre-created your Container and External IP pools, you DON’T have to key-in the CIDR ranges.
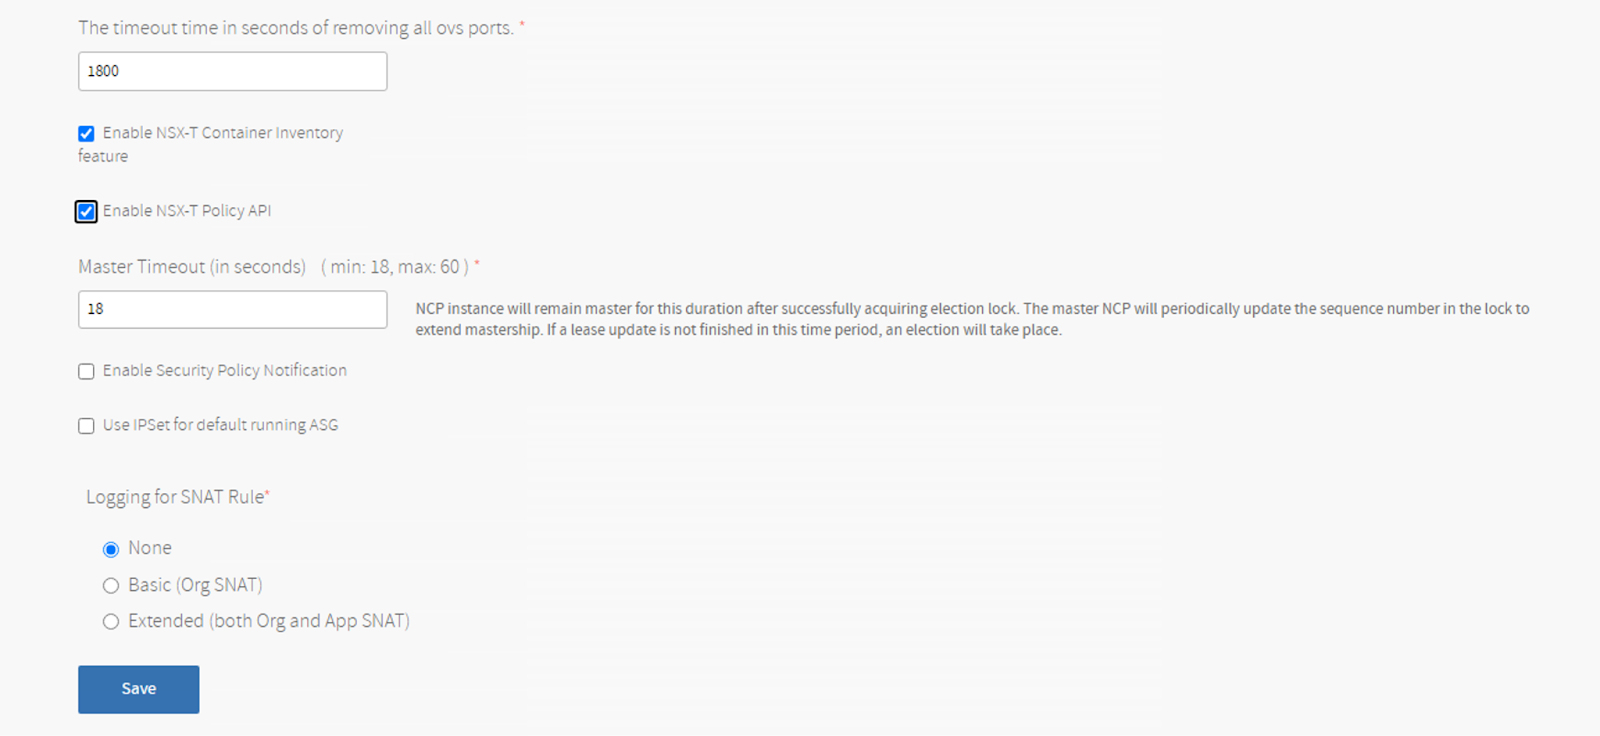
Make sure you enable NSX-T Policy API. Also make sure, this is already enabled at the vCenter config of BOSH Director (Part 4 of the installation series). This setting has to be the same at both the places. If it is not, then the deployment is supposed to fail.
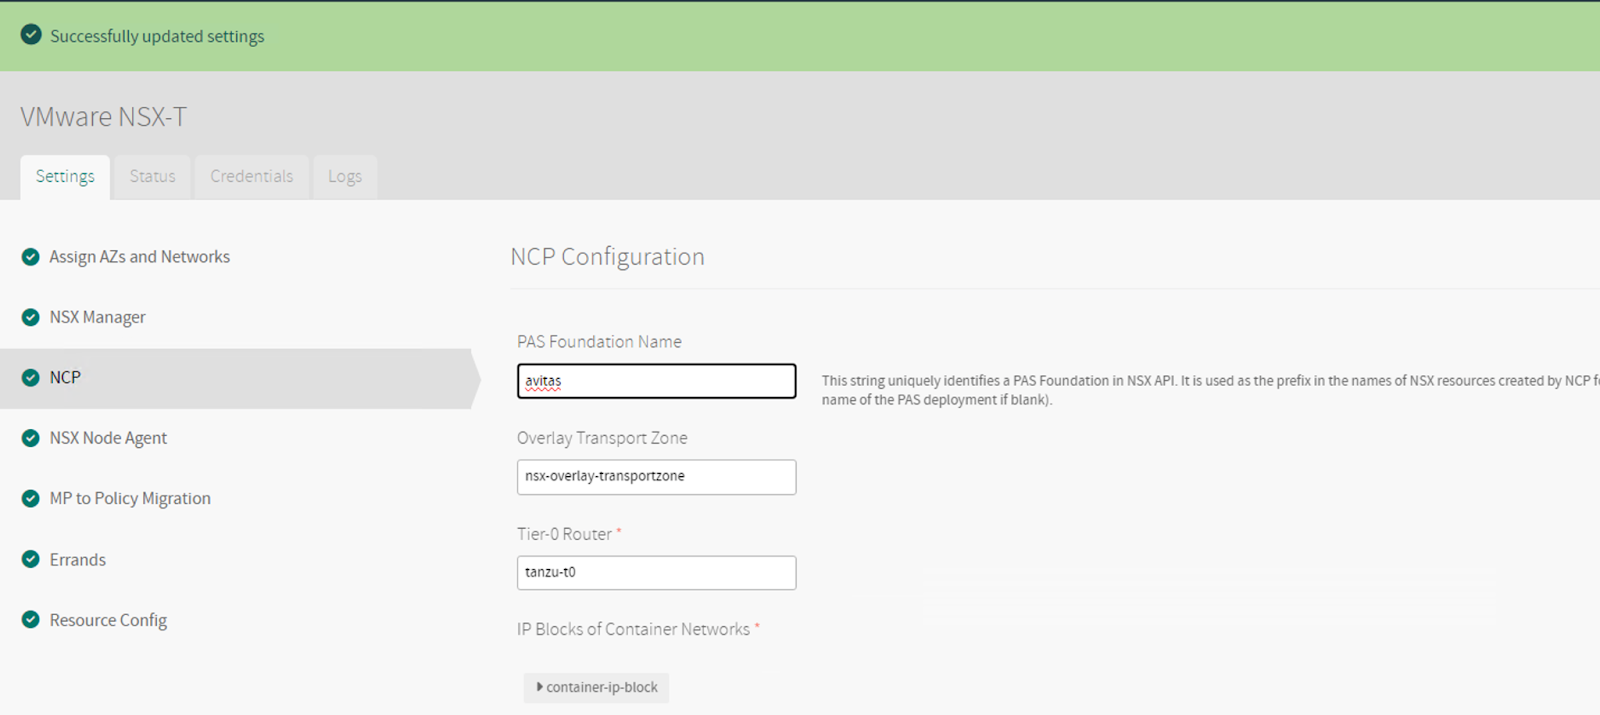
Click Save and return to the Installation Dashboard
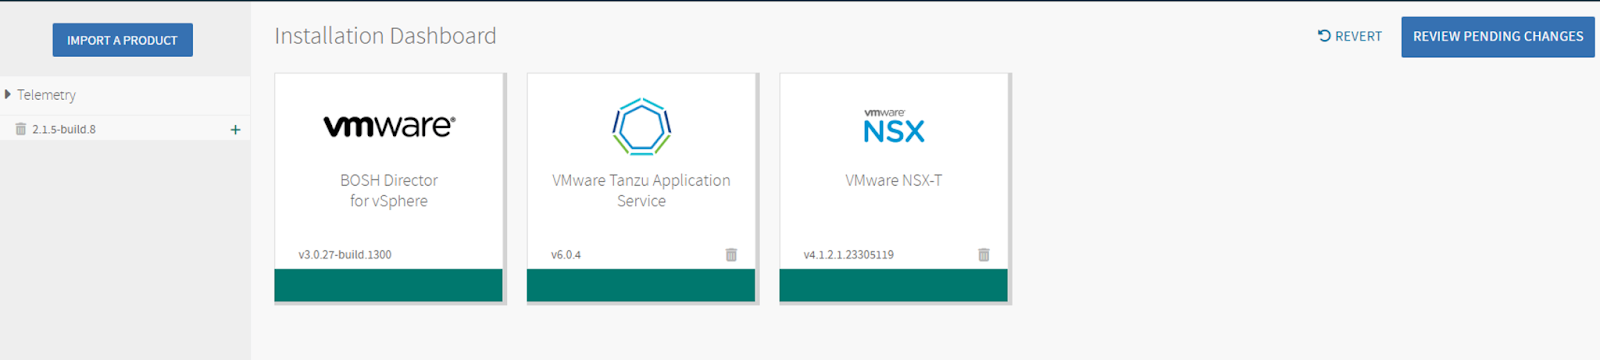
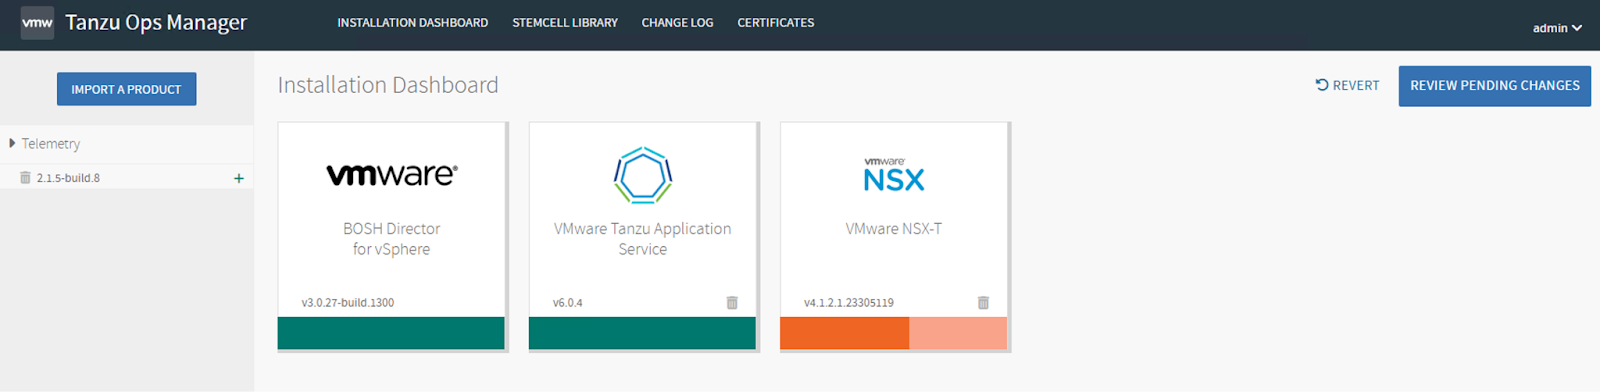
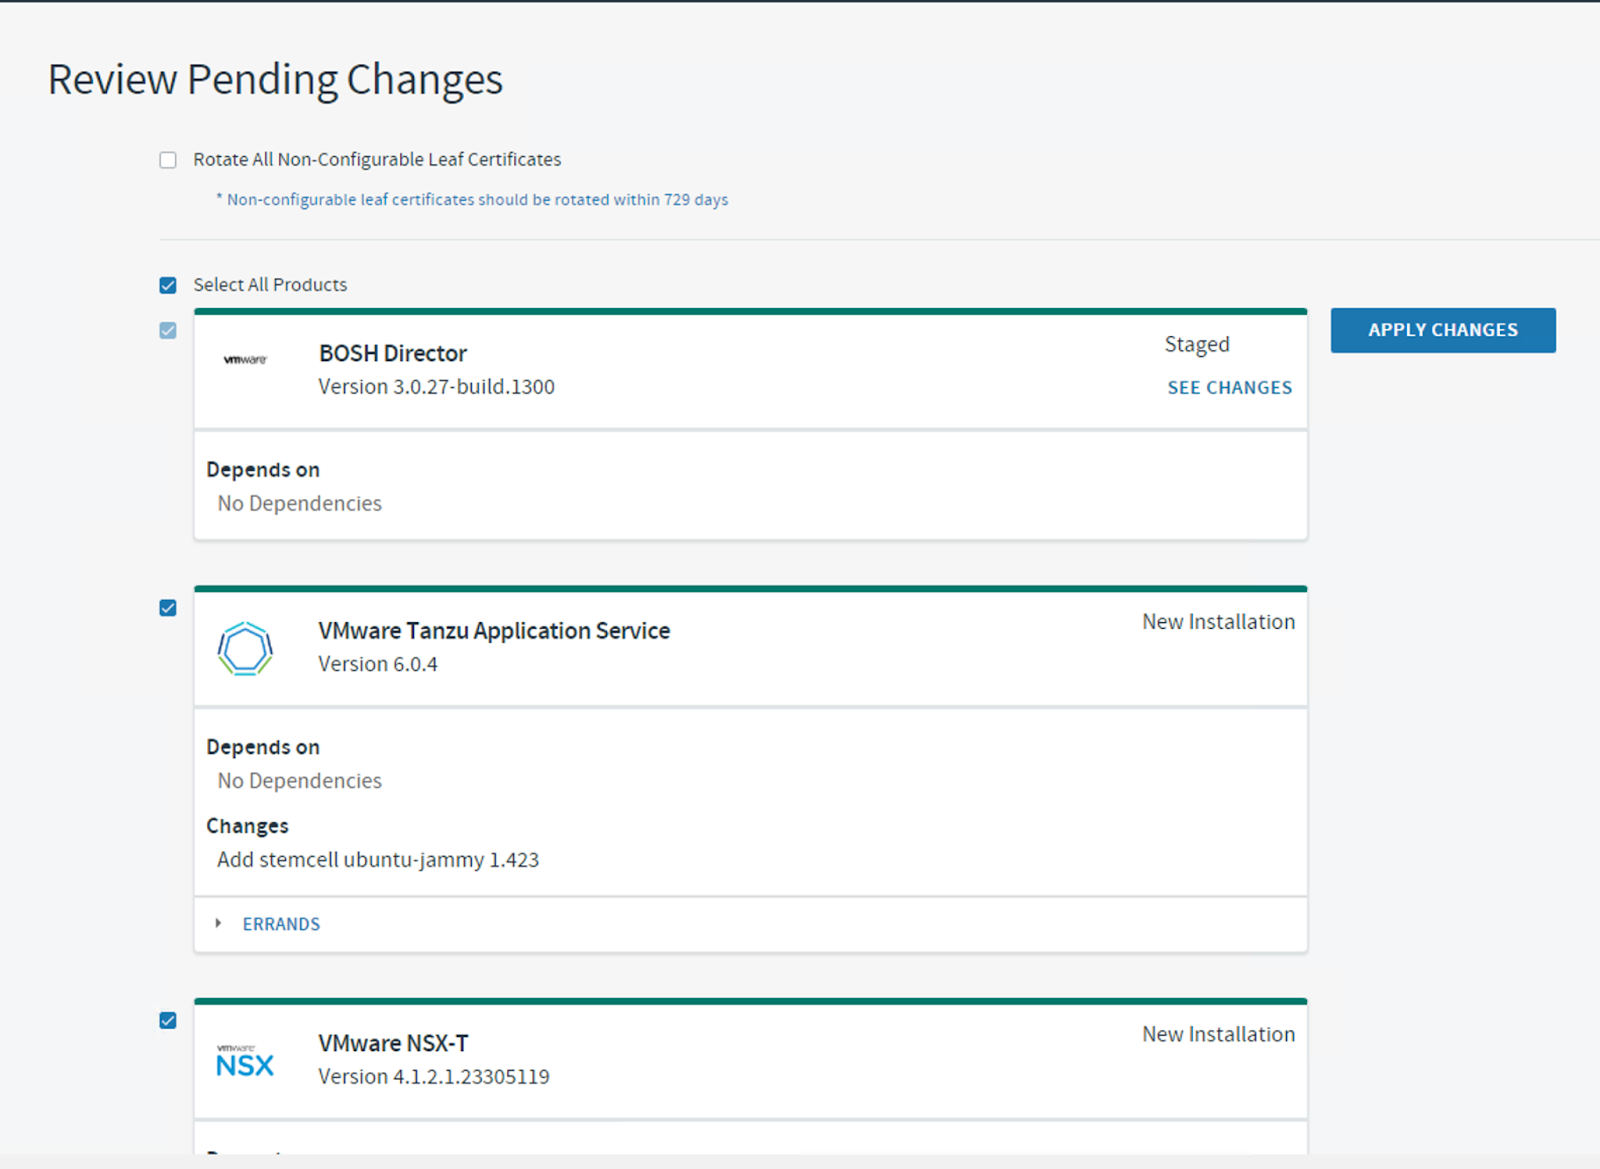
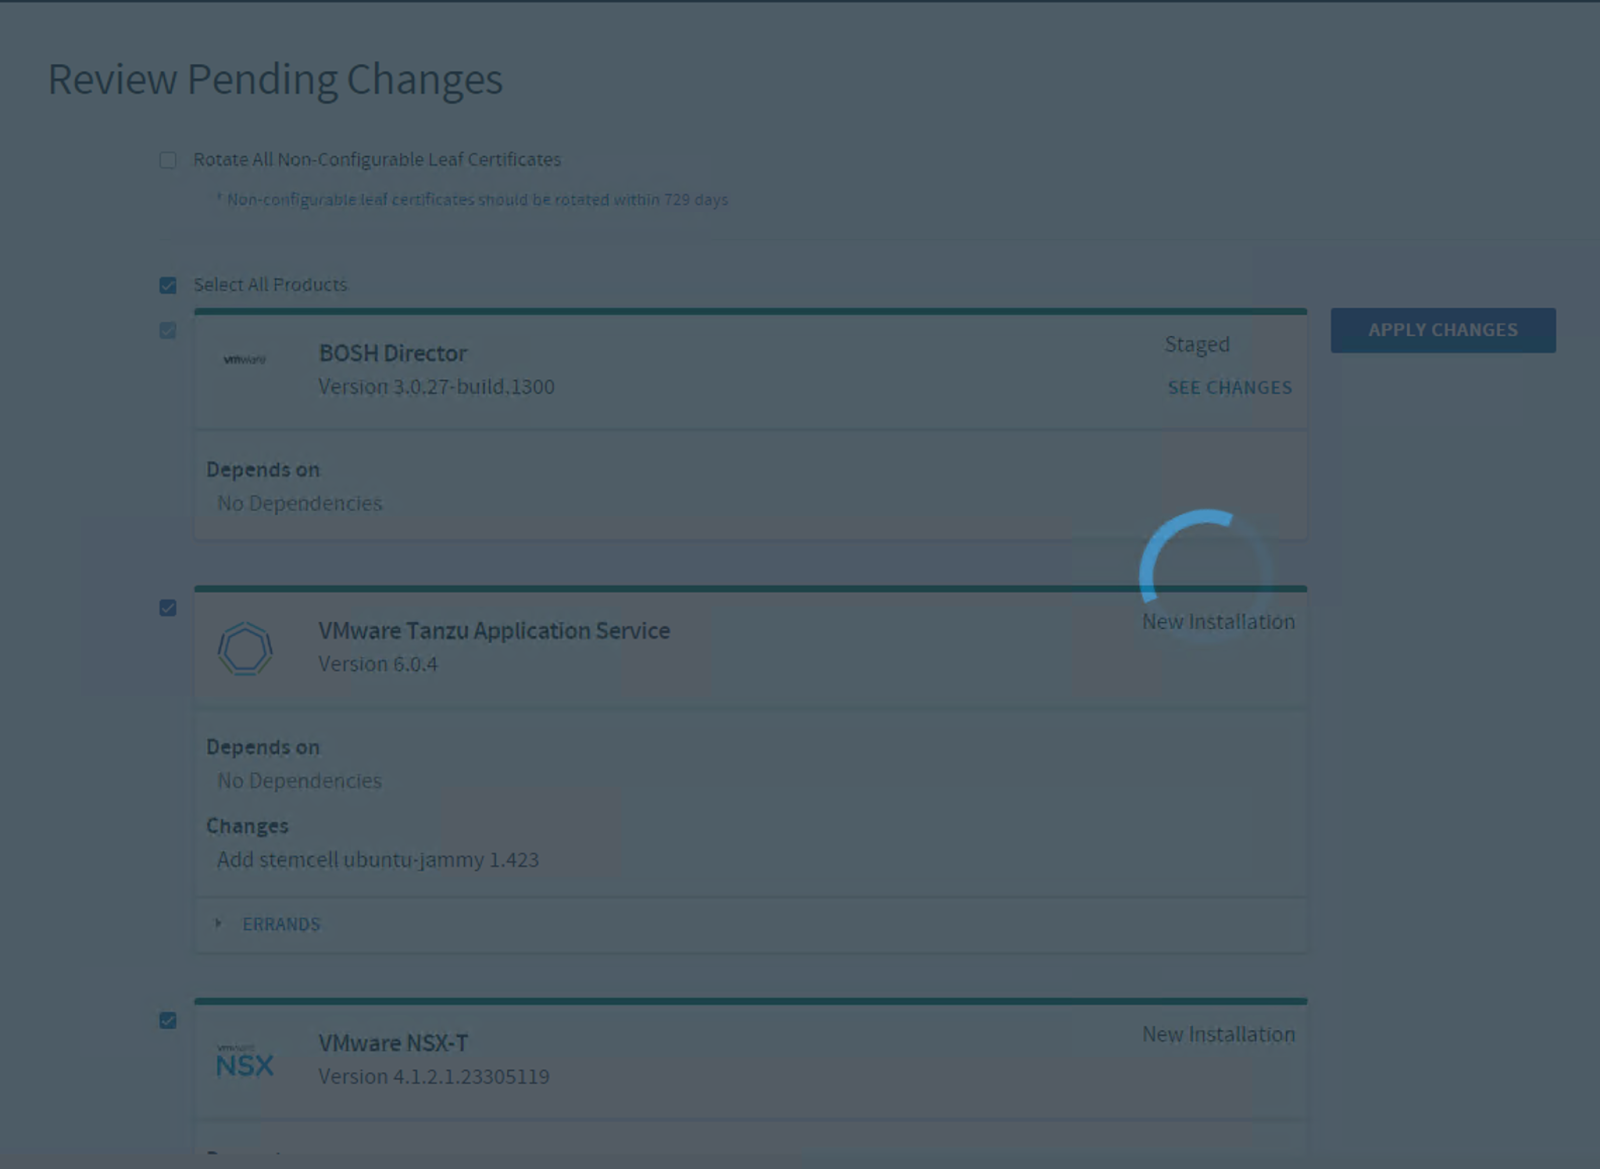
Click Review Pending Changes and Apply Changes for all products.
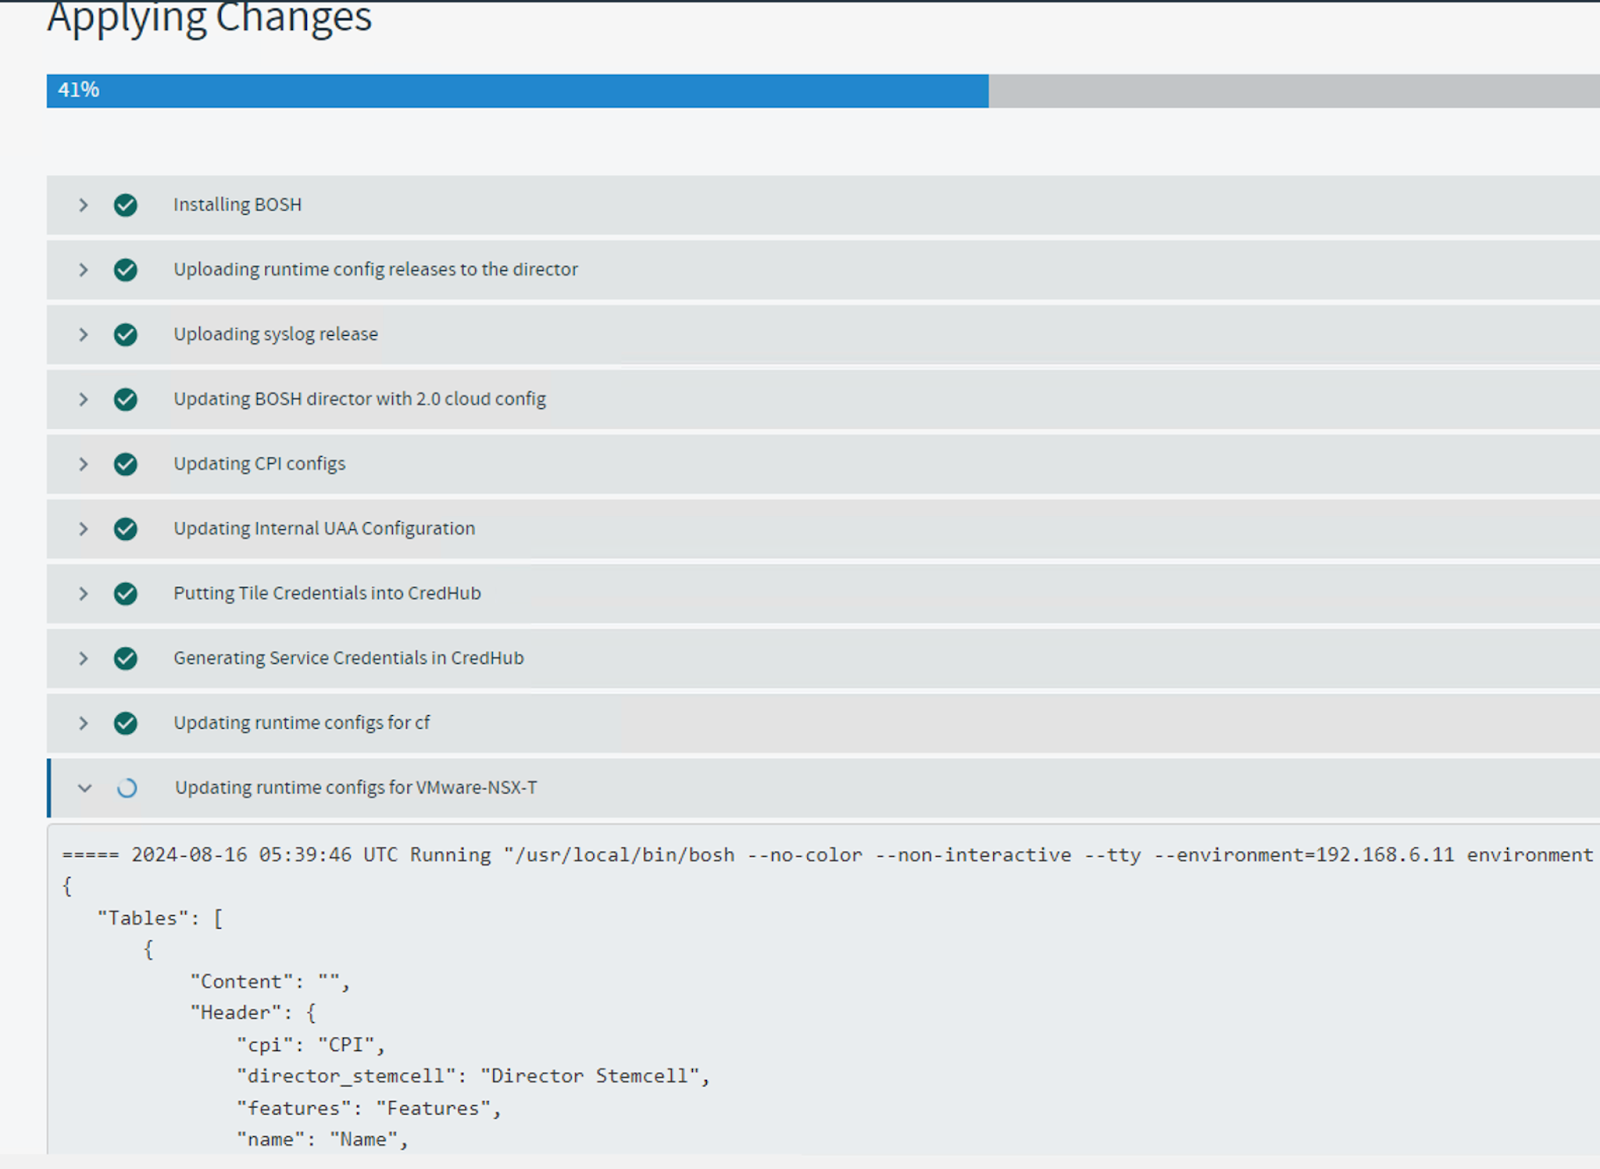

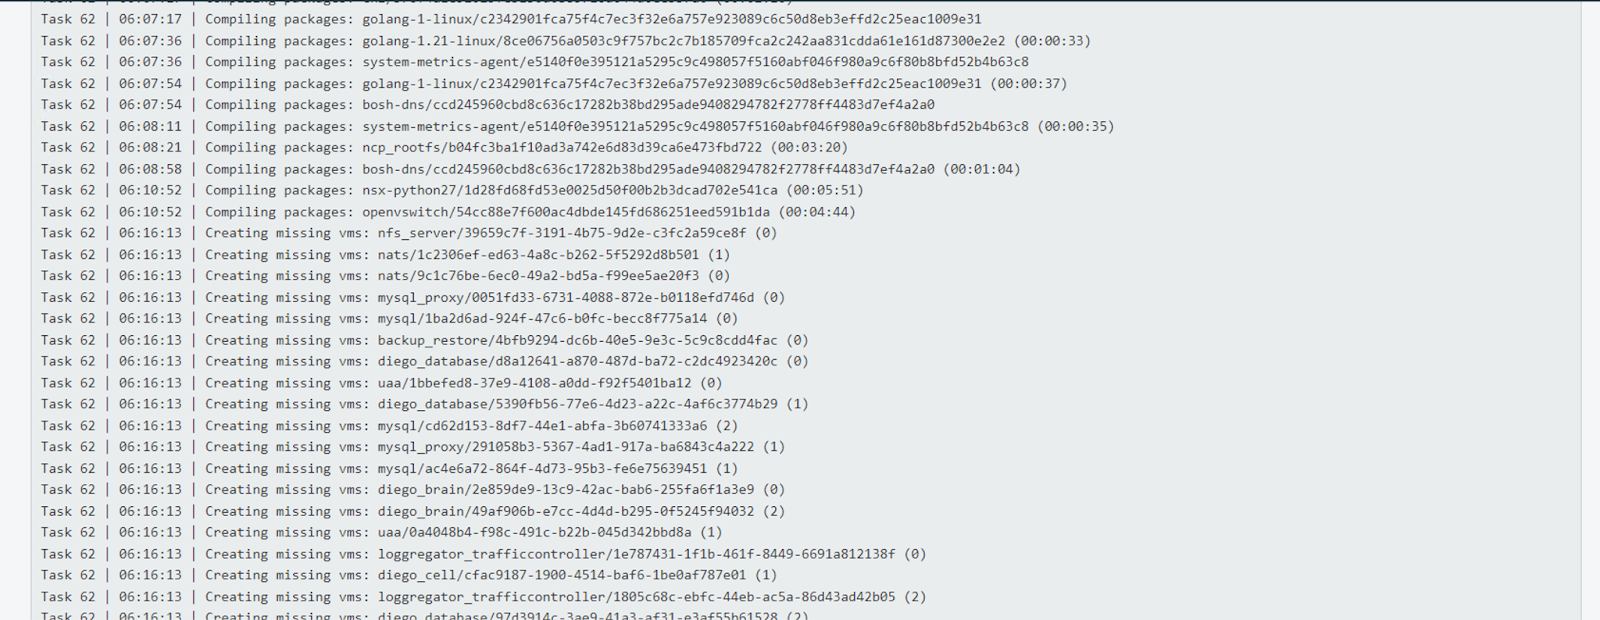
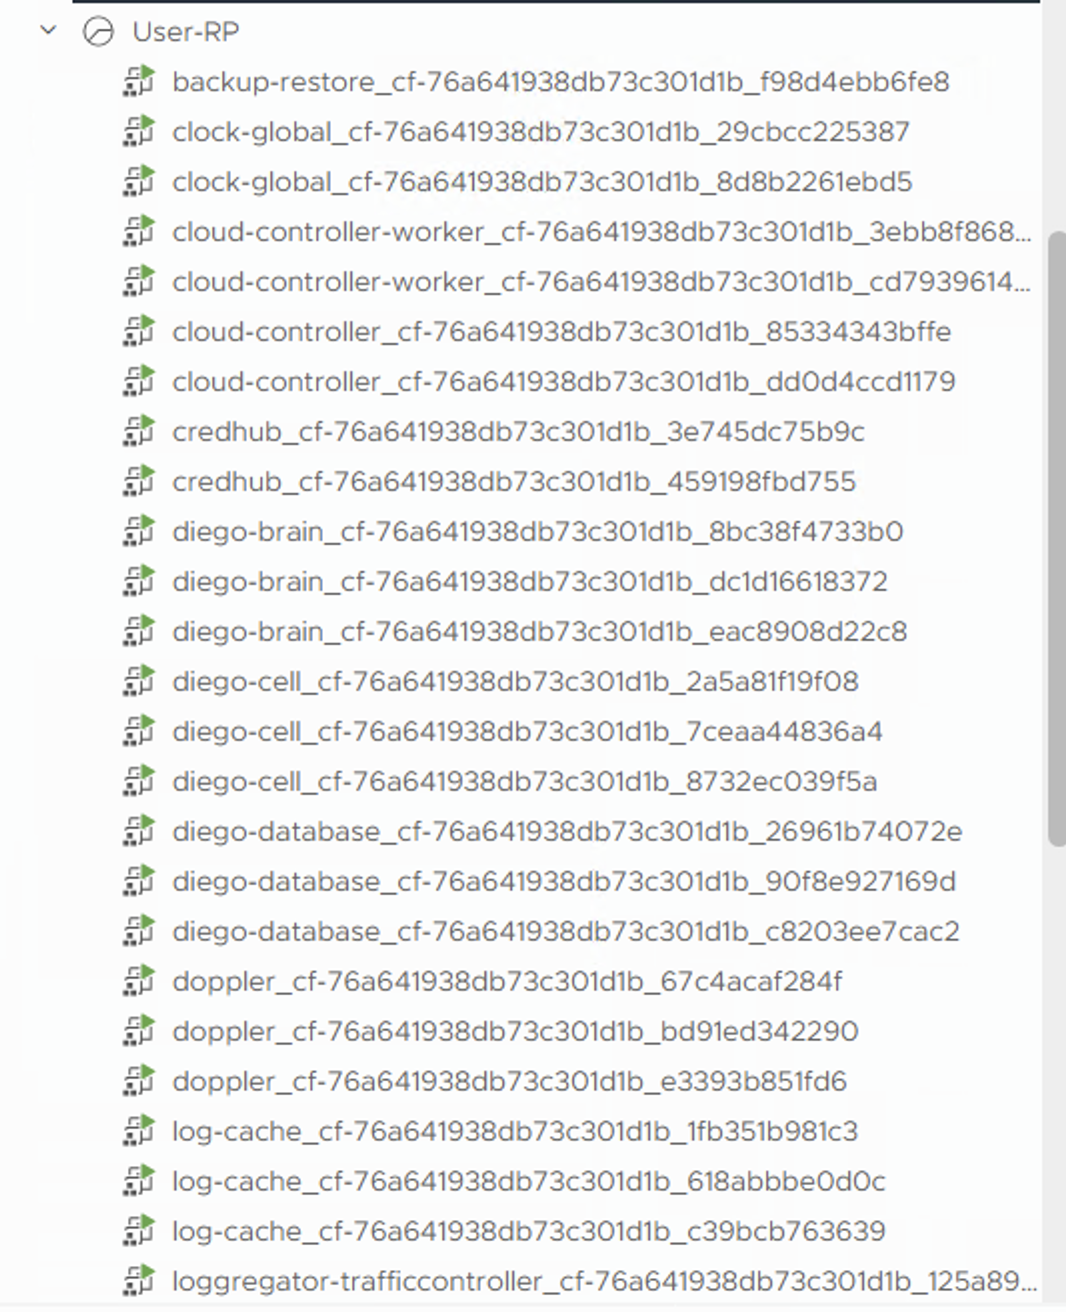
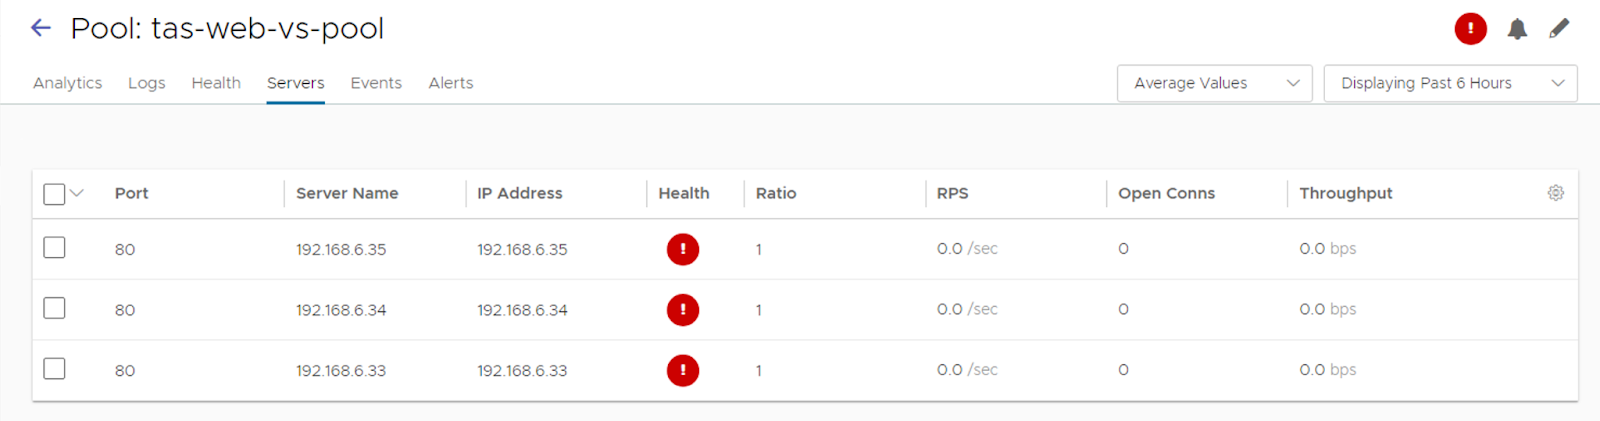
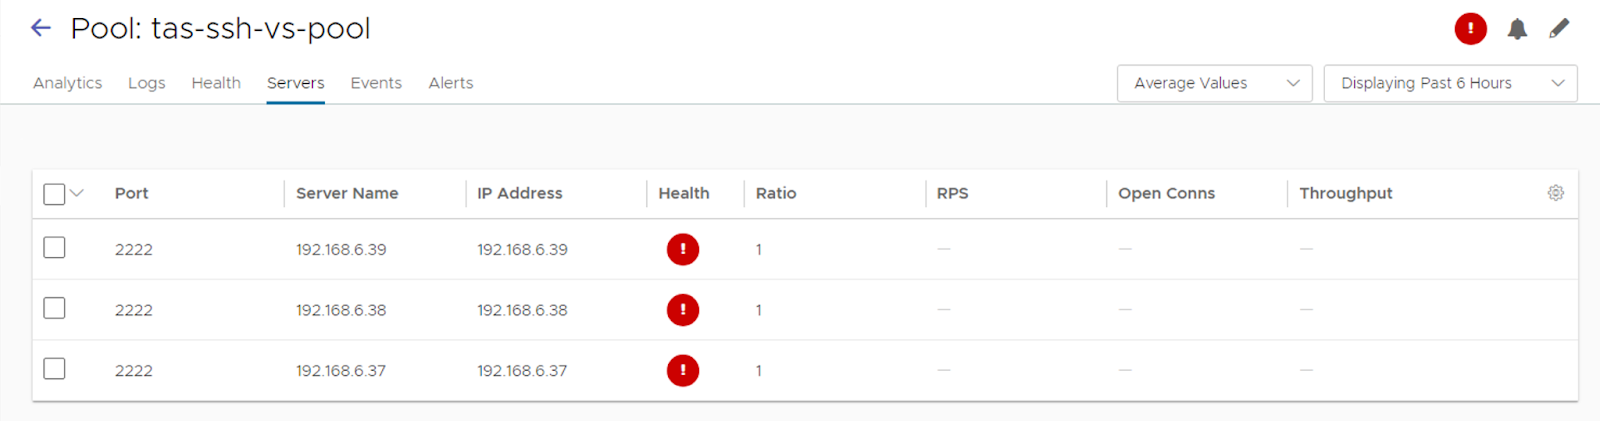
The installation will run for a few hours. In parallel, on the vCenter UI, you should see your component VMs getting deployed. Upon successful completion, you should see the pool members getting updated on the ALB VS Pool as well.
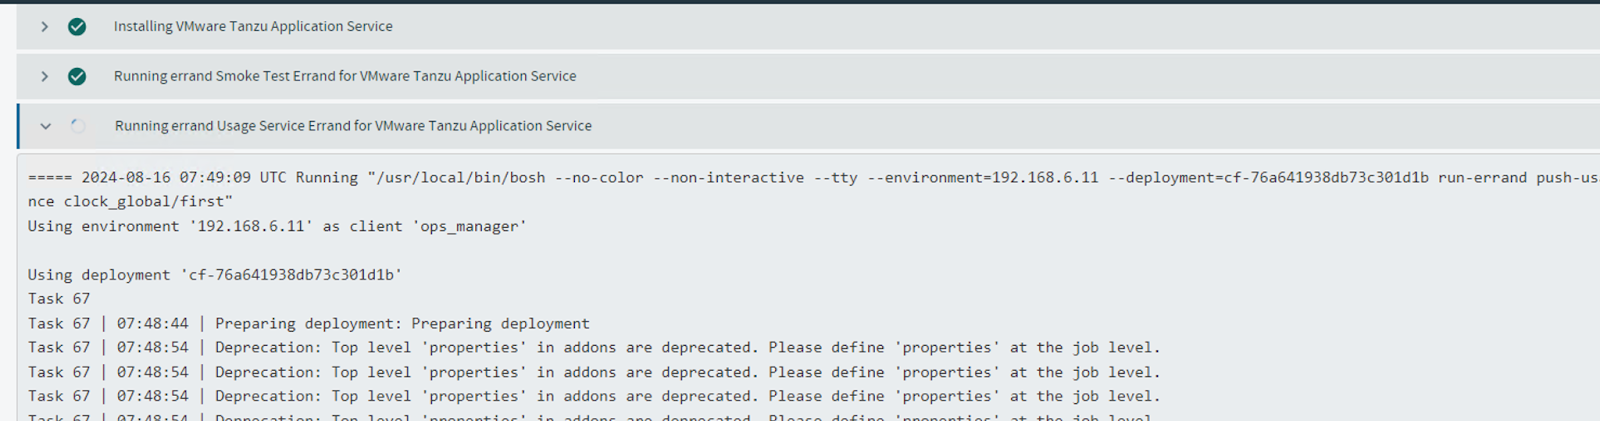
At this point, your TAS installation should have been successful. But the errands might have failed 🙂
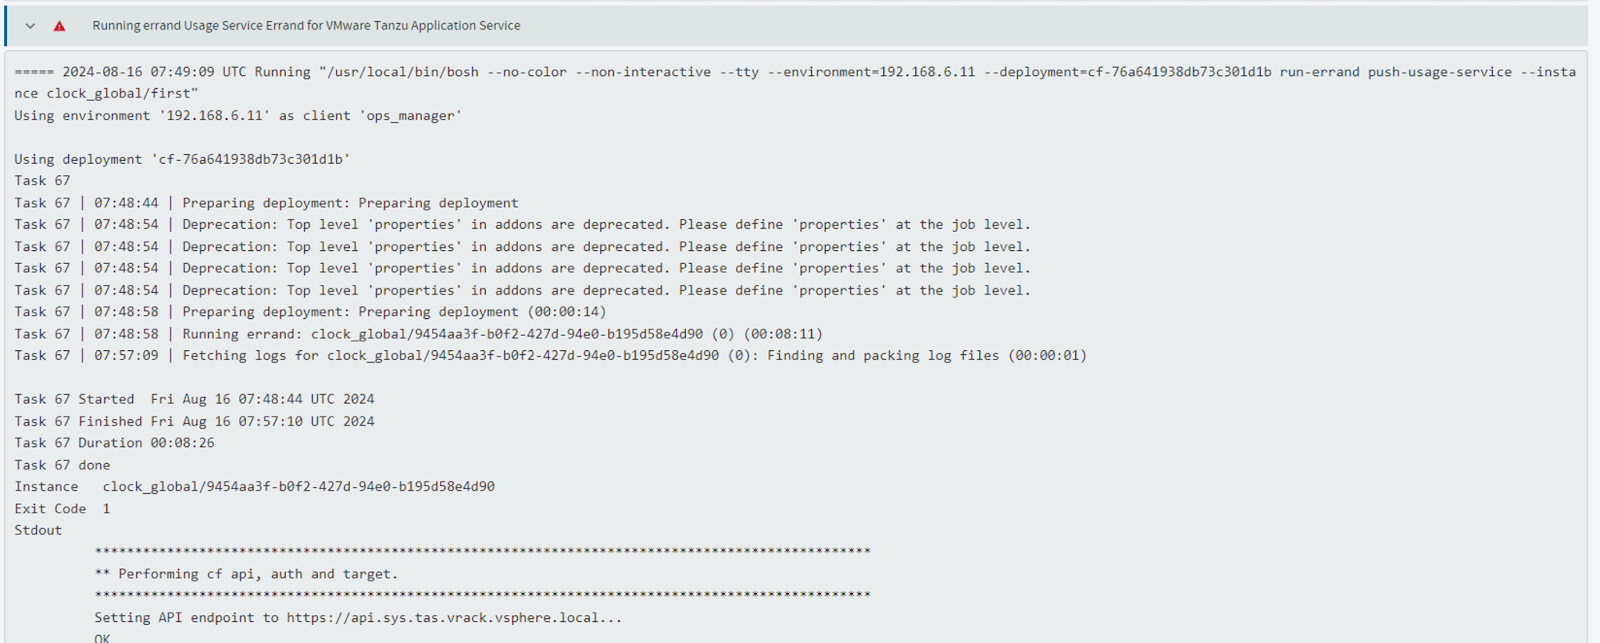
Why? This calls for another post in the series! Until then, happy learning!
0 Comments